Archive for October, 2005

Built a cradle for the wings

Sunday, October 30th, 2005

I banged together this cradle to hold the quickbuild wings, using some lumber I had laying around:

This end will get wing-shaped cutouts made in it, as soon as I have the actual wings here to measure from:

The spars will sit in the notches on this end:

Here's the basic idea, courtesy of the tiny drawing in the preview plans book:

Total out of pocket expenditure to build this: eight bucks, for the wheels and some screws.

Wired for sound

Thursday, October 20th, 2005

I used to have this cheesy "boombox" style radio-slash-CD-player in the garage, of which I made heavy use during the construction of the empennage kit. It was great, except for the fact that it refused to play most of my CDs, and it could really only pick up radio stations if I was standing right next to it. Okay, it actually sucked. But those days are over now!

I replaced the cheesy boombox with an Airport Express that I picked up for cheap (factory refurb deal) and a spare set of computer speakers I had laying around. Now I can wirelessly pipe CDs, mp3s, and streaming audio out to the garage, and the sound quality is excellent. I can even use the computer upstairs to tune into local radio stations' streaming internet feeds and beam them out to the airplane workshop in full digital glory – a roundabout and absurdly complicated way to listen to the radio, to be sure, but a satisfying one nonetheless.

The tail is done

Sunday, October 16th, 2005

…well, as done as I plan to get it for now. The elevator hinges are complete and the trim linkage is correct. I'm saving the fiberglass tips for later, as stated previously. I also decided to wait to finish the rudder hinges until I have the vertical stabilizer mounted on the airplane, since it will be way easier to get everything lined up then (the rudder doesn't lay down nice and flat on the workbench because the rudder horns stick out both sides).

Next step is to get the workshop ready for the QB stuff. The fuselage I think I'll just put on some sawhorses. The wings demand some kind of storage rack to sit them on, but I sort of need the wings here so I can trace the airfoil contour so I can make the rack that I need to store the wings on… what I may end up doing is laying the wings down on some styrofoam insulation when they arrive, long enough to get the real wing rack made. We shall see.

Elevator center bearing

Friday, October 14th, 2005

Here's what 12 bucks plus shipping gets you from McMaster-Carr. Actually, their site was a breeze to navigate and their shipping was both prompt and reasonable, so I can't really complain.

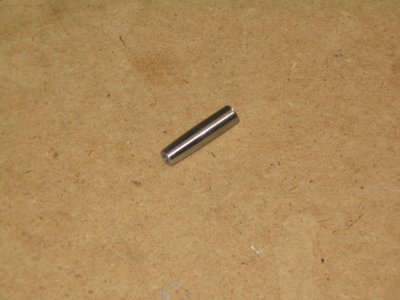
Unfortunately, this drill bushing was just a few thousands too big to fit through the elevator bearing. I was going to schmooze some time on my friend's metal lathe, but then I figured out that hand drill + belt sander = poor man's lathe. I just chucked the bushing in the drill and held it up to the belt sander, and turned it down into a sort of bullet shape that fit snugly and centered-ly in the elevator bearing. Then I chucked it in the drill press and turned it against some emery cloth to smooth out the surface again so it wouldn't get stuck.

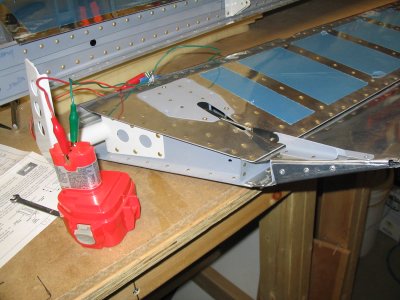
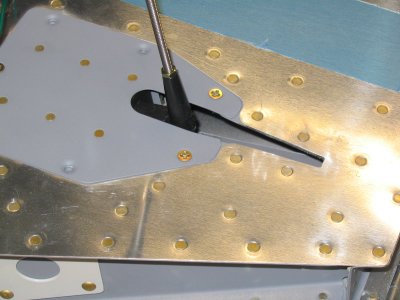
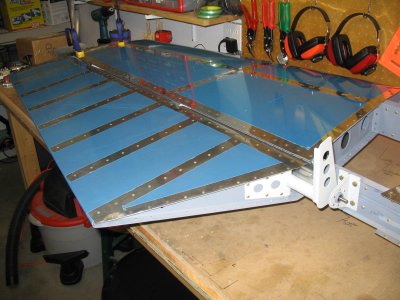
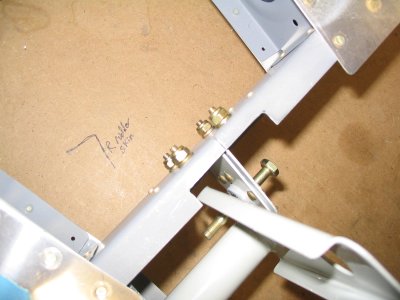
The first elevator gets put on the stabilizer with Avery's temporary pins, and it's held in trail by clamps on the counterweight arm. Then the drill bushing gets inserted in the center bearing, and the pilot hole is drilled right through.

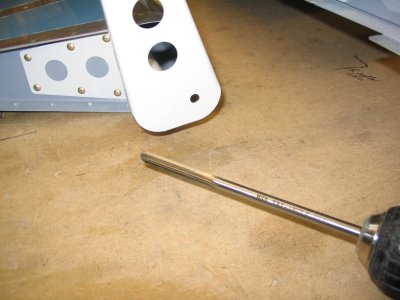
Then the pilot hole is enlarged in steps up to a C size drill, and then reamed to exactly 0.250 inches.

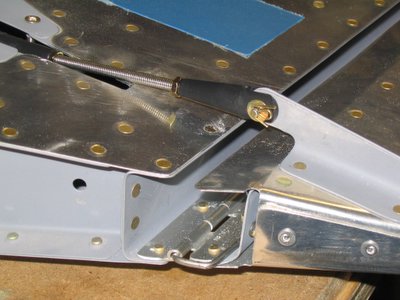
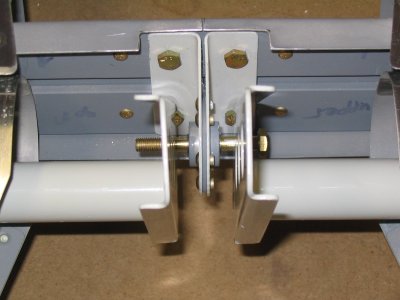
Hooray, a bolt through the bearing fits right through the new hole and the elevator pivots perfectly.

The above process is repeated for the other elevator, and now the center pivot is complete.

Now all I have left to do on the tail (other than fiberglass, which I've decided to save until later so I can do all the obnoxious itchy stuff at once) is tighten up the rod end bearings on the elevators, install and tighten the corresponding ones on the rudder, and play with the trim tab linkage a bit.

Installed elevator trim servo

Wednesday, October 12th, 2005

Tonight I finished installing the elevator trim servo motor. I had to cut the pushrod to length and install the clevises, and then with the help of a drill battery… it's alive!

This is the first part of the airplane able to move under its own power. I'm stoked. (do the kids still say "stoked"?)

I had to enlarge the aft end of the notch to clear the pushrod when the trim tab is in its full up position (full nose down trim). I may need to file it out a little more later, but this is okay for right now.

Here's a shot of the attach hardware, just to remind myself that I did install the cotter pins.