Archive for January, 2006

Roll servo wiring

Sunday, January 29th, 2006

I was travelling or doing errands for most of the weekend, so I didn't get anything done on the plane besides running the wires for the autopilot roll servo. Two adel clamps and some tie wraps keep the wire bundle safely away from the moving parts. The only snafu is that there's no way to tighten the screws that hold the d-sub connectors together unless you take the servo completely out. I think I'll try to find some thumbscrews to use there instead.

I bought this cool label maker that can print directly onto shrink tubing. Now I won't forget that this connector at the wing root is for the "roll servo". Okay, maybe this didn't need to be labelled, but I had to test out my new toy.

Trimmed rear spars

Wednesday, January 25th, 2006

The RV-7 and RV-8 share most of the wing parts in common, but if you're building an RV-7 you have to trim off some of the rear spar due to the different width of the fuselage between the two models. I'm sure Van's does this to save a few pennies, rather than just punching a couple buttons on the CNC machine and producing the correct parts for the kit in the first place. Anyway, the plans include a full-scale template of the area to trim, which I xeroxed and then transferred to the rear spar stubs:

Nothing gets the blood pumping like hacksawing through a quarter inch of aluminum and then filing and polishing it until it shines. Except doing it twice, I guess. Ignore those things that look like nicks, they're just reflections from the camera flash.

Installed starboard landing light

Sunday, January 22nd, 2006

Not too much work on the airplane today. The only accomplishment worth documenting was the installation of the starboard landing light:

I also did some cleaning of the garage/workshop. Then this afternoon I went down to see Matthew's RV-9A project, which is due to get its airworthiness inspection in a couple days. I spent a couple hours going over it with a flashlight and inspection mirror, and could only find a couple of simple little things that were wrong. He's going to have a nice airplane.

Various wing work

Saturday, January 21st, 2006

Today I installed the angle of attack ports in the left wing. Click here to read up on what AOA is all about. The first step involved a lot of careful measuring – the AOA plans are very particular about where the ports are located. The photo below is of the lower port, and the marked line is parallel to the spar.

Two #30 holes are dimpled for the 4-40 flush screws that hold each port in place. I used handy my pop-rivet dimple dies for this step.

Here's an identical-looking shot of the upper AOA port. I guess I probably didn't need to document this one too, but oh well. The left wing is now back in the cradle here.

Here are the port assemblies attached to the wing and sealed to the skin with blue (non-corrosive) RTV. The upper port has a drain valve on it so you can get rid of what small amount of water as might work its way in there. You can't tell from this photo, but the lower port is a couple inches further inboard than the upper port, again precisely located according to the plans.

You drill the actual hole for the AOA ports using a #60 drill – that's 0.040". Tiny.

Outside view of the finished product.

Another hole is drilled in the lower skin to accomodate this drain valve poker, so you can drain the water out before preflight. I have some doubts about how well this will work in practice – I may have to bond some kind of a guide tube in there.

The AOA tubing passes through a spar lightening hole (and is securely tie wrapped in place) then proceeds down the wing through the bushings in the tooling holes just aft of the spar.

AOA tubing and pitot heat wires are secured to the rigid pitot line to keep them from interfering with the bellcrank.

At the root end I left a pitot heat connector and a foot or two of extra AOA line. I've decided to make the wings removable by putting connectors in all the wires and lines – not because I expect to have to take the wings off, but to make the final plumbing/wiring job similar, logistically speaking. Since I won't have to wait until the wings are attached to finish the wiring and plumbing, I'll be able to finish more of the internal systems in the garage instead of at the airport. That's a long time from now though.

I finally received my wiring conduit from Van's, about a month after I ordered it. I got a length of it installed in the left wing, which took way longer than I planned – it's nearly impossible to get it through the wing walk ribs, so I spent several hours on this simple step. It's not going anywhere now that it's in, though.

It's too cold to work with the plexiglass landing light lenses, so on to the right wing's landing light cutout. Rough cut with Dremel:

Trimmed with snips and sanding drum:

Smoothed with files and scotchbrite wheel:

I was wearing a dust mask during all of the above metalwork, and I'll share with you a lesson I learned during this process: don't wear a dust mask right after you eat at India Palace unless you like the taste of recirculated curry. I guess it's true what John Lennon said: instant khorma is gonna get you.

End of the line for this sanding drum:

I got tired of my bench grinder walking all over the workbench, so I secured it with these bolts that I found in my junk box. I didn't have any bolts long enough to actually bolt the grinder to the bench, although that turned out to be a good thing: I used these shorter bolts as studs that keep the grinder from moving around but allow it to be easily lifted up and off if I need to for some reason.

Let there be landing light

Sunday, January 15th, 2006

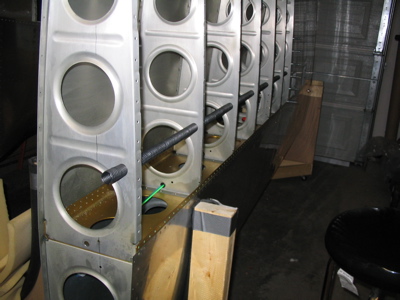
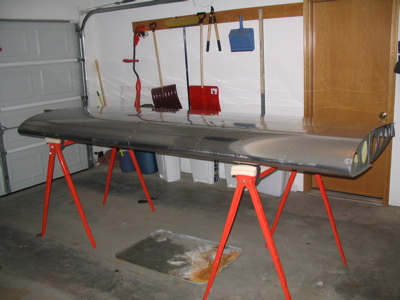
With Mary's help, I lifted the left wing out of the cradle and onto a pair of padded sawhorses this morning. Then I cleaned the poor dirty wing with soapy water – the top side was still covered with the preservative oil that's applied to the Quickbuild kits at the assembly site. Now it's all nice and shiny on top where I couldn't reach before. There are also some light scuff marks where the wings rubbed against their straps in the truck – but since I plan to have this airplane painted eventually, no need to worry about polishing them out.

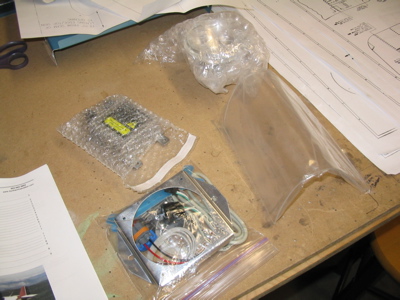
Then I got out one of the Duckworks landing light kits I bought last month. I popped for the HID xenon lamps, since I have the same type of headlights on my Toyota and I really like them. These lights are expensive, but I'll hopefully never have a problem with nighttime visibility at those dark country strips, and these bulbs will probably last longer than the airplane's engine.

Here's what you get for your money:

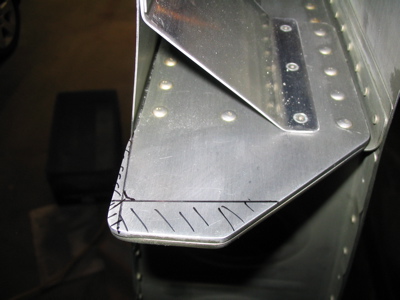
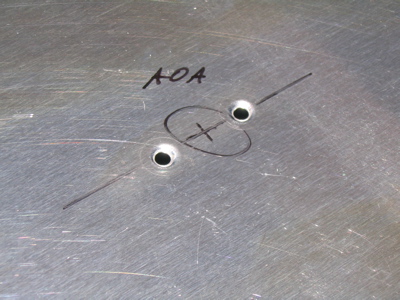
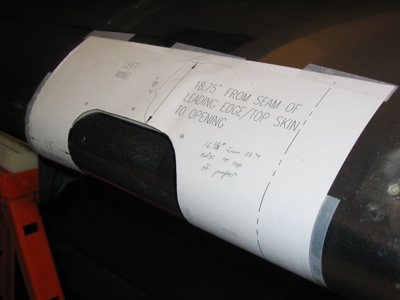
The first step is to measure and then tape the included template to the leading edge, over the outboard-most rib bay:

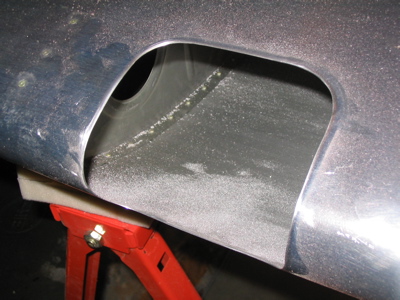
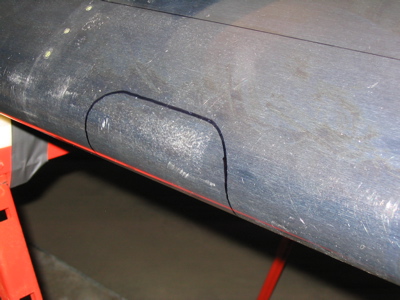
The shape of the landing light cutout is then traced onto the wing. Hacking a huge hole in the front of my beautiful wing was a little scary to think about, so I sort of stared at it for a while before continuing to the next step, doing a mental tally of my accumulated karma.

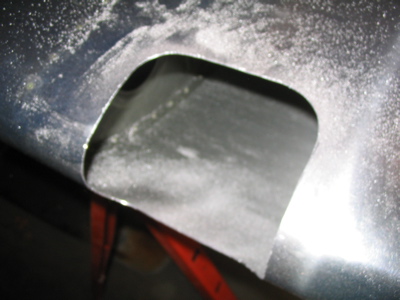
Well, no going back now! I'm going to have a landing light whether I like it or not. The initial cuts were made with a fiber cutoff wheel in my Dremel tool. This and subsequent steps produce a lot of airborne aluminum dust, so I had a dust mask on for all of this.

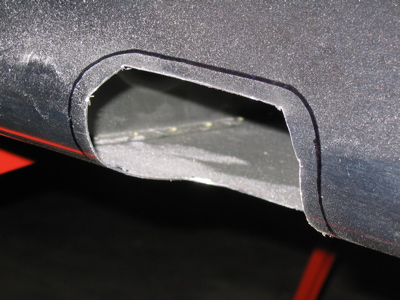
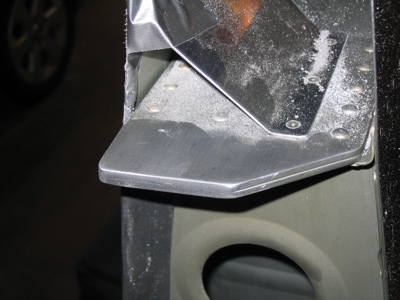
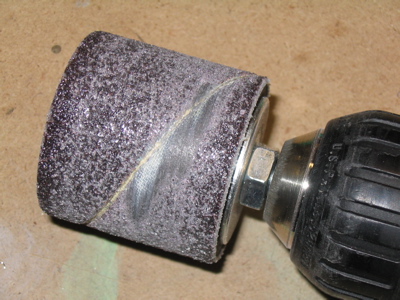
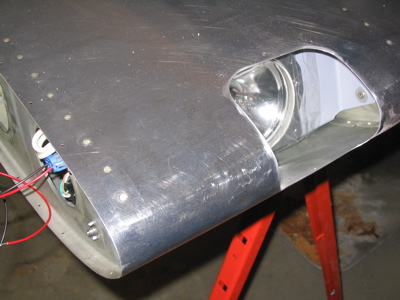
Next I enlarged the hole up to the lines with a 2" drum sander in my electric drill. This turned out to be an excellent way to do this job, since it made nice round corners and didn't take material off too fast to control.

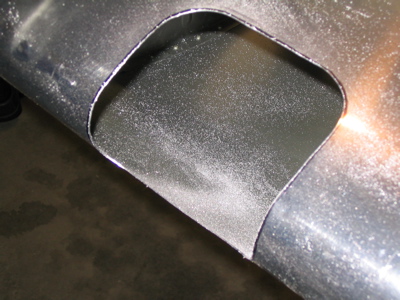
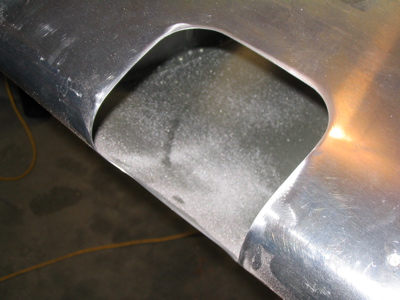
After the basic cutout was there, I attacked it with files to finish off the shape, and went over it with a 1" Scotchbrite wheel to smooth up the edges. For all the worrying I did about getting this cutout to come out right, I think it turned out rather well.

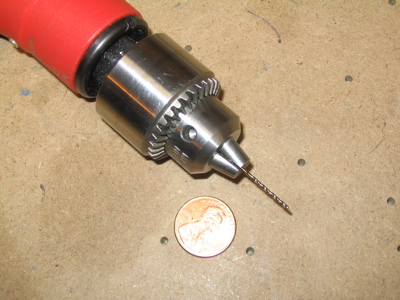
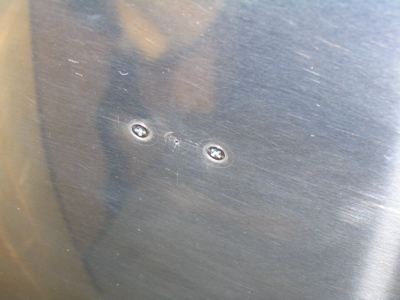
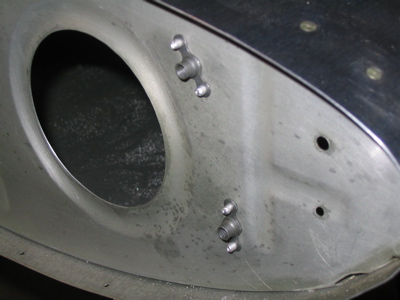
The lens is held onto the wing with screws that go into two little retainer strips behind the plexiglass. Here I'm match drilling the retainer strips to the skin:

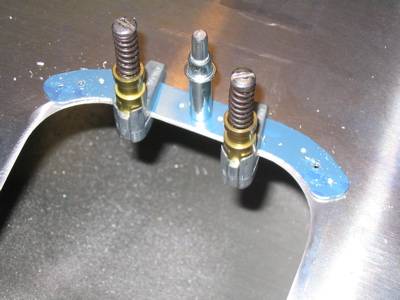
I went ahead and put the nutplates on without priming the strips. They are removable and non-structural, and they aren't in contact with anything but plexiglass, so I'm not worried about corrosion here.

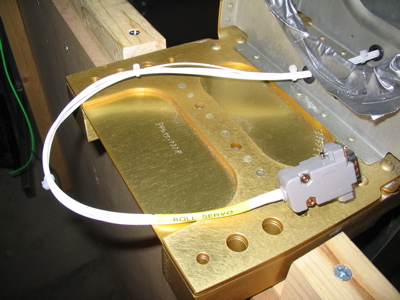
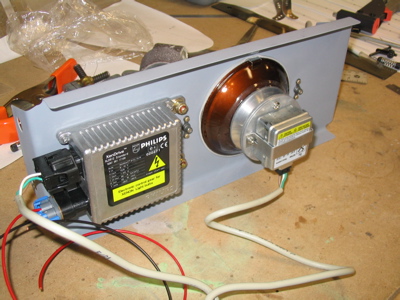
The instructions leave it up to the builder as to where the HID ballast is installed. I elected to bolt it right to the mounting plate that holds the bulb, instead of trying to mount it to the rib somehow. The available space on the mounting plate is tight but it's doable. I oriented the connectors outboard so they can protrude through the lightening hole in the outboard rib. (I think this is actually the only orientation that will let everything fit)

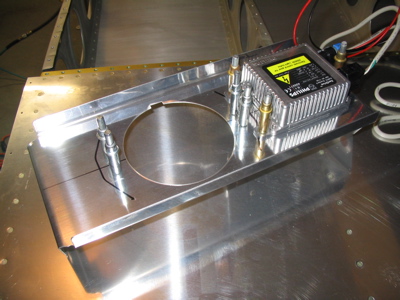
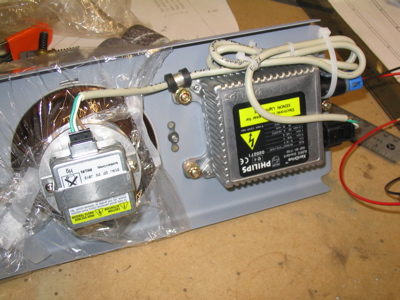
The mounting plate then got primed, along with some pitot mounting hardware.

Two nutplates on each rib hold the light mounting plate. The holes in the plate are oversized so you can wiggle it around to aim the light.

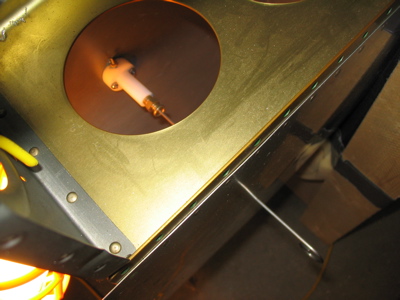
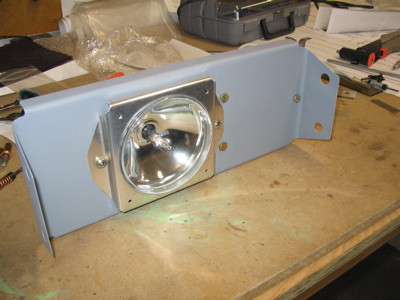
Behold: bulb and ballast bolted beautifully.

I decided not to prime the light retainer ring either – the bare metal look makes the bulb seem shinier! Also note that the bolt heads for the ballast just clear the retainer ring's "ears".

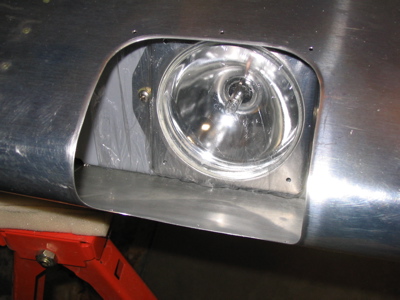
It works! I hooked it up to my bench power supply to gauge the current draw, which started out at around 7 amps and dropped to 5 after a few seconds of running. And boy, is it ever buh-right. This picture doesn't do it justice. I had the garage door closed and all the lights turned off, and this sucker made it seem like the sun was shining. Awesome.

I secured the length of wire that goes between the bulb and ballast with an adel clamp and some tie wraps. I also put some cellophane over the lens to protect it from fingerprints during installation – fingerprints leads to hot spots leads to shortened bulb life. (which is why I had rubber gloves on when I installed the retainer ring)

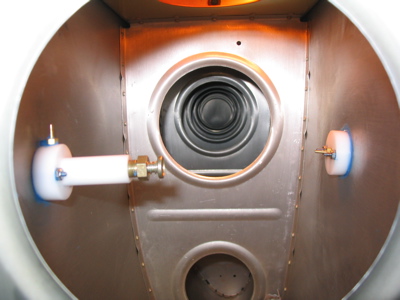
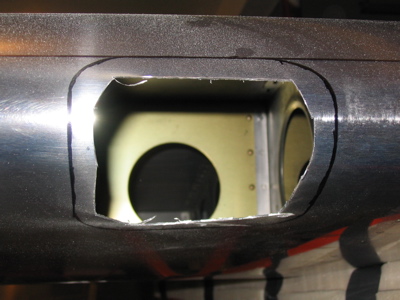
Here it is mounted in the wing. The electrical connectors do indeed protrude through the lightening hole, just as I planned. Excellent.

I'm stuck on this mini-project until I can get ahold of some plexiglass drill bits from Avery, but that's okay because I'm not likely to have much time to work on it before next weekend anyway.

Parts update: Still waiting on replacement electrical conduit from Van's. Slowest shipping ever.