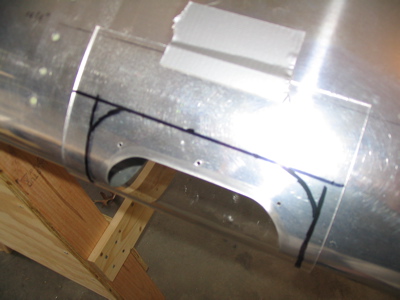
Since I had the left wing out and accessible, and the temperature in the garage is certainly high enough to work with plexiglass, I decided to put in the landing light lens. First step was to mark some guide lines for making the cuts:
I covered the outside surface of the lens with masking tape to protect it from scratches, then made the straight cuts on the bandsaw.
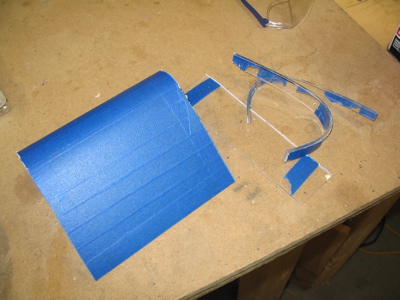
Then I smoothed the edges and rounded off the corners on the scotchbrite wheel. I didn't think it would do so well on plexiglass, but it worked just fine. Oh scotchbrite wheel, is there anything you can't do?
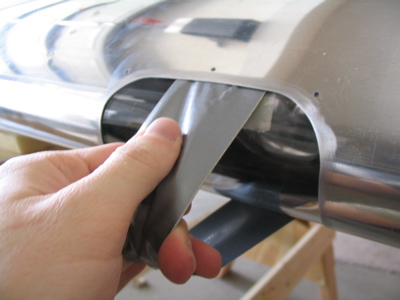
As suggested by the plans, I made from duct tape a "handle" with which to hold the lens firmly against the inside surface of the wing skin. Oh duct tape, is there anything you can't do?
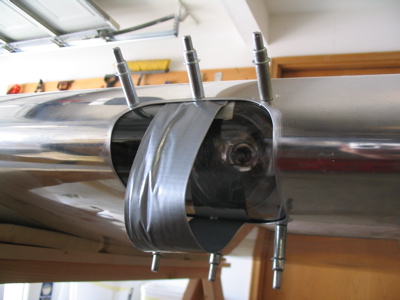
#40 holes were drilled through the wing and into the lens…
Then I enlarged the holes in the lens with my special not-so-much-with-the-cracking-of-the-plexiglass drill bits. Here I deviated from the plans slightly… they call for you to drill the holes in the skin to #30 and dimple, then drill the holes in the lens to 5/32" to allow the screws to move around as the lens shrinks or expands with temperature. Okay, that's fine. The problem is that the 6-32 screws used to secure the lens in place won't fit flush in a #30 dimple. I've seen plenty of RV's where the builder followed the plans exactly and ended up with the screws around the landing light protruding above the skin, which looks dumb. So, I just drilled the skin holes to 5/32", which is the correct size for a #6 screw, and dimpled with my #6 screw dimple die. Then I drilled the holes in the lens to 5/32", countersunk to accept the skin dimples, and drilled them up to 3/16" to provide expansion room. Seems obvious to me.
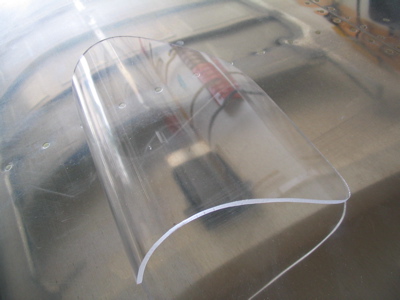
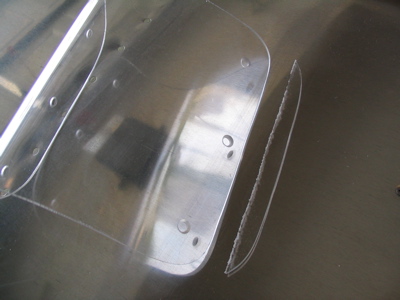
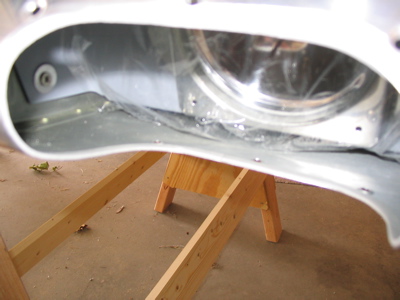
I also trimmed another half inch or so from the lower lip in order to improve the fit.
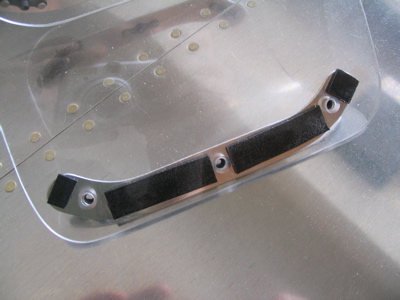
The nutplate retainer strips are attached with double sided tape:
It's pretty hard to see here, but I put a narrow strip of foam tape all the way around the inside of the lens cutout, to seal against water leaks and to provide some additional cushioning for the lens.
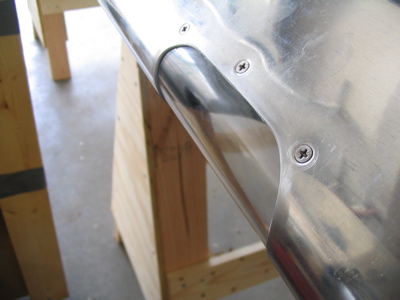
Done! The lens fits the contour of the skin very well… and look how nice and flush the screws are.