Archive for August, 2006

Hung the rudder

Sunday, August 27th, 2006

I didn't work much on the plane today, but I did get the rudder hung on the vertical stabilizer. It swings without any binding at all, which I suppose means that everything is straight. I'm not completely sure that I have the two hinge lines parallel, so I will probably remove and tweak it a few times before I torque the jam nuts.

Holy cow, the tail is getting huge!

Since the rudder stops aren't in place yet, I jammed a couple pieces of foam rubber beteween the rudder and the vertical stabilizer spar, to keep the rudder from swinging too far and getting banged up.

Finished second rudder

Saturday, August 26th, 2006

I took my replacement rudder over to John's place in order to make use of the five foot long back rivet plate he made. It made riveting the trailing edge pretty easy. First I set the rivets partway with the back rivet set, then flipped the rudder over and finished them off using the mushroom set.

Here's another one of those photos that shows I really built the airplane. Also that I shill for the Boulevard corporation on laundry day.

I alternated the rivet directions because I'm anal like that.

Then while we had everything set up, Chad and John finished off the trailing edge of John's rudder:

Two rudders completed!

After I brought the rudder home, I set about rolling the leading edge:

Done! I'm happy with the rudder now. Whew. The very long back rivet plate is an excellent way to do it, at a total cost of about $24 worth of steel angle and machine shop work.

Worked on seats

Saturday, August 26th, 2006

This morning I fitted the required hinges to the new seats:

Really astute observers may notice that the hinge arrangement with the Classic Aero Aviator seats is different from the stock Van's seat backs. These seats are actually interchangeable between left and right, where the stock seats will only fit onto the floor hinges one way. Don't worry, I measured multiple times and this really is how it's supposed to go in order to center the seats on the control sticks.

Then I drove out to the other side of the KC metro to go to the Grain Valley (3GV) fly-in. Here's a photo of RV-9A builders John and Martha checking out a possible paint job:

In which the author has a seat

Tuesday, August 22nd, 2006

I cam home tonight and was surprised to find this big box from Classic Aero waiting for me on the porch. I opened it up to find…

Seats! They look really great. The quality appears to be outstanding.

I sprung for the fancy Aviator seats, which have adjustible lumbar supports. Gotta be comfortable when flying. These are the adjusty-knobs on the back.

Each seat has two booster cushions. We'll see, eventually, how well Mary is able to see over the nose. It may turn out that we need to add some extra cushion stuff for her to see out. Luckily Classic Aero said they'd be happy to make up some extra booster cushions if we need them.

And I even like how the colors turned out. I can't wait to sit in the fuselage and make airplane noises.

I got the seats a little earlier in the building process than most other folks seem to do, but I wanted to have them in place for fitting the rudder pedals and other stuff like that, so the airplane will be exactly set up for how I'll want it when I'm flying it.

Odds and ends

Sunday, August 20th, 2006

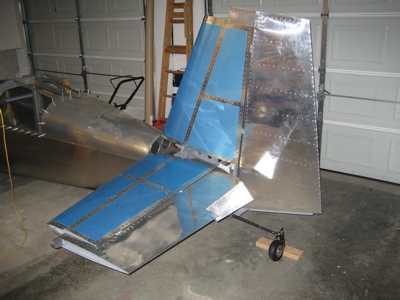
We were entertaining guests most of the weekend, so not much progress to report on the plane. I did a few miscellaneous things, though.

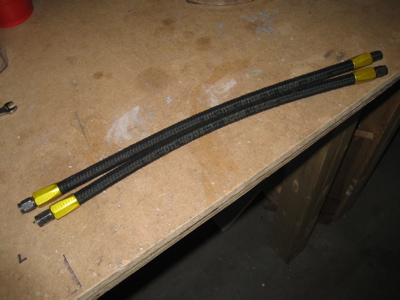
I made up the low-pressure hoses that go between the brake fluid reservoir and the passenger's brake pedals. These will have nothing but ambient pressure in them, so even my mediocre hose-making skills were up to the task. I decided to have all four of the high-pressure brake hoses professionally made, however – a real hose shop has better tools to assemble and test hoses than I do. For my own future reference, I'll need two 36" -3 size and two 16" -4 size hoses.

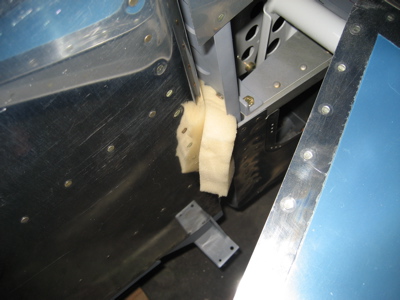
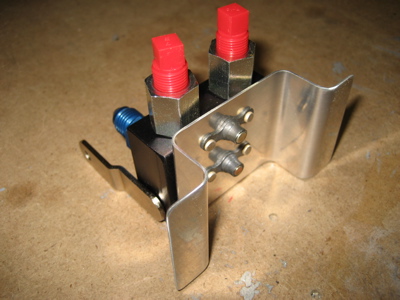
In order to estimate the required hose lengths, I had to figure out roughly where and how the parking brake valve will be mounted. So, I made this little standoff for it out of some hat section material I got from Van's a while back. This will get riveted to the firewall later. I used nutplates here on the assumption that it would be a pain to get nuts onto the back of this once it's installed.

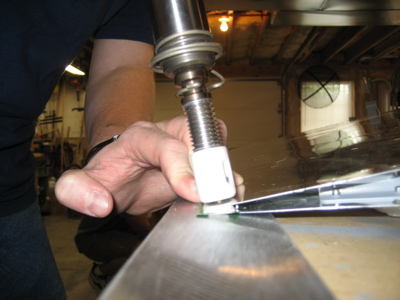
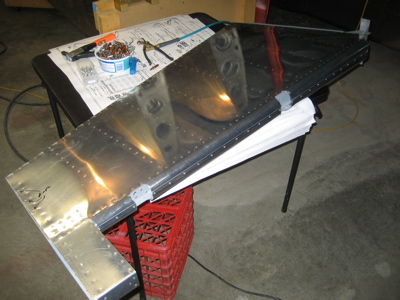
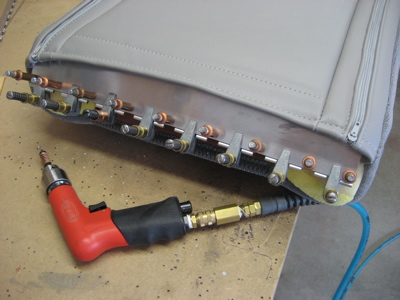
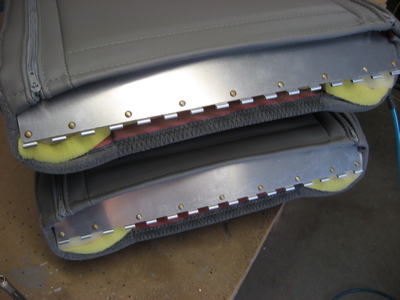
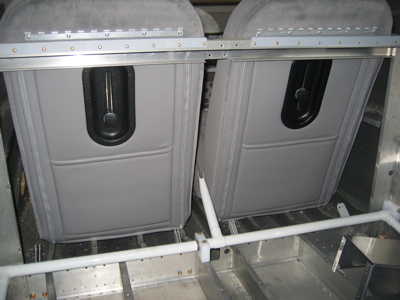
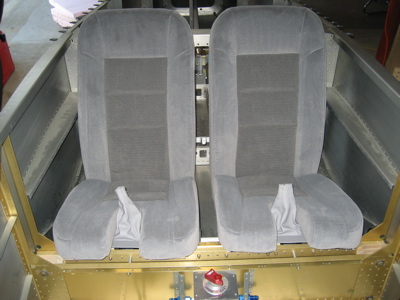
Then I spent a bit of time making reinforcements for the armrests. On my old airplane, both armrests were sagging in the middle after a couple years' worth of use. On this plane I decided to rivet on some aluminum-angle doublers to stiffen them up a bit. I used my rivet spacing tool to mark out the rivet holes:

The 0.032" angles are oriented flange-up, thus making a sturdy C-shaped section where before there was just a single bent flange. This view is looking backwards from the forward end of the armrest, which is noticeably sturdier with the angle clecoed in place.

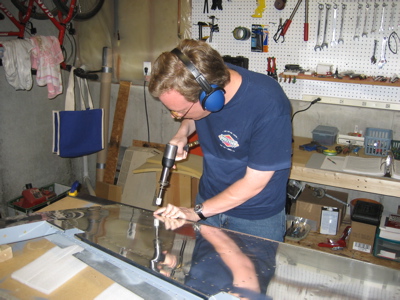
I dimpled and deburred the angles and armrests – the Burraway tool was handy for deburring the holes in the already-installed pieces – but I didn't rivet anything in place just yet. It turns out that the reinforcement angles block access to a couple of the rivets that will eventually hold the F-704K's in place, so the angles will go into the parts box until they're needed.