Archive for October, 2006

Partially riveted aft top skin

Sunday, October 29th, 2006

I primed and painted the interior face of the aft top skin (sorry, no photo) and made it ready to be riveted to the fuselage:

I was able to drive all the rivets along the top side by myself, but I need Mary's help to get the aft edge and longerons since I can't reach both sides at the same time. She has a bunch of tests to study for this week, though, so I must be patient.

You can also just barely see in the above photo the area where I doubled the number of rivets along the forward portion of both side stringers, to hide a stupid mistake I made when fitting the skin. Now that the rivets are in for good, it looks almost like it was designed that way – barring one or two rivets that are just barely not in line with the others, although you have to look really close to notice it.

Closing up aft fuselage

Wednesday, October 25th, 2006

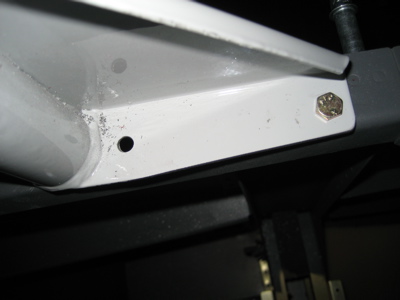
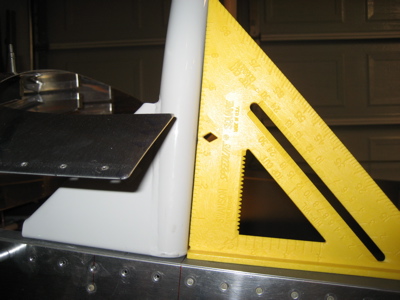
Finishing up the rollbar brace, I trimmed the excess material off the bottom plate. Luckily this part is 4130 instead of stainless, so it was relatively easy to zip through with a hacksaw and file.

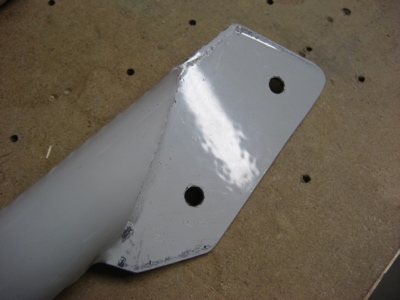
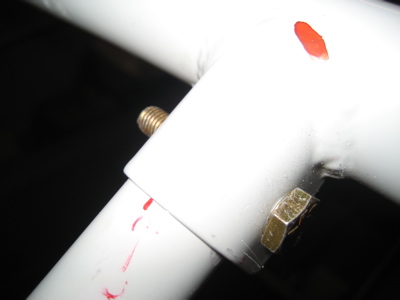
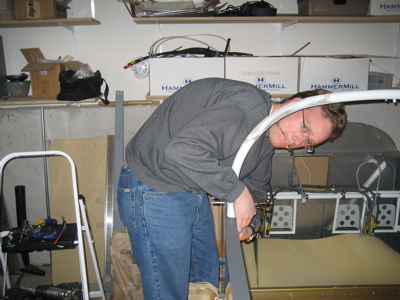
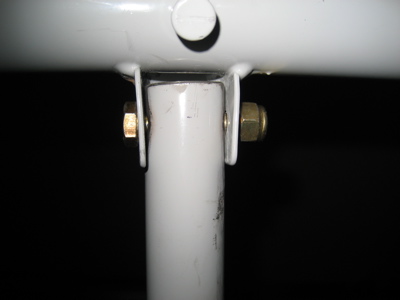
I bolted the brace to the rollbar and fuselage for future canopy fitting. The receptacle on the rollbar is almost too wide for the brace – I may put some thin washers in there to prevent it from being smashed inwards when the bolt is tightened for good.

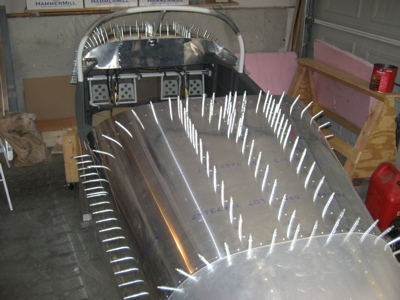
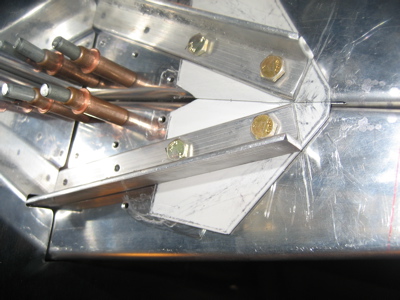
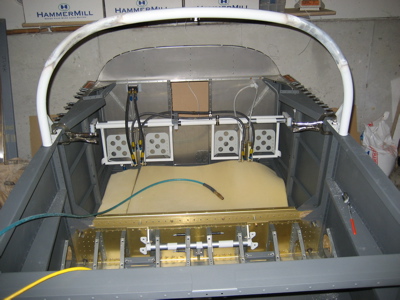
In order to progress further with the canopy, I need to finally get the aft top skin riveted in place. Before I do that, I want to get all the stuff in the tailcone taken care of while I still have decent access. So, I installed the snap bushings and ran the rudder cables:

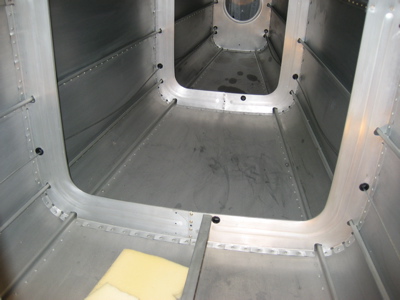
I also checked the torque on the already-installed seatbelt anchor brackets, and bolted the seatbelt cables in place:

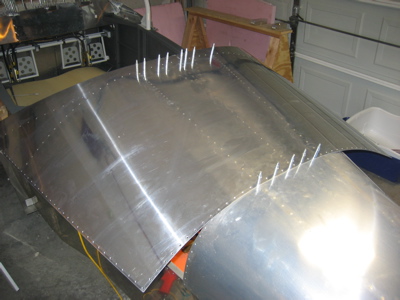
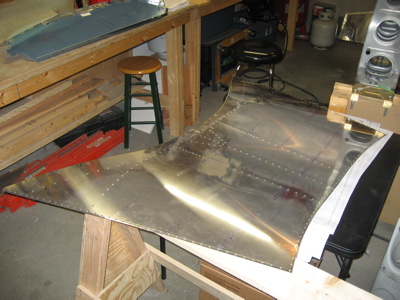
Then I got out the aft top skin and discovered that I never finished deburring and dimpling it – probably because I anticipated that it would be really boring. So I did, and it was.

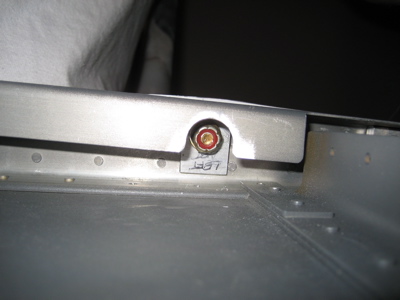
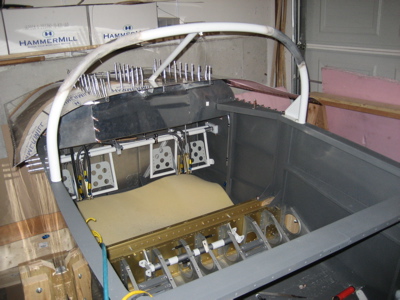
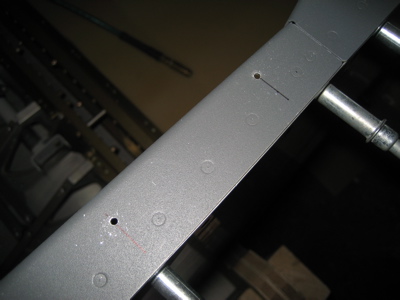
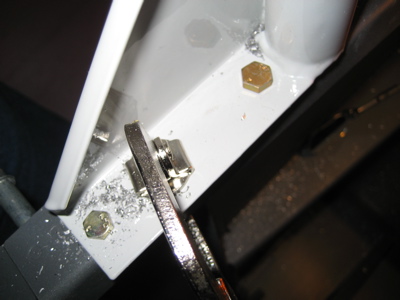
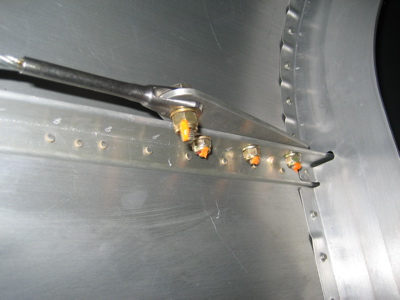
I hadn't yet riveted the F-787 stiffener in place, so I did it tonight. With the slider canopy you're supposed to use three rivets on the front flange, and leave the bottom hole open. The plans also say to leave open the hole that's in the upper right corner of this photo, although they don't say why. Curiously, the quickbuilders put rivets in three of the four holes where the F-728A bellcrank channel meets the F-706 bulkhead, but they left the top hole open. Since it was already dimpled and I couldn't find a note in the plans about it, I put a rivet there too.

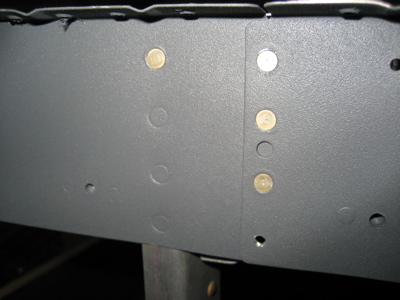
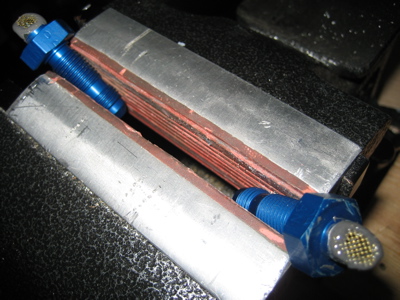
At the aft end of F-787, I was able to squeeze the lower rivet but I had to shoot and buck the top one. This photo makes it look trashed but it really isn't, it's just marked up a little bit. I infinitely prefer squeezing rivets wherever possible, though.

Next step is to paint the visible parts of the inside face of the aft top skin, then rivet it to the fuselage.

More work on rollbar

Sunday, October 22nd, 2006

I cut off some of the extra unused portions of the feet of the rollbar weldment. The material still overhangs the underlying canopy deck, but at least now it's parallel instead of sticking out at a weird angle. I didn't want to cut off any more because I'd have started to get pretty close to the welds.

The underside of the aft bolt on either side of the rollbar is pretty much inaccessable behind the canopy deck flange. I guess you're supposed to get the spacer, washer, and nut onto the bolt with the one finger you can get back in there, without being able to see what you're doing. I've even heard of people supergluing the parts together and then supergluing the whole thing to their finger. I didn't want to have anything to do with that so I carved notches into the bottom flanges of the canopy decks, just bit enough to get a 7/16" socket through. Now I can easily get the parts in place and tighten the nut, and I can even see what I'm doing if I use a mirror. I'll probably eventually pop-rivet covers over these notches to keep passengers from getting their fingers caught in there.

The rollbar is perfectly square, no need for shims.

I trimmed the rollbar brace until it fit where it was supposed to go, then drilled the 1/4" bolt hole shown below. This was much harder than it sounds, because the brace tube is thick stainless steel and therefore really hard to work with. I melted one drill bit and probably dulled a few more.

I also drilled the two bolt holes that attach the bottom end of the brace to the subpanel structure (which I clecoed back into the fuselage for this exercise). Hooray for the angle drill. I will trim the excess steel later on.

With the rollbar and brace attached, it's beginning to look like a real airplane…

Started canopy

Saturday, October 21st, 2006

The first step of the slider canopy construction is to drill pilot holes for the rollbar attachment bolts in the canopy decks. I measured many times to make sure these were located correctly:

Then I made the four spacers that sit underneath the canopy decks:

As delivered, the rollbar was about 1/4" too wide to fit the fuselage. The plans suggest that all you have to do is lean on it a little bit and it will magically assume the proper shape. Yeah right… I put all my 185 pounds on this incredibly stout piece of 1" chomoly steel tubing, which is designed to hold a 1700 pound airplane up off my head if it flips over, and it didn't budge. Surprise.

So next I went to the store and bought a big c-clamp, then made this little setup to bend the rollbar to the proper size:

However, even when I bent the rollbar inwards by several inches, it would immediately spring back to its original shape when I released it from the clamps. So, I measured carefully and clamped the rollbar to some sawhorses with the correct width figured in, and then Scott came over and we heated that sucker with a pair of torches until it was dull red:

Fire good! Obviously this destroyed the powder coat on the rollbar, so I'll have to take it somewhere and have it sandblasted and refinished. That's cool, though, because I'll be able to pick a new color that better matches the rest of the interior.

After a little bit of trial and error we were able to get the (somewhat burninated) rollbar to fit the fuselage perfectly. Thanks Scott!

Here's me drilling and fitting the bolts… you don't have to hold a wrench in your mouth for this part but I guess it doesn't hurt.

Bolts (without nuts) installed. Tomorrow I'll check edge distances and cut off as much of the overhanging rollbar foot as I can, to get it out of the way and make it look nicer.

Finished fuel vents

Saturday, October 21st, 2006

I used JB Weld to affix some brass screen material to the fuel vent openings:

After it cured, I used a scotchbrite wheel to grind away the excess, making for a nice looking fuel vent cover.