Today was an all-fiberglass day. Sorry, no action shots – hard to hold a camera with sticky fingers.
I sanded most of last night's primer off of the top rudder fairing, then put another glob of filler on the front where it still needs to be built up. My favorite tool for this kind of sanding is a 3" red scotchbrite disc in a die grinder turned down to low pressure. I also use a 60 grit sanding block where necessary, but power tools make the job go faster.
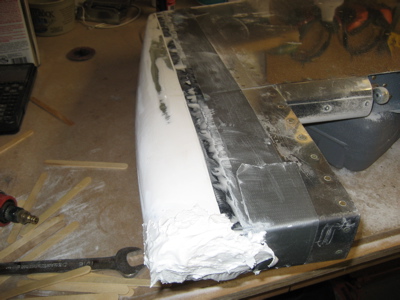
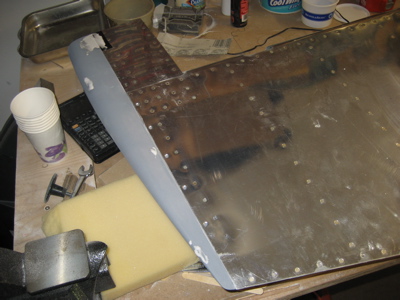
While the rudder fairing was curing, I got out one of the elevator tip fairings and started playing with it. The lead counterweight at the front is going to throw some sand in the gears of my plan to make removable empennage tips. It is tempting to permanently attach the elevator tips and just glass over the counterweights, but I'm still going to try to make them removable because I love a challenge. (Mary would probably say that I'm just plain stubborn)
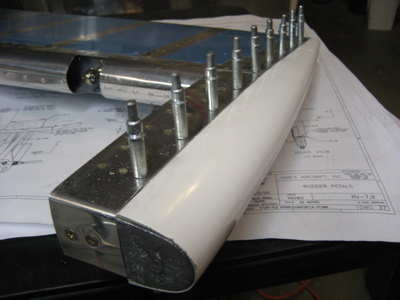
I laid up three layers of lightweight cloth, sufficient to cover over the open end of the fairing where the counterweight lives. It's not much to look at right now because the peel ply is blocking the view. Underneath is a layer of electrical tape to prevent the fiberglass from sticking to the lead. With any luck this will form the starting point for a closed-end fairing that will cover the counterweight but will still be removable – we'll see tomorrow.
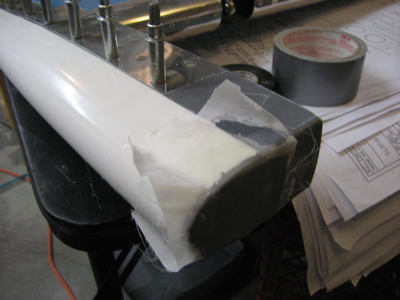
Hours later, the second coat of filler on the rudder was dry, so I proceeded to sand away at it. The shape is almost there now – just needs one or two more layers.
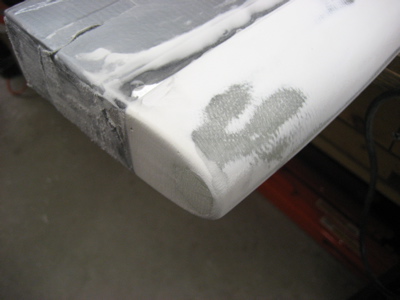
After shooting a coat of primer to help me check the finish, I put more filler on a few spots to fix some of the more egregious pinholes. My goal is just to get the basic contour correct – I'll leave the detailed surface finish work to the painter.
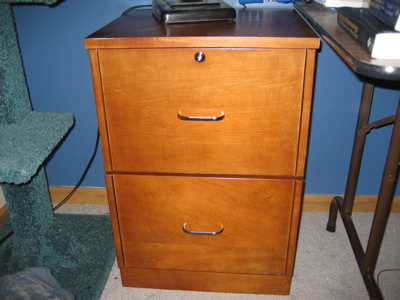
In the middle of all this, I bought and put together this particle board file cabinet for Mary. I found myself thinking how awesome it would be if airplanes were put together with quarter-turn fasteners. I'd already be flying!
