So here's the deal.. I decided to build a new trim tab today. The reasons were many:
1. I was fed up with fiberglass and wanted to make something out of metal.
2. I had the left elevator out already.
3. I was already in posession of the necessary parts, having ordered them a while ago (see #4).
4. John brought his trim tab to work to show it off, and it was so much better than the other one I'd previously made that I was shamed into building a replacement in order to redeem myself.
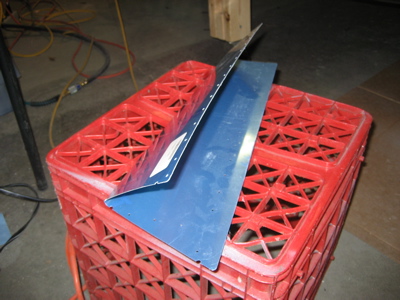
Absolutely the first thing I did was cut off the little flaps on each end of the skin. This trim tab ain't gonna have no bent flaps, it'll have ribs like a real aircraft control surface.
To make the inboard rib, I simply took an extra E-709 rib I'd bought from Van's and cut off the back end.
Here the inboard rib after being shaped to fit and clecoed in place. I decided to make the flanges point outboard, even though it made riveting harder – having the flanges point inboard would have put the web in a position to interfere with the rivets holding the control horns to the skin.
The inboard rib has a couple of strategic divots to clear some of those previously mentioned control horn rivets.
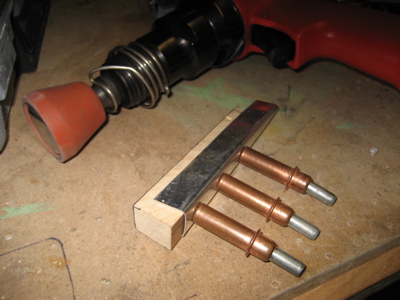
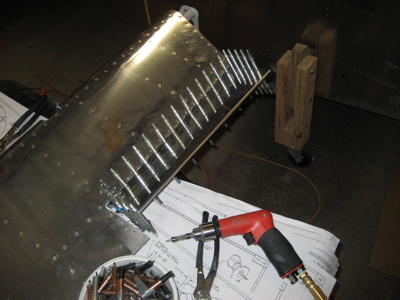
To make the outboard rib, I first cut a block of wood to the correct shape. I then took a piece of 0.025" alclad, started the bends with my hand seamer, and clecoed it to the form block.
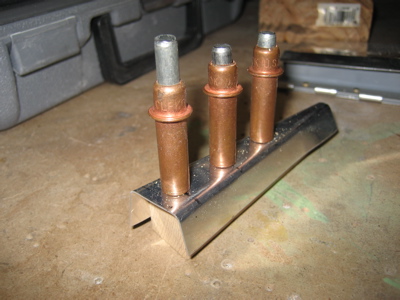
Using a flush set and with my rivet gun turned down low, I finished the bends by hammering the aluminum down onto the form block. This is, of course, the same technique that the plans have you use to fold the tabs on the end of the trim tab skin, but doing it this way is a lot easier and more precise. Plus, if you screw up you just throw it away and grab another piece of alclad.
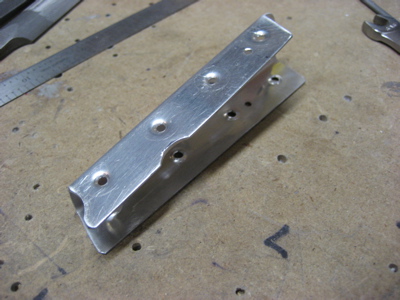
Here's the outboard rib after being fitted and clecoed in place. Notice I staggered the rivet holes at the aft end for clearance.
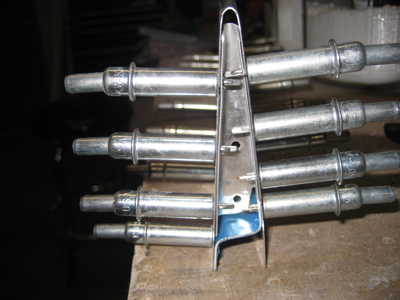
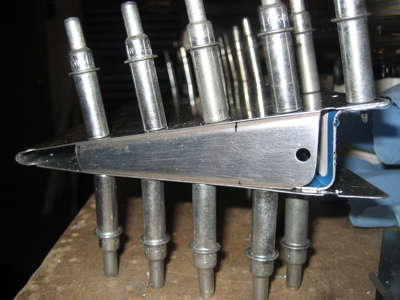
I fitted the hinge to the elevator in the usual way:
Then, after deburring but before dimpling, I formed the bend in the lower skin. The plans have you do this after the entire trim tab is riveted together, but if you do it before the spar is in the way you can make a slightly nicer bend. However this gives you less clearance for riveting the hinge, so you have to think carefully about the order in which you rivet the various things together.
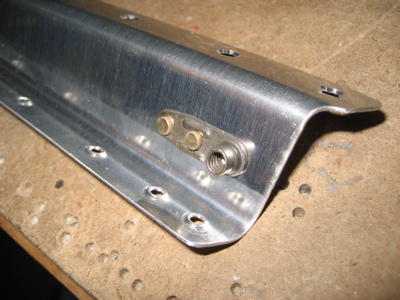
I put a nutplate on the trim tab spar to capture the hinge pin, the same way I did last time around.
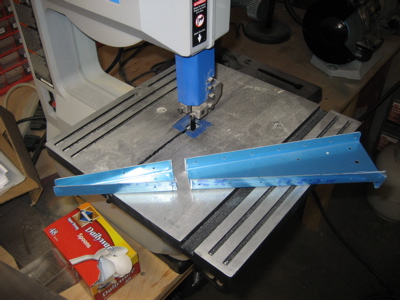
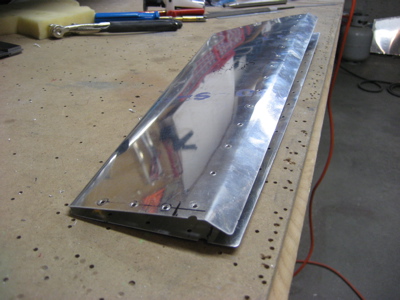
Here's the finished product, all riveted together and ready to go:
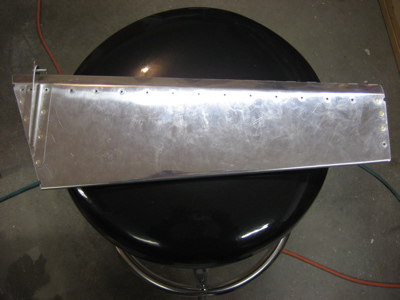
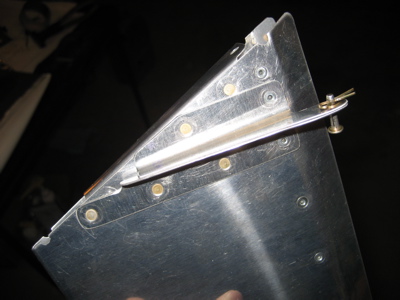
And, installed in its home on the elevator:
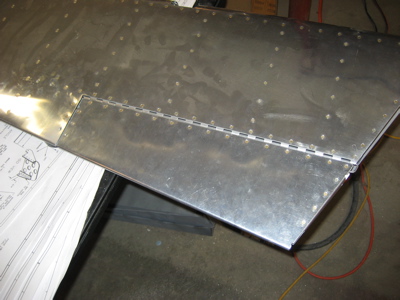
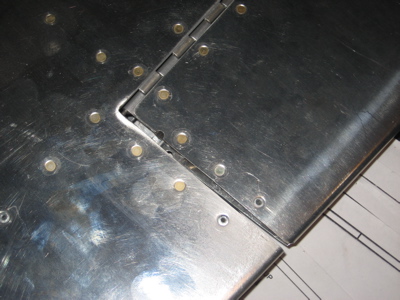
The gap between the trim tab and elevator is nice and uniform. You can see that I had to use one blind rivet at the aft end of the smaller outboard rib – this is the only pop rivet on the (more visible) top surface of the new trim tab.
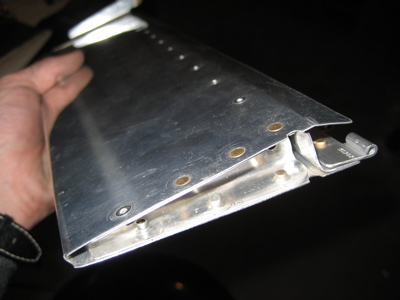
Here's the underside of the outboard rib – I used one pop rivet at the aft end here too.
On the inboard side, I was able to use all solid rivets on top.
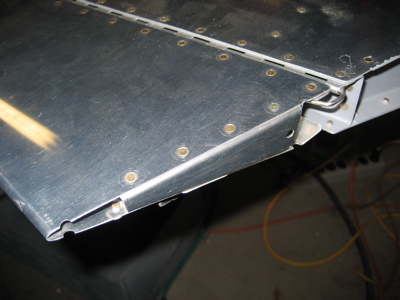
On the bottom, I used all solid rivets except for along the spar – there I was forced to use a row MK-319's to close everything up. I think if I had to do it over again (oh no!) I could probably find a way to turn the inboard rib the other way 'round and build the whole trim tab using only two pop rivets, but oh well. Come to think of it, that could be a good game show: "I can build that trim tab with two pop rivets!" – I'd watch. Anyway, lots of builders use blind rivets on the bottom just like I did, and it's approved by Van's. Good enough.
And finally – celebration.