Archive for March, 2007

Canopy work aborted

Saturday, March 31st, 2007

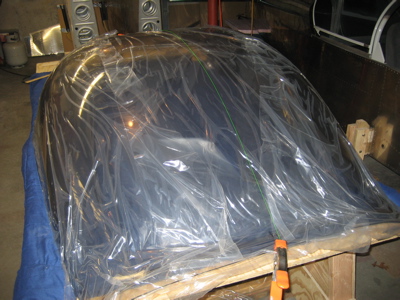
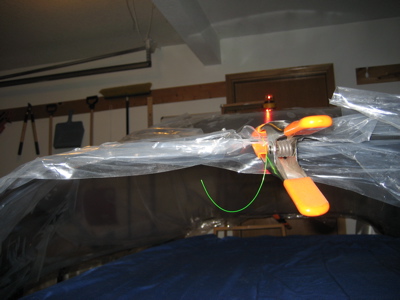
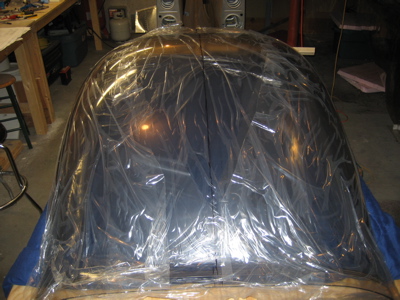
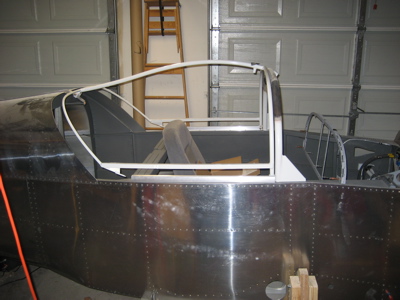
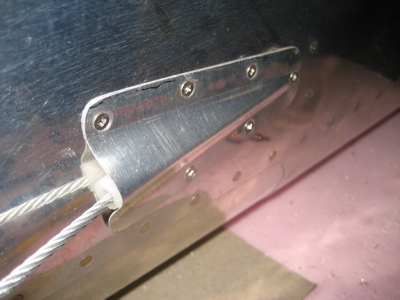
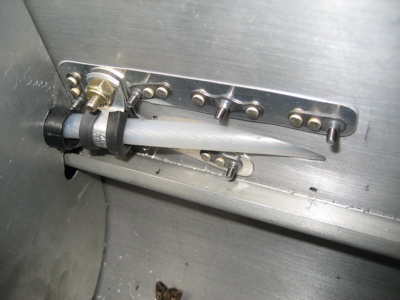
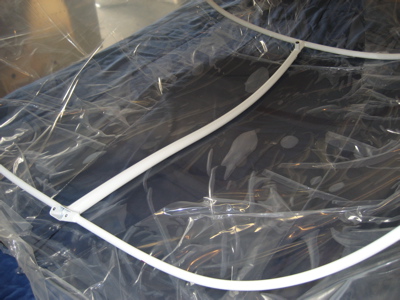
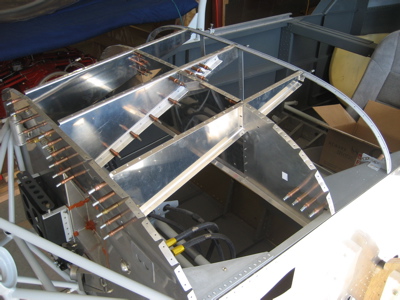
After putting some protective tape over the end of the slider frame latch tube, I flipped the canopy over and laid the frame inside.

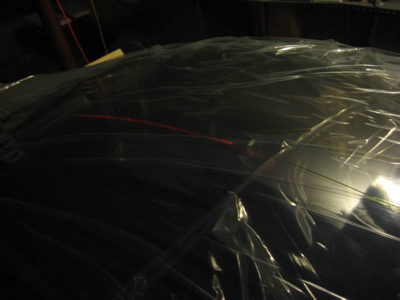
The goal is to get the frame aligned on the previously marked centerline, in the fore-aft location that results in the best fit along the center spine tube. Then you mark the location of the latch tube and drill a 5/8" hole. I got as far as marking the hole location, but the temperature didn't get up nearly as high as I thought it would, so I had to give up on drilling/trimming the canopy for another day. Bah.

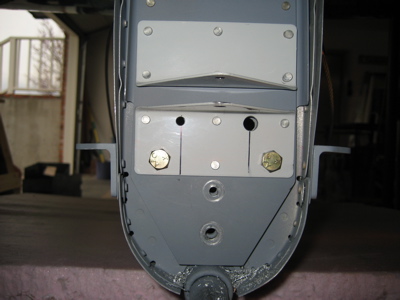
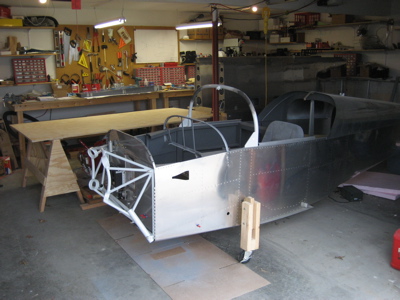
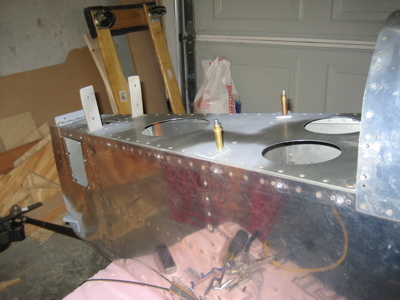
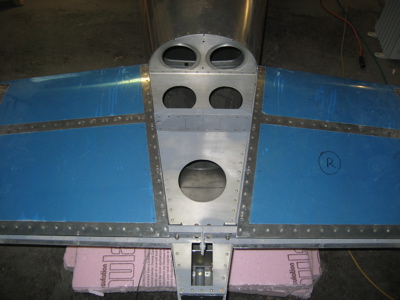
In an effort to find something else to do, I dug up the subpanel pieces, dimpled the top rib flanges, and clecoed the whole works into the fuselage.

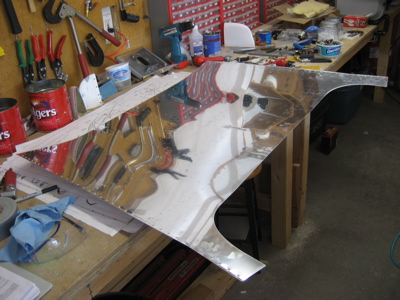
Then I deburred the forward top skin, which I hadn't yet bothered to do. I dimpled where I could reach along the edges, leaving the holes along the firewall undimpled for now – the cowling attach hinges still need to be match-drilled there, much further down the road. Then I packed up the skin and drove over to John's to use my DRDT to dimple the rest of the skin. Not a very efficient use of building time, but it felt like a good day to spend a couple hours driving.

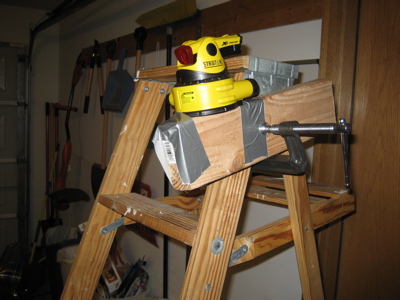
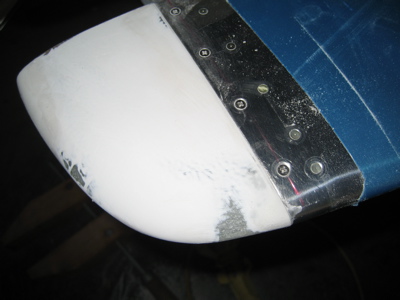
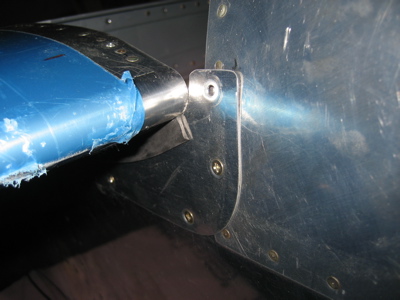
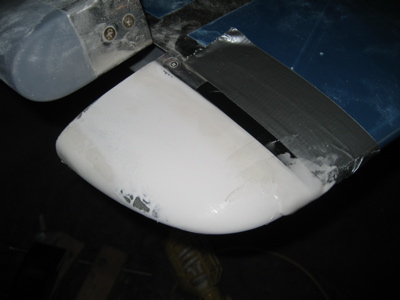
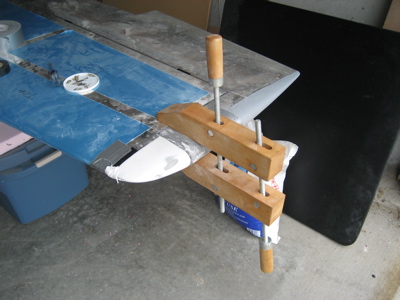
Somewhere in there I did some more filler work on the left horizontal stabilizer tip fairing. I've had this clamp for at least ten years and I'm pretty sure this is the first time I've ever used it.

Also, I stopped at Lowe's and tried to buy a new belt sander, but they were out. Bah.

Marked canopy centerline

Thursday, March 29th, 2007

You're supposed to draw a centerline on the canopy before you start fitting the plexiglass and slider frame together. I measured and marked center points on the front and rear canopy edges and stretched a piece of fishing line between them.

However, I didn't have a great way to make sure the string was centered as it went up and over the hump in the middle of the canopy. So, as is my way, I totally overengineered the problem by deploying a laser. I made this lashed up rig and duct taped my shiny new laser level to it in such a way that it projected a beam across the entire top of the canopy.

Here is the laser in action. For twenty-five bucks how can you go wrong? I love new tools. It took a bit of fiddling to get the beam straight and normal to the canopy surface – actually the reflection of the beam off the canopy and onto the wall made it pretty easy to figure out which way to go in order to hit it straight on.

It was hard to get a good picture, but basically all I did was nudge the string until it sat right under the beam, then drew a sharpie line along the string. Simple.

The finished product. The line is actually pretty wavy because I was freehanding it and it's drawn on the wrinkly protective film, but all that matters is that it's located on the real centerline of the canopy.

I also spent some more time bending and tweaking the canopy frame. I talked to Van's on the phone this morning and was told that as long as the frame is at least 1/16" in from the fuselage sides, you can shim the canopy skirts however you need. I'm 1/16"-1/8" everywhere except the rear corners, where I can't come in anymore without fouling the frame on the aft top skin when the canopy opens. It seems like I should be able to make the aft skirts bridge that gap, though.

Misc stuff

Sunday, March 25th, 2007

I spent the whole day in the garage but didn't take many pictures. I guess I didn't actually get all that much accomplished – mostly I puttered and cleaned up the garage. It was great to be outside in the nice weather though.

One of the pre-tail-mounting chores I've been meaning to do is drilling the holes for the strobe and nav light wires that will go through the vertical stabilizer spar into the rudder. I picked the same location as Dan for much the same reasons – with the taildragger there aren't many other good choices for where to run these wires. I drilled a 5/16" hole for the strobe cable and a 3/16" hole for the nav light wires. Both holes are a little oversized so I can use a few layers of shrink tubing and some RTV to protect the wires from chafing.

Another day, another round of filling and sanding empennage fairings. I'm just doing a little bit every work session, fitting the glass work in between other tasks that are more fun.

I rearranged the garage a bit, and made a little table out of a sheet of plywood and a couple sawhorses. This is where the canopy is going to sit while I work on it. Yes, I've decided to work on the canopy some more before I put the airplane on the gear and mount the engine. Matthew convinced me that it'll be easier to get to it while it's down low and not high up on the wheels. Plus it seems to be warm enough these days to start thinking about working with plexiglass again.

I got out the canopy frame to make sure it still fits – yep:

Installed empennage gap fairings and horizontal stabilizer

Saturday, March 24th, 2007

The plans call for you to install nutplates along the F-709 bulkhead where the fiberglass empennage fairing and the forward end of the aluminum empennage gap fairings will attach, and then drill and tap holes in the longeron underneath the stabilizer to attach the gap fairings along the rest of their length. I decided to install nutplates everywhere instead of tapping the longeron – a tapped hole has no ability retain a screw and I remembered how one or two of these screws were always backing out on my old airplane.

Installing nutplates here took only a few extra minutes and was no big deal to accomplish. I did check with Van's before I did this, since I was wondering if the extra rivet holes would do anything structurally back there. Here's what they said:

Date: Tue, 12 Dec 2006 07:38:14 -0800
From: Van's
To: Matt
Subject: Re: Nutplates for empennage fairing

It's OK, but why would you want the extra expense and work?

Vans

I think they must have an automated process that sends that reply anytime they receive an email that starts with "Is it okay if I…"

After double checking my todo list to make sure I wasn't forgetting anything, I vacuumed out the tailcone one last time and bolted the horizontal stabilizer on for good.

Here is one of the empennage gap fairings installed. The topmost hole is left open because it's shared with the fiberglass empennage fairing. I used the hand seamer to get the forward edges of these fairings to lay down nicely on the fuselage skin. I'm not sure what to do about the forward end of the rubber channel – maybe I'll trim it at an angle to try and help keep the wind from peeling it up.

Before turning in I reattached one of the horizontal stabilizer tips and put on another coat of filler to help smooth out the forward edge where the fiberglass and alunimum come together.

Finished rudder cable fairings

Tuesday, March 20th, 2007

I installed the other rudder cable fairing, same as the first. Ignore the black lines, those are sharpie marks I was using to help tweak the part to lay down properly against the fuselage skin.

Same type of nut ring too. Matthew says my airplane will have ten pounds of nutplates in it. Oh well, I won't be carrying an angle valve engine around under the cowl, so I have a few pounds in the weight budget to play with. And hey, check out the dead moth that lives inside my fuselage.

It's nice to be able to check something off my to-do list. Also, I got a perfect score on the commercial written exam, which was nice.