The plans call for you to install nutplates along the F-709 bulkhead where the fiberglass empennage fairing and the forward end of the aluminum empennage gap fairings will attach, and then drill and tap holes in the longeron underneath the stabilizer to attach the gap fairings along the rest of their length. I decided to install nutplates everywhere instead of tapping the longeron – a tapped hole has no ability retain a screw and I remembered how one or two of these screws were always backing out on my old airplane.
Installing nutplates here took only a few extra minutes and was no big deal to accomplish. I did check with Van's before I did this, since I was wondering if the extra rivet holes would do anything structurally back there. Here's what they said:
Date: Tue, 12 Dec 2006 07:38:14 -0800
From: Van's
To: Matt
Subject: Re: Nutplates for empennage fairingIt's OK, but why would you want the extra expense and work?
Vans
I think they must have an automated process that sends that reply anytime they receive an email that starts with "Is it okay if I…"
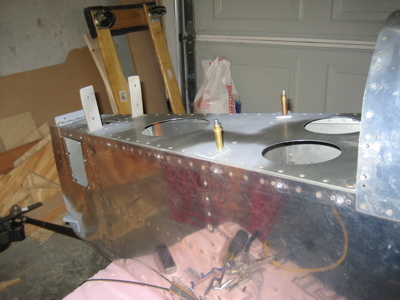
After double checking my todo list to make sure I wasn't forgetting anything, I vacuumed out the tailcone one last time and bolted the horizontal stabilizer on for good.
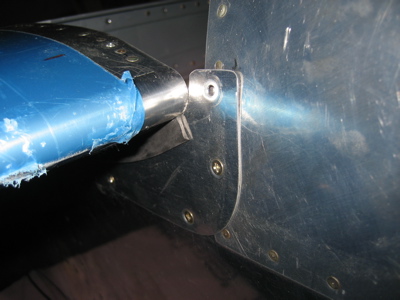
Here is one of the empennage gap fairings installed. The topmost hole is left open because it's shared with the fiberglass empennage fairing. I used the hand seamer to get the forward edges of these fairings to lay down nicely on the fuselage skin. I'm not sure what to do about the forward end of the rubber channel – maybe I'll trim it at an angle to try and help keep the wind from peeling it up.
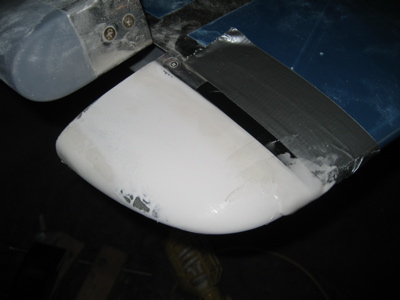
Before turning in I reattached one of the horizontal stabilizer tips and put on another coat of filler to help smooth out the forward edge where the fiberglass and alunimum come together.