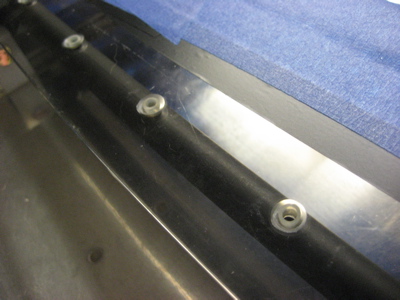
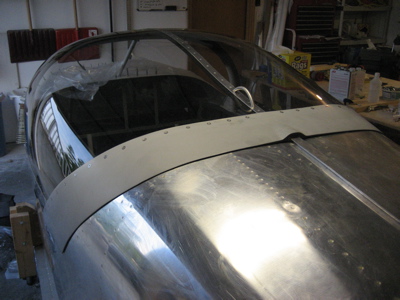
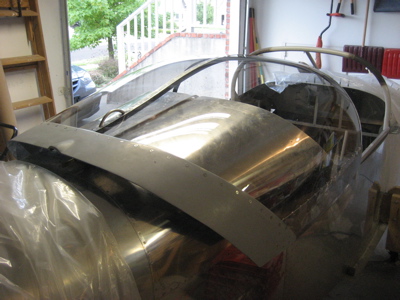
I started the day by riveting the C-791 skirt braces to the side skirts. I also applied a strip of UHMW tape along the bottom edges, to keep the skirts from scuffing the paint on the fuselage.
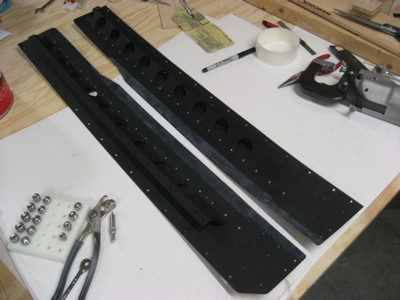
I also put some UHMW tape at the trailing edge of the aft skirt, for the same purpose.
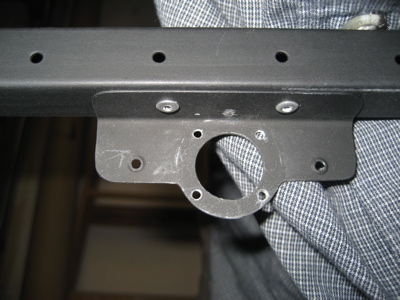
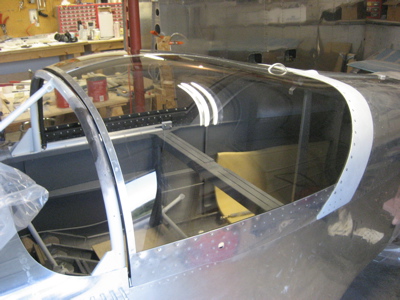
The first part of the canopy to get permanently riveted to the frame was the little lock bracket, which I attached with a couple of LP4-3 blind rivets.
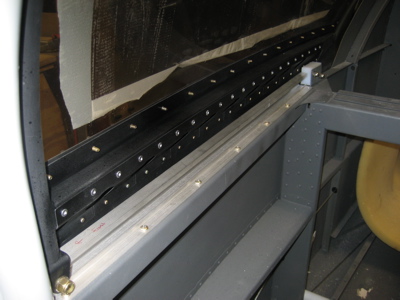
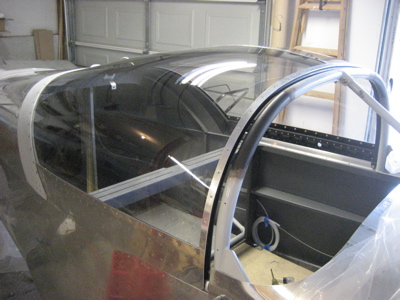
Then I clecoed the whole canopy together, inserting screws along the sides, and checked the fit one last time. Finding everything to be satisfactory, I used more LP4-3 rivets to attach the tops of the skirt braces to the inside of the canopy frame.
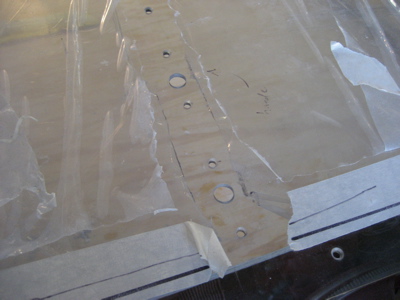
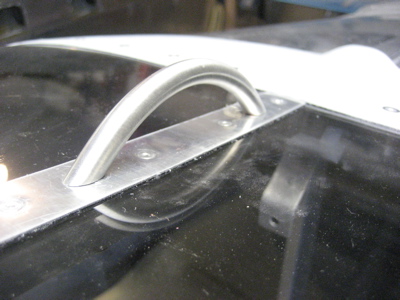
Here's a little trick I picked up from somebody's website: by drilling the fastener holes 1/16" oversize and making tiny little bushings out of 1/32"-wall surgical silicone tubing, you can keep the fasteners from ever contacting the insides of the holes. Theoretically this should help prevent cracking, but it ought to also have the side benefits of preventing rattles and making the canopy more watertight. Anyway, it wasn't a big deal to make these little bushings, and I'm all for anything that will help keep my canopy in one piece.
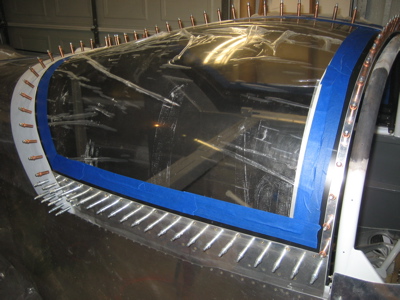
With everything clecoed in place, I applied electrical tape to the plexiglass along the edges of all the various skirts and cover strips, and followed up with blue masking tape to cover any remaining exposed plexiglass. I prefer this combination when I need to very precisely mask around objects with irregular contours, and just about everything on the canopy is curved in some way.
Here's where the construction photos stop, because for the rest of the afternoon I had sticky fingers, the clock was ticking down the working time of some glue, and Mary wasn't home to help with camera duties. So, here's a textual description of the next four hours' worth of work:
I kept repeating the last two steps until I ran out of holes, and then suddenly the canopy was done. I pulled off the remaining protective plastic, and there it was in all its glory:
Same view from the other side:
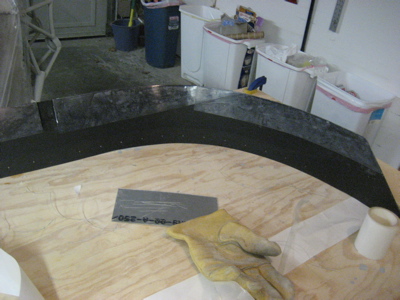
The aft skirt (held in place with tinnermans under the rivet heads as planned) fits as perfectly as can be:
There is very little resistance in the rollers – the canopy can be opened and closed with one finger.
The exterior handle looks like it was made to go on an airplane:
The only perceptible gap between the side skirts and the fuselage is towards the very back, just in front of the fiberglass aft skirt. This is a pretty typical place for an RV to have a gap, and mine is a lot smaller than most other airplanes I've seen. Later on, I will seal this by riveting pieces of angle inside the fuselage to close up the gap.
Mary eventually came home and took the requisite triumphant photo of me enjoying the view from inside my newly completed canopy:

All in all, I'm extremely pleased with how the canopy turned out. There are a couple more little details to finish up, but the hard part is over. This has been, without a doubt, the most difficult and frustrating phase of the project to date, but I have emerged victorious. And now, for the celebratory libations!