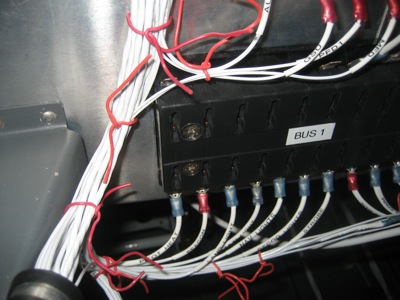
Spent the whole day running wires. Not much worth photographing other than the occasional "look at all these crazy wires!" picture.
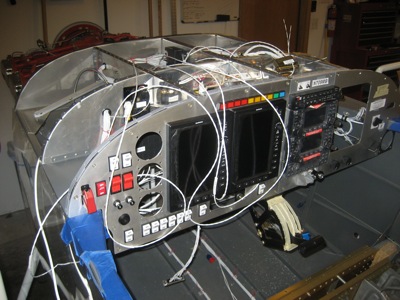
The main transverse wire bundle is getting pretty fat (average human thumb shown for reference).

Spent the whole day running wires. Not much worth photographing other than the occasional "look at all these crazy wires!" picture.
The main transverse wire bundle is getting pretty fat (average human thumb shown for reference).
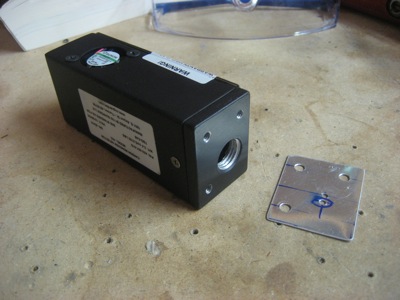
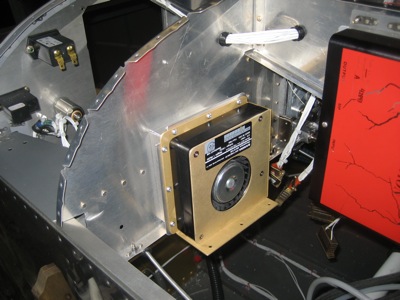
Continuing to install little boxes behind the panel… this is a CO Guardian carbon monoxide detector, which I think is a worthwhile addition considering the cabin heat comes directly off one of the exhaust pipes. I made a little template out of some scrap aluminum to help me drill the mounting holes.
I attached the CO detector to the subpanel, to the right of the radio stack, with the screws on the forward (firewall) side. I was going to turn it around the other way, but there are too many things on the opposite side of the subapanel already and this is the only place it would fit.
Another view:
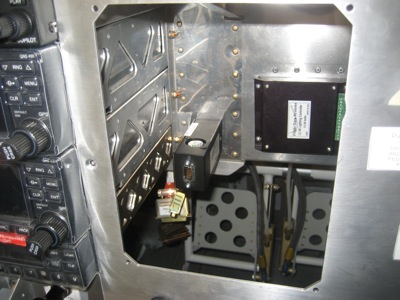
Here's a view from the other side, showing the mounting screws and the air inlet hole. It should be easy enough to get a screwdriver back under there to take it out every now and then – the sensor has a limited lifetime and has to be sent in for periodic replacement every few years (5? 7? I can't remember).
After I finished taking these pictures, I removed the CO detector and put it back in its plastic baggie to prevent drill chips from falling down into its little fan. Still a lot of construction going on in the vicinity.
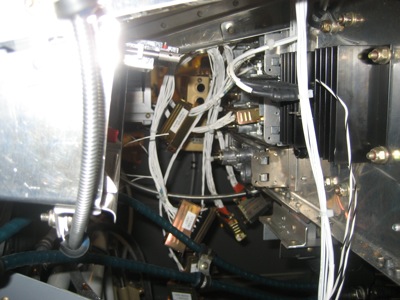
The AFS angle of attack system includes a sensor/processor box that takes up quite a bit of real estate. It also has a big connector and a set of pneumatic ports that are on opposite ends of the box, which doesn't help. At least it doesn't weigh much.
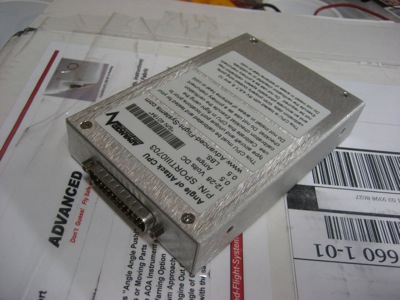
I had to take the cover off the box to see what was inside. Kind of an old-looking board design. Oh well, if it isn't broke, et cetera. Dig how they used really long machine screws as cheap heatsinks for their power transistors.

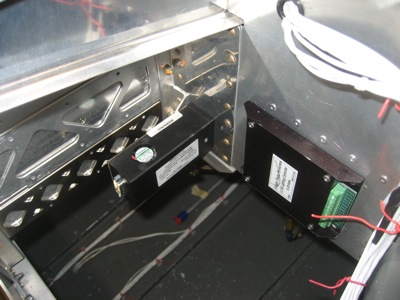
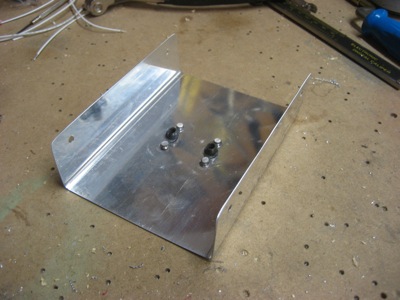
To mount the box, I bent up this bracket out of 0.025" alclad:
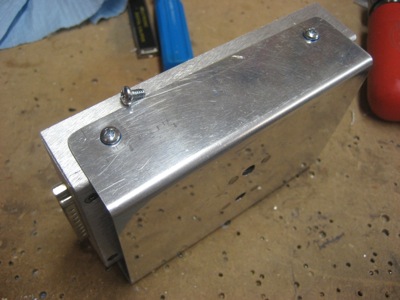
Short screws and Loctite attach the box to the bracket:
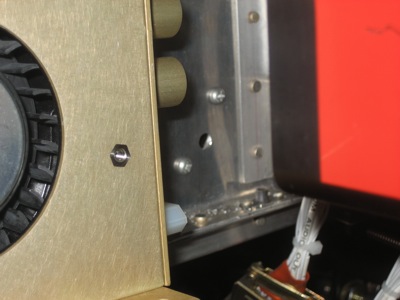
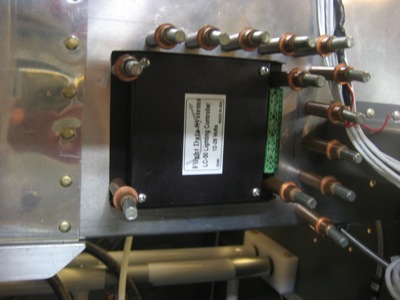
The two leftmost mounting screws on the bus 1 fuseblock go into the nutplates on the AOA box mounting bracket (visible above).
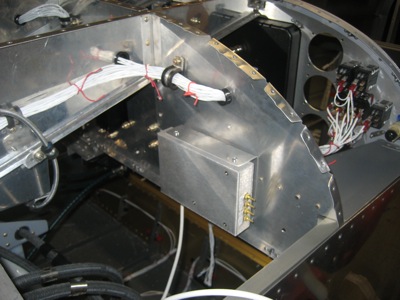
Here it is attached to the forward side of the subpanel. This is pretty much the only place I could find to mount it. If it ever has to come out for service, it will be easy to remove those two screws and drop the whole thing out from underneath the panel.
It's a good idea to supply cool air to your most power-hungry avionics, so I bought a cooling fan to go with my Garmin radio stack. Well, actually the fan is made by Sandia Aerospace, but Garmin resells it. It appears to be a run-of-the-mill squirrel cage blower with some fancy gold-anodized sheet metal around it to justify the 10x aviation price multiplier.
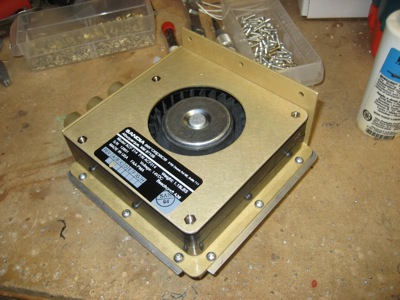
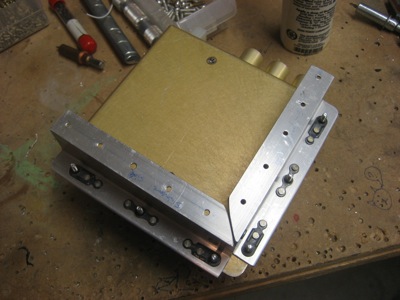
The fan has mounting flanges along two sides only (not opposing sides either) and one big honking flange sticking out at right angles, which is just weird. It says "Beechcraft A36" on the label, so maybe the Bonanza has some little odd-shaped cranny that it's designed to fit perfectly into. To mount it in my airplane, I decided to build this little mounting bracket/standoff thing out of some Z-channel material:

If I ever need to replace or service the fan I will be laying upside down with the fuel selector valve poking me in the kidneys, so I wanted to make it as easy to remove as possible. Hence, nutplates instead of discrete screws and nuts.
Here it is mounted to the subpanel. Even though it's only attached on two sides, it's plenty rigid and is definitely not going anywhere.
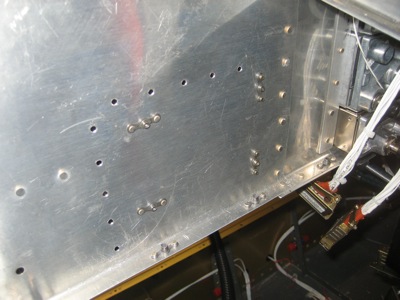
The bracket is blind-riveted to the subpanel from the aft side. Yes, I realize I already used this picture, but since I fitted and installed these two components simultaneously you'll just have to look at it again. Also note that one of the rivets does double duty holding a plastic tie wrap anchor for the wire bundle that runs through here.

In this shot, you're standing on the left side of the fuselage looking to the right across the forward side of the subpanel. You can sort of see how the cooling ports on the fan are semi lined up with the back ends of the avionics trays – this alignment is aided by the standoff/bracket thing, and will make running the air tubing easier. Once I finish wiring the radio stack, I'll run air ducts from the three outlets on the fan to the two GPS units and the transponder, which are the boxes that generate the most heat.
I bought an LC-50 dimmer to control the brightness of the various lights in and around my instrument panel. Since the dimmer knobs will be towards the passenger side of the instrument panel, I decided to attach the dimmer module to the aft side of the passenger-side subpanel.
Nutplates on the forward side:
Here it's screwed to the subpanel:
I mounted two potentiometers underneath the passenger's display, and topped them off with some nice-looking knurled aluminum knobs.
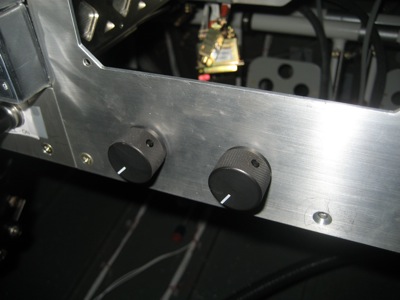
None of this is wired yet, but at least the components are physically mounted.