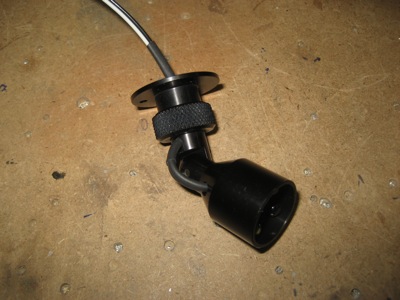
I already mounted the dimmers for my cockpit map lights, but I didn't get around to wiring them until today. So here's what one of the LED map lights looks like:
I discovered that the inside diameter of the mounting base is exactly the same size as a cleco, which is really handy for drilling the mounting holes.

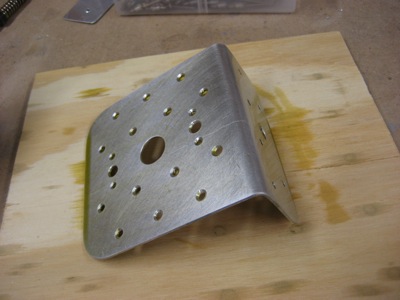
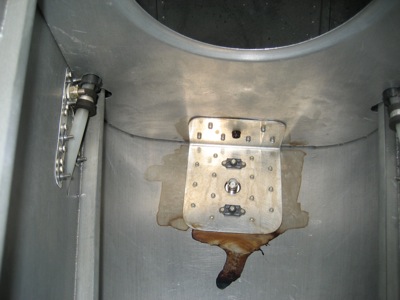
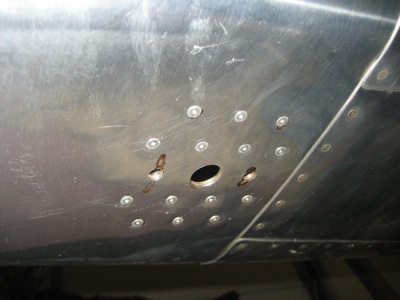
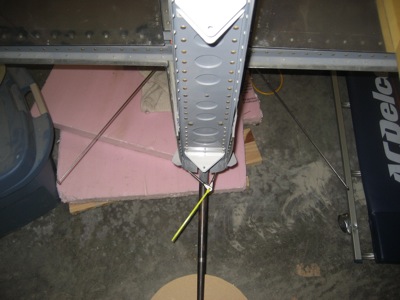
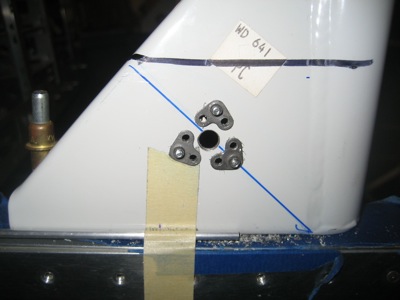
I dug the rollbar out of storage, clecoed it to the fuselage, marked and drilled pilot holes for map lights, and clecoed a light mounting base to each of the trangular gussets.
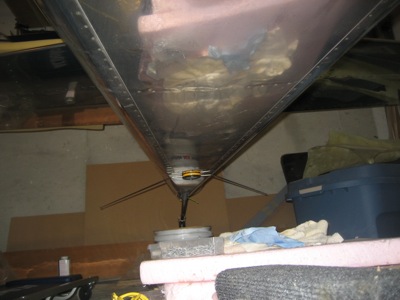
I match drilled the three mounting holes to the rollbar, then enlarged the center hole to 1/4" and drilled the mounting holes for miniature nutplates. I'll rivet these to the rollbar gusset once it's been re-powder-coated.
I like this location… it's out of the way and not likely to get broken off by passengers' feet, but still in a good location to be useful for reading a chart or for illuminating dark corners of the cockpit.

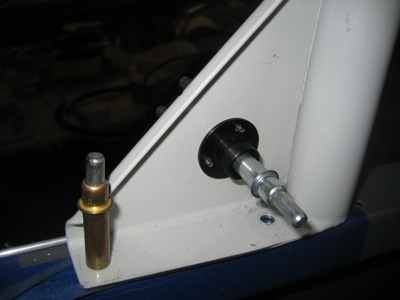
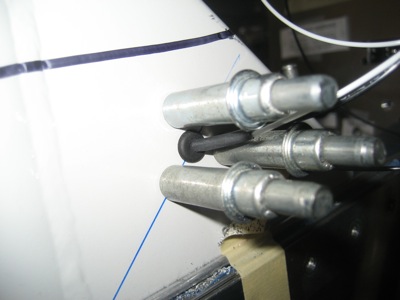
I used a very small grommet to pass the wires through the rollbar gusset:
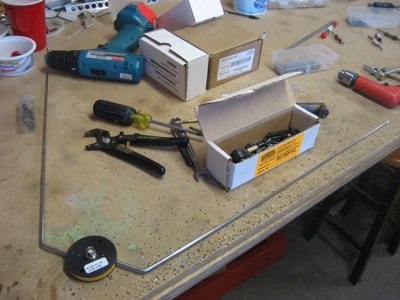
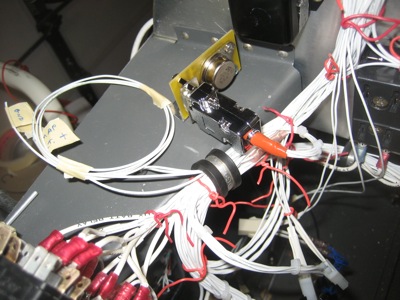
The dimmer modules came with some miniature potentiometers. I soldered leads to the terminals:
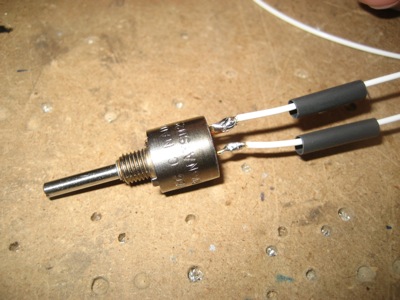
…then used heatshrink over the joints:

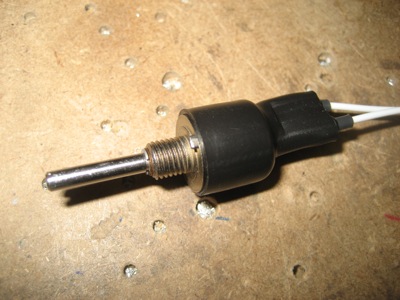
…and finally put a piece of bigger heatshrink over the entire component, which should help prevent the wires from breaking off.
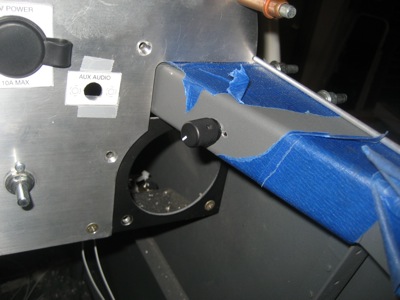
I drilled holes in the F-721 canopy decks to mount the dimmer pots:
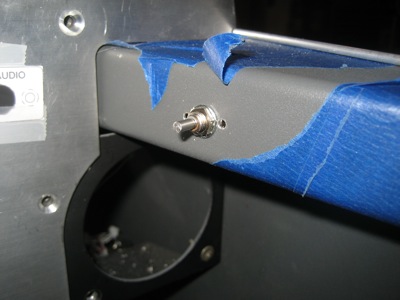
I used some anodized aluminum knobs that match the ones I used for the panel light dimmer knobs. Eventually I'll make little placards to identify the function of the knobs, which will have the added side effect of covering up the holes for the anti-rotation tabs.
I finished up the wiring for the little dimmer modules and closed up the connectors. The power and ground wires that go to the lights themselves are not connected permanently yet, since I need to do a little further work to route them properly.
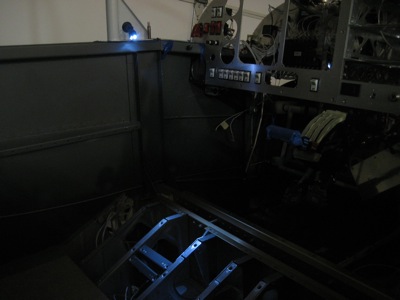
However, I did hook up each lamp with alligator clips just to make sure everything was wired correctly. Yup, seems to work:
I have something special in mind for making the connection between the lamps and dimmers, but it's not ready to show off just yet.