Archive for August, 2010

More lower cowl fitting

Sunday, August 29th, 2010

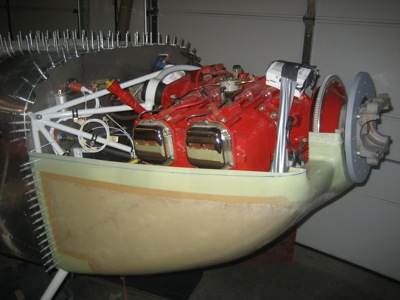
Not pictured in this update: several hours of tedious sanding and fitting! It's messy and fiddly and it doesn't photograph well. Just imagine lots of messing around with sanding blocks and dust getting everywhere and you'll get the idea. Anyway, the fit at the lower cowl to firewall junction is pretty good all the way around, and the bottom edges of the top cowl are straight and parallel.

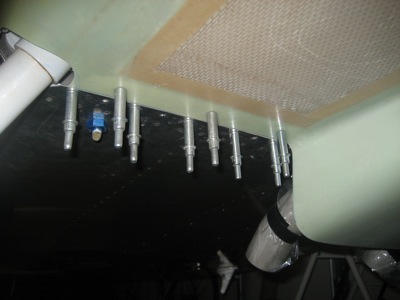
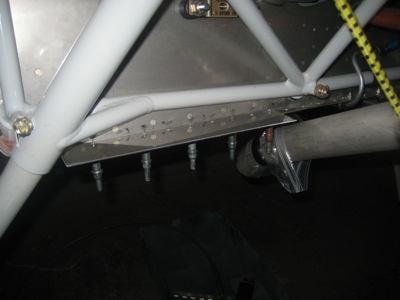
I cut two pieces of 1/8" hinge material to attach the sides of the lower cowl:

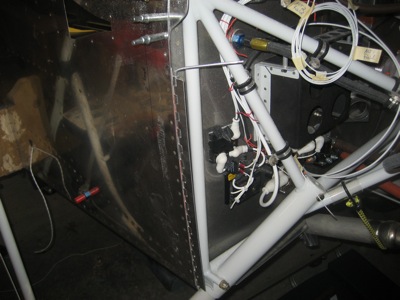
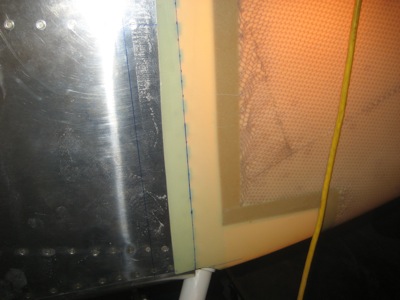
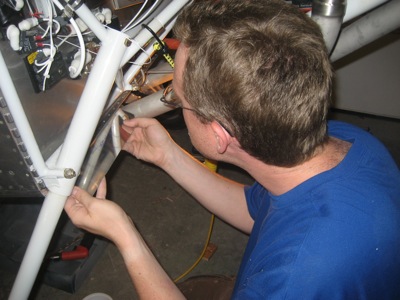
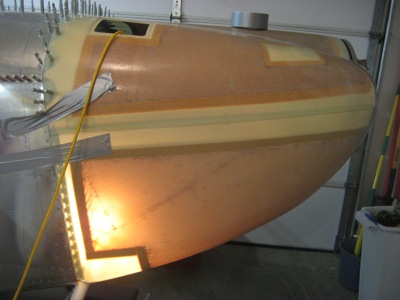
After drilling a series of #40 holes with one-inch spacing, I put both halves of the cowl on the airplane and used a shop light to illuminate the holes from behind. It's pretty easy to locate holes in fiberglass this way, as long as you can work the light back behind what you're working on.

In between each pair of rivet holes, I drilled a 3/16" hole that will later help increase adhesion when the hinge is glued to the cowl.

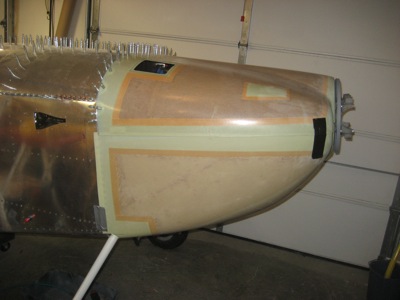
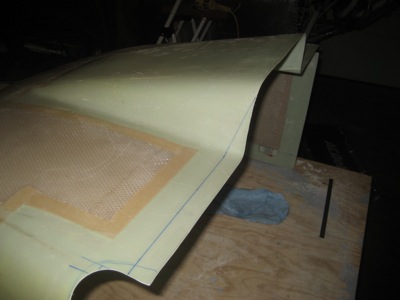
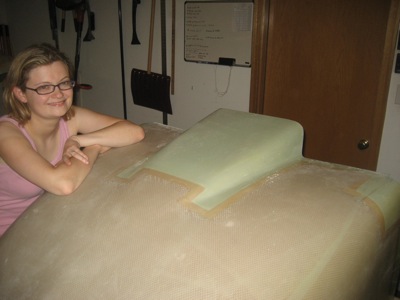
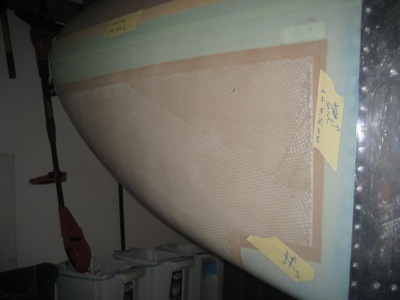
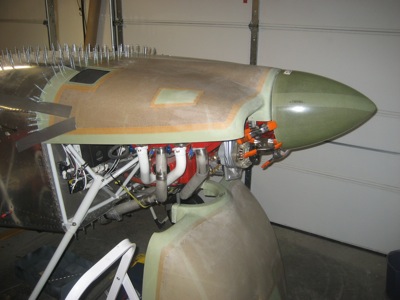
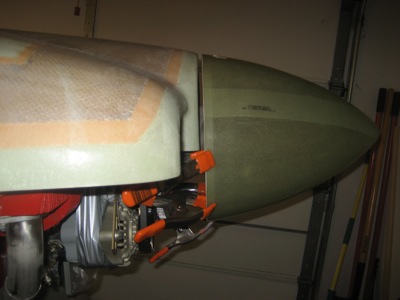
I clecoed the cowl halves to the fuselage, carefully taped things where I wanted them to end up, and marked a line on the bottom cowl where it needs to be trimmed to fit against the top cowl.

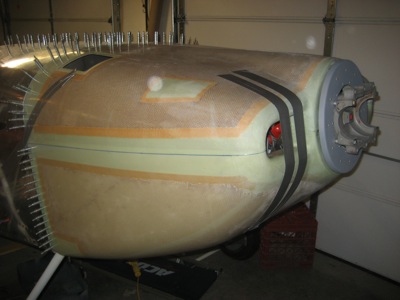
I ran out of time to make these next cuts, but at least I have a nice line to work with next time I get a chance to do some work:

Lower cowl fitting

Sunday, August 15th, 2010

Now that I have the upper cowl fitting fairly well, it's time to start fitting the lower half. First I had to grind some relief notches into the outboard corners to clear the landing gear legs. This isn't spelled out in the plans but obviously has to be done in order to get the thing onto the airplane.

Duct tape helps keep things in place while you wrestle the lower cowl around. At this stage, the rear flanges are oversized and are overlapping the fuselage by around three-quarters of an inch. Note that I have the lower cowl tucked under the upper cowl – I found that things fit better around the front using that arrangement.

I used the now-familiar offset line method to transfer a cut line to the bottom of the lower cowl. Lacking any specific guidance on the matter, I chose to leave the cooling air exit ramp at its original length and make diagonal cuts along the sides to match the shortened underside of the cowl.

Several rounds of sanding and trial-fitting later, I had the bottom cowl edge fitting the fuselage well. I had previously drilled three #40 pilot holes in each mounting strip, which I transferred to the cowl using a strong light from behind.

Once the bottom edge fits well, you can mark and trim the sides. I used a shop light inside the cowl to double check the cut lines I laid out.

The lovely Mary appeared long enough to get her picture taken. Now that her residency is complete, she's promised to spend some time helping with the airplane project now and then, so you may start seeing her turn up in the occasional photo once again.

I got the initial cuts made and sanded straight, but I ran out of time to make it really fit well. It looks like it's pretty close, though. I left myself some little notes to remind me where to start sanding next time I get a chance to put in some airplane time.

Lower cowl mounting strips

Sunday, August 15th, 2010

Almost four years ago, I riveted hinges to the bottom firewall flange, as shown in the plans. But ever since then, I've felt conflicted about these hinges, since I've seen multiple RV's that have broken hinge eyes in this area, and I've read accounts from many other folks that have the same problem. It seems that some combination of airflow and exhaust pulses causes the underside of the cowl to get beat up more than the rest, and the aluminum hinge is perhaps not quite strong enough to put up with that amount of abuse over the life of the airplane.

The final straw was when I ran into an acquaintance who's just recently started flying his RV-6A… when I asked him how the airplane was behaving, he said "Great, except every time I fly it I find another hinge eye broken off the bottom of the cowl!" It wasn't very long after that before I found myself drilling the rivets out of the lower firewall flange, and cutting some solid mounting strips out of 0.063 alclad to replace them.

These got match drilled and dimpled to fit the holes that previously secured the hinges, and then I gave them a slight bend to follow the upward taper of the cowl.

I'll use either nutplates or camlocs here – I haven't decided. There should be just enough room to squeeze the rivets that will attach them to the firewall. I am keeping the hinges along the vertical sides of the lower cowl, since they don't seem to suffer from the same malady as the bottom ones (and also because the engine mount would have to come off to replace them!).

Upper cowl work

Sunday, August 15th, 2010

Between a long vacation, a week at Oshkosh, and hundred-degree temperatures in the garage, the airplane has been neglected for a little while. However, I have managed to make some progress on the upper cowl. This involved lots of iterative steps of sanding and fitting which don't make for good photos, but I'm fairly happy with how it's turned out.

I pulled the spinner out of storage and temporarily clamped it to its backplate so I could check the cowl-to-spinner transition. And also – I'm not going to lie – to look at how cool it looks with the spinner on there.

I shortened the paper spacer slightly, lowering the height of the upper cowl behind the spinner. This gave me a nice continuous contour between the upper surface of the cowl and the spinner, and it also helped shift things around so I could fix a small fit issue at the lower outboard corners of the top cowl. The engine will naturally sag a fraction of an inch as the rubber vibration isolators wear in, so I wanted to slightly bias the cowl fit to take this into account.