Archive for November, 2010

Fastener madness!

Sunday, November 28th, 2010

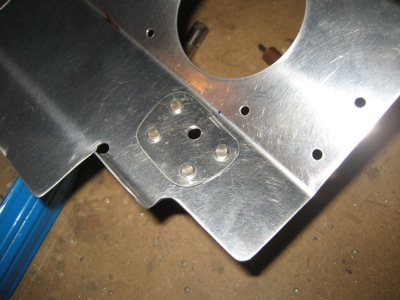
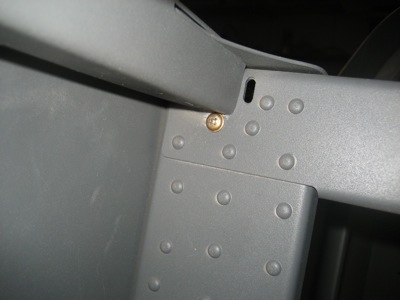
I finally got sick of being embarrassed about a few of the rivets in the F-705 bulkhead – other builders will know exactly which ones I'm talking about – so I drilled them out and replaced the ones that are impossible to properly buck with AN525 structural screws.

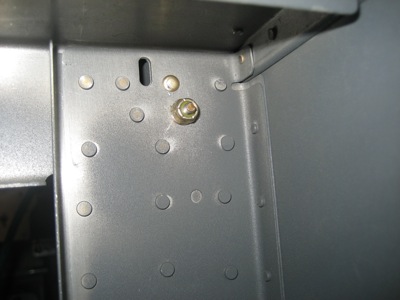
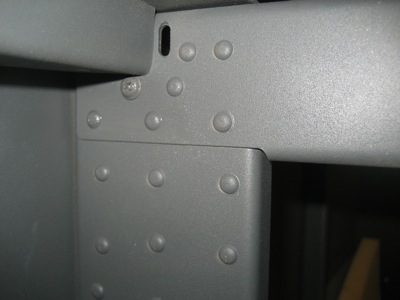
View from the aft side. I also drilled out and replaced the rivets whose shop heads are hidden under the canopy decks, because I didn't have a tungsten bucking bar last time I tried to set these and they were kind of ugly. This time they were relatively easy to redo using two pounds of element 74 and a double-offset rivet set.

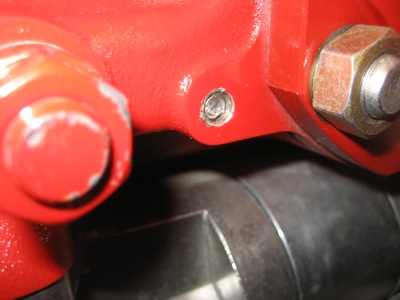
A quick spritz of paint and you can't even see the screw head unless you know right where to look.

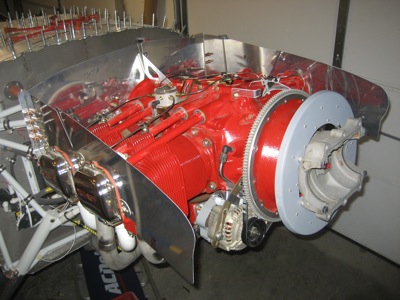
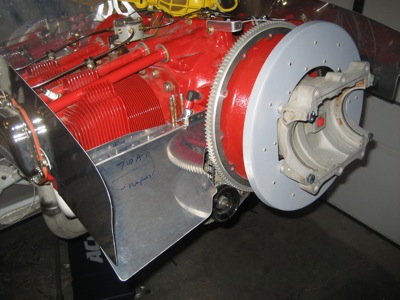
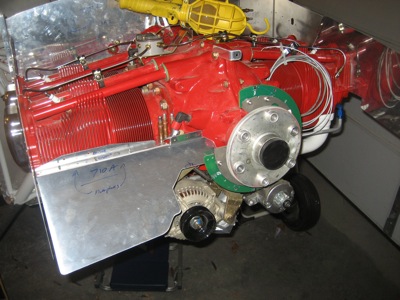
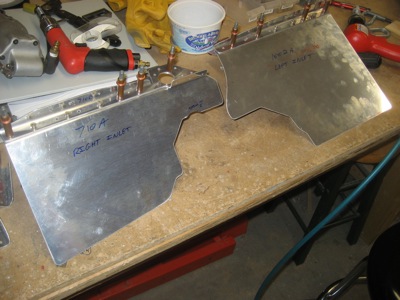
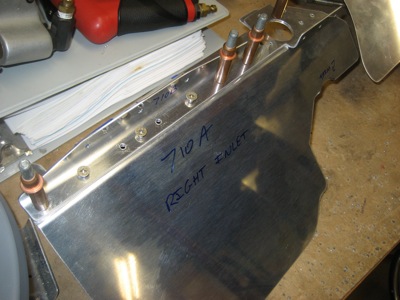
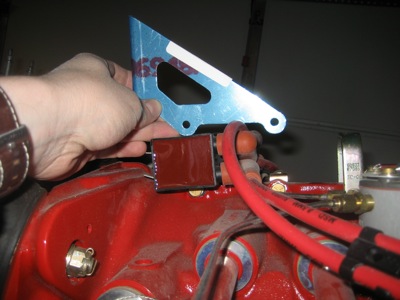
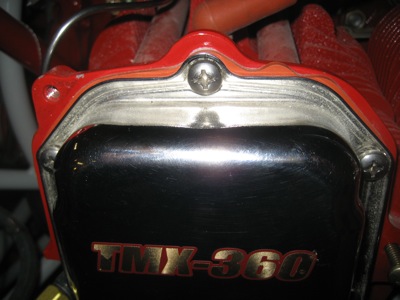
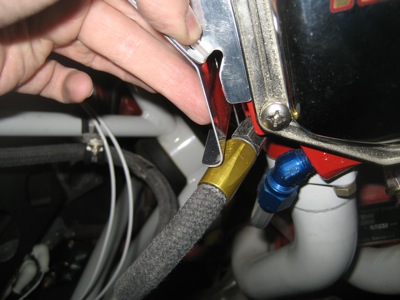
Then it was back to working on the baffles… except wait, it looks like one of the screw holes in the engine case isn't tapped deep enough. Maybe I can just force the screw in there?

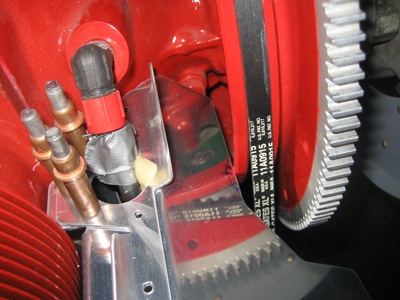
Nope! Big mistake. Twisted the head right off, and now there's a broken screw stuck in the engine case. In the very expensive engine case.

What to do? Over the course of half an hour I went through all five stages of grief:

  1. Denial – "That hole can't be very important, and I can still make the baffles work without it, right?" (no)
  2. Anger – "Stupid screw, you suck for not being stronger! Stupid hole, you suck for not having enough threads!"
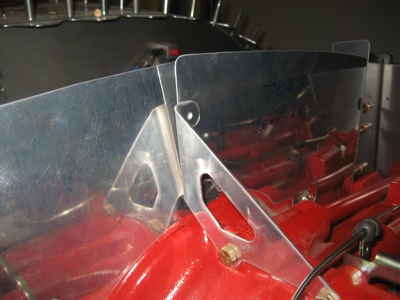
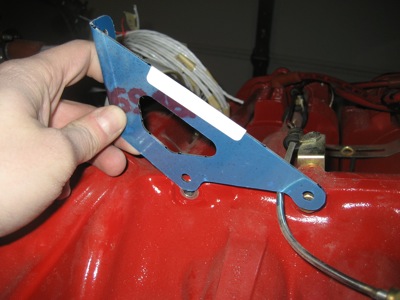
  3. Barganing – "Maybe I can build some kind of brace to transfer the load to a different hole?" (no)
  4. Depression – "I should just chop this thing into bits and push them out to the curb and let them be hauled to the dump."
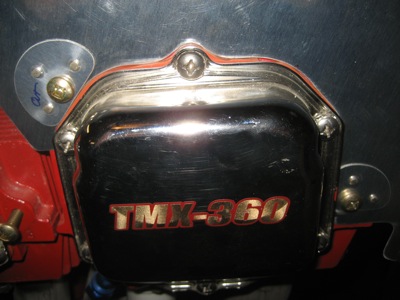
  5. Acceptance, starting by very carefully drillling through the center of the bolt:

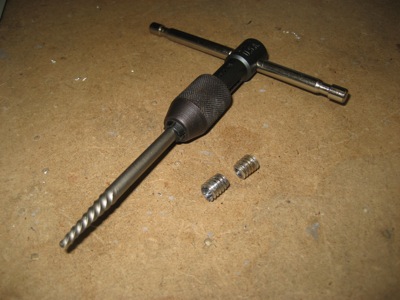
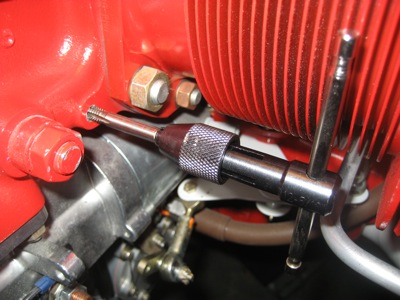
…then going to the store to buy a bolt extractor:

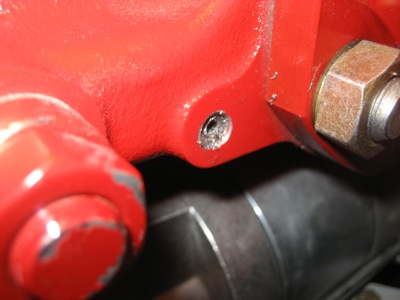
The screw broke in half and I had to re-drill it and restart the extractor, but I got it all out!

Whew, what a relief:

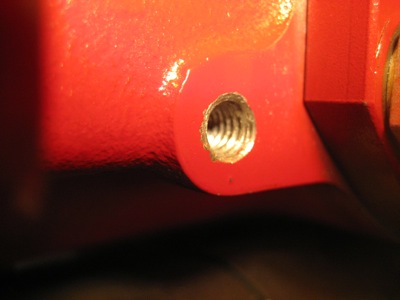
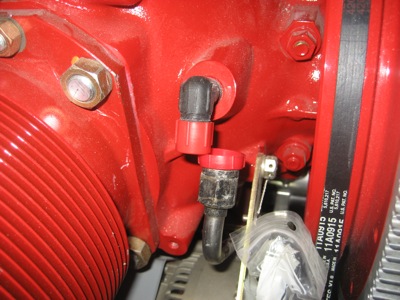
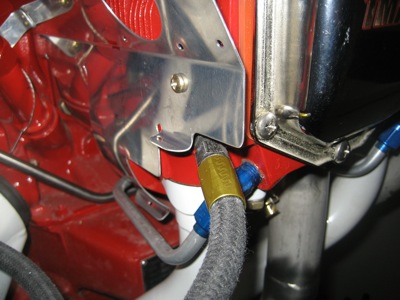
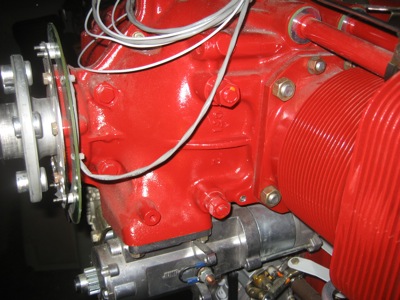
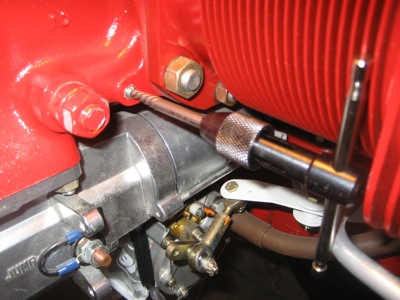
Then I did what I should have done in the first place, which was to tap it about 1/8" inch deeper so the screw can be fully inserted:

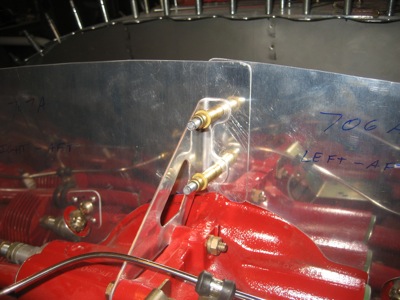
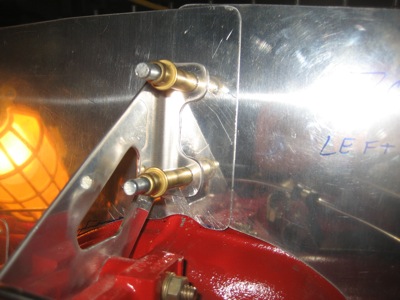
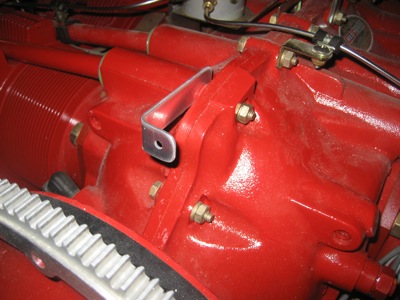
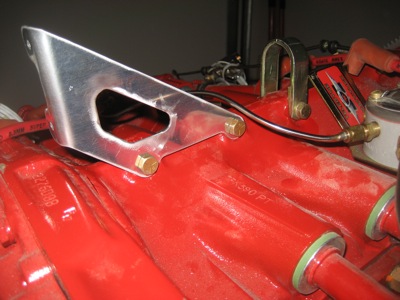
Now it can be threaded in far enough to hold this bracket in place. No lockwasher yet since this screw will be removed and replaced many times before the baffles are done.

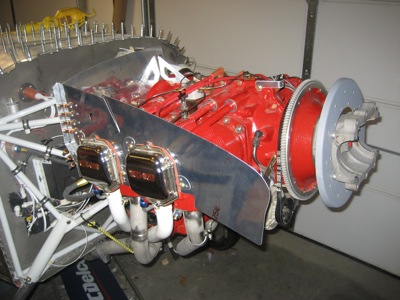
Very expensive engine not ruined after all. This whole episode really took the wind out of my sails, but I sure earned this:

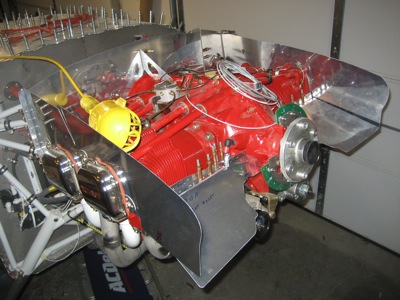
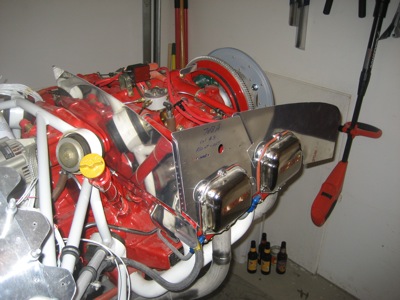
I also spent many hours this weekend researching stuff about the baffles, and I think I almost know what to do next. Now that the Great Screw Disaster is resolved, baffle work will resume next time…

Baffles

Sunday, November 21st, 2010

Slow progress on the baffles… I got the left-side baffles mostly fitted. By the way, the CB-706B spacer I made per the plans was way too short and I had to remake it from leftover material. Do yourself a favor and verify all dimensions given in the baffle plans before you start cutting!

The two rear case baffles didn't initially fit together very well with the center baffle brace:

A lot of the trouble was that they needed to be trimmed to fit better around the various bumps and bulges on the engine case… a process that took a lot of on-and-off fitting.

Closeup view of the same area after improving the fit:

On to the inlet ramp baffles… I did the usual steps of match drilling and deburring, and also drilled a one-inch hole as specified in the plans:

I had to disconnect the factory-installed prop governor oil line, which eventually ends up going through a grommet in that big hole:

Initial trial fitting of the right inlet baffle:

Closeup of the prop oil line; the yellow square is a bit of foam rubber to keep the pipe from getting all scratched up. Also note that the baffle needs to be trimmed to keep it from grinding against the ring gear.

I removed the dummy prop hub and flywheel for easier access:

Further work on left and right inlet ramps. You can just see where I ground away some of the right-side one to clear the ring gear:

The plans have you rivet "temperature risers" to the inlet ramps, which are simply a couple squares of aluminum that block some of the airflow to cylinders 1 & 2 (the front ones) so it can be used by cylinders 3 & 4 (the back ones). Problem is, the sizing of temperature risers is somewhat peculiar to each particular installation, and the plans method of attaching them requires you to remove the baffles and drill out rivets in order to modify them. Not a great idea if you ask me. Instead, I put some nutplates on the inlet ramps (screws visible in this photo) so I can experiment with differently sized temperature risers as needed.

Both inlet ramps fitted to the engine:

I was getting frustrated trying to decipher the next page in the plans, so Mary brought some refreshment down to the garage. I tell you what, the atmosphere in this place isn't so great, but the service is excellent.

Baffles

Sunday, November 7th, 2010

More progress on the baffles… CB-706B spacer, check:

Riveted the CB-1007B bracket to the aft right case baffle. These rivets were kind of a pain to set.

Deburred this bracket and attached it to the front of the engine, using one of the existing case bolts and a new lockwasher:

There's another bracket that's supposed to mount to the back of the engine, using the two aftmost bolts. Uh, sounds great, but my engine has a bunch of stuff there already.

I knew I was going to have to move the ignition coils anyway, since the location where Mattituck installs them won't fit when the rear baffle is installed. But even after removing the coils, the fuel line is in the way.

Much better… I gently reshaped the stainless steel fuel line with my fingers until I had about 3/16" clearance from the bracket, then reoriented the adel clamp and its supporting bracket to secure the fuel line in its new orientation. I still need to find a new home for the ignition coils, but that will come later.

Time to start fitting the baffles to the engine. If you think this will be another long, drawn out exercise involving a lot of repeated installing, removing, and trimming, you are correct! I spent half the day just getting these three pieces to fit somewhat well:

As delivered from the factory, the orange silicone gaskets under the rocker covers interfere with the fit of the baffles:

I thought I'd have to trim the gaskets all around, but the only cutting I had to do was in removing the little half-circle tab of rubber at the top. The rest of the fit adjustment was done by loosening the rocker cover screws and shifting the gasket around to make it fit the shape of the baffles.

This area had some interference with the manifold pressure hose:

After grinding a relief notch, the baffle can lay down against the #3 cylinder.

I didn't like the un-reinforced screw hole in the previous photo, so I made a little doubler out of scrap and riveted it on.

An entire day of work and all I have to show for it is baffling for one side of the engine. And I still don't know where I'm going to mount the ignition coils, oil cooler, or any number of other things. Oh well, I guess I must like solving problems or I wouldn't be doing this…