Archive for May, 2011

Air duct patches

Sunday, May 1st, 2011

The engine air duct had a big section cut away to make it fit next to the alternator, and also a couple smaller holes that I ground away before realizing that it's a better idea to cut the vestigial mounting lugs off the starter instead. These all need to be covered over, starting with the two smaller ones for reasons of finger-access. I laid up two plies of 8-ounce glass tape on the outside, let that cure, then followed up with two more plies on the inside. (that was probably overkill, three would likely have been enough here)
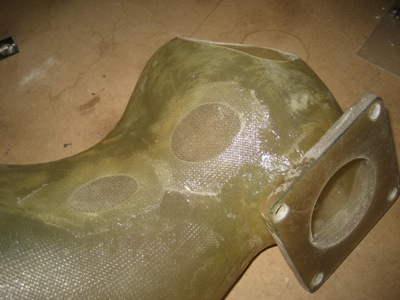
The larger opening at the end of the duct is big enough that it needed a form to hold the glass in its proper place while the glue dried. I glued a chunk of styrofoam in there to act as an in-place mold, and then sanded it to the desired shape.
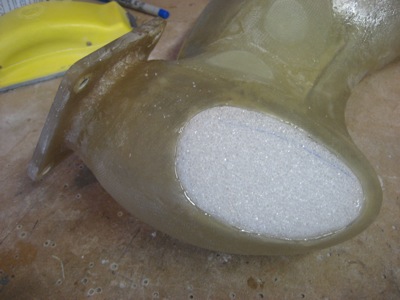
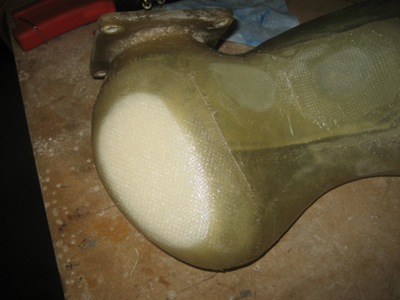
I laid up three plies of glass on the outside:
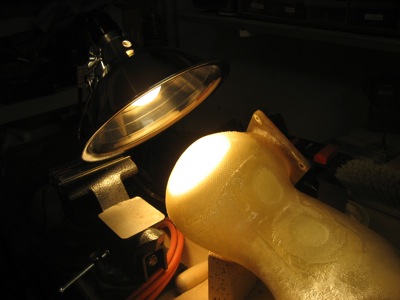
When it's cool like it has been lately, I use a lamp as a directed heat source to help the epoxy cure faster:
Once the layup on the outside was dry, I poured acetone into the air duct and swirled it around until the foam was all dissolved, leaving only the fiberglass behind. Magic! Then I laid up a single ply of glass on the inside, to give it a bit more strength and to smooth out the rough surface left by the fairly coarse foam. This was tricky to do, as I had to reach my arm down from the wide end of the air duct and get glue all over my sleeve in the process. (if my wife is reading this, yes I did remember to change clothes first)
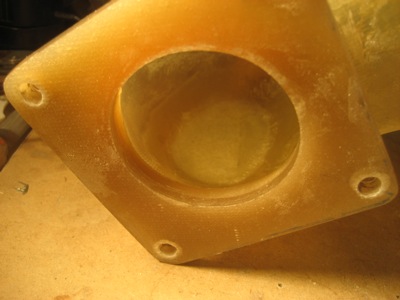
Once this is all dry, I'll sand off any rough edges – then there's just a few more chores before the air duct is finished.
Alternate air door

Sunday, May 1st, 2011

The factory provides parts to build an alternate air door, which can be opened in an emergency to provide an auxilliary source of air to keep the engine running if the normal engine air filter is blocked by ice, snow, debris, a bird strike, or something else. I don't particularly like the design, since it's kind of hokey and it is a one-shot deal that requires removal of the cowl to reset it, meaning you can't test it before takeoff. But, after several rounds of making cardboard prototypes I couldn't come up with a better one that would a) fit within the restricted space available, and b) not increase the risk of having the engine ingest metal parts if any part of the alternate air door assembly were to fail (talk about the cure being worse than the disease). Some people have omitted the alternate air door entirely, but I decided it would be a good idea to just install the factory kit as provided. Every certified airplane has to have one, after all, and most of the requirements in Part 23 exist for a reason.

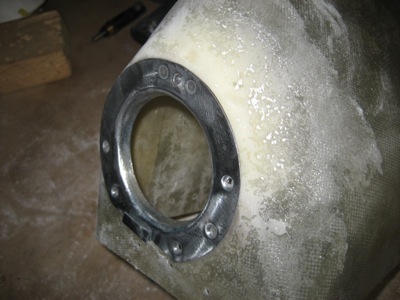
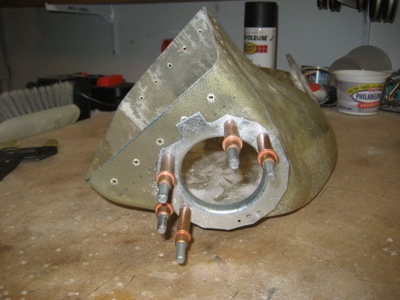
I cut a hole in the side of the air duct in the specified location, and match drilled holes through the steel mounting ring. Per the plans, I angled it 10 degrees clockwise relative to the top of the air duct.

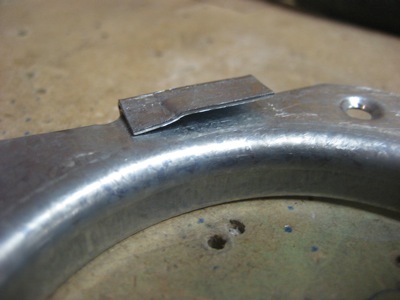
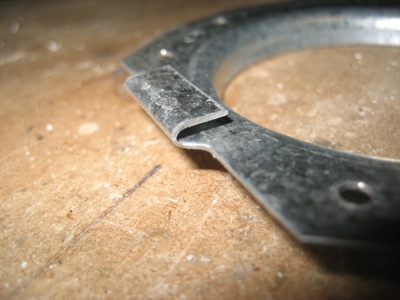
Using hand seamers, I folded the retaining tab at the top of the ring:

Then I crimped the forward end, which provides a stop for the door when it reaches the closed position:

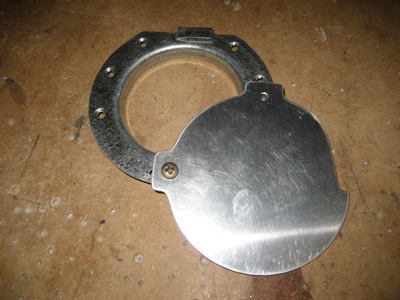
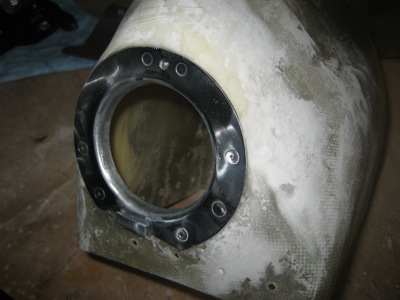
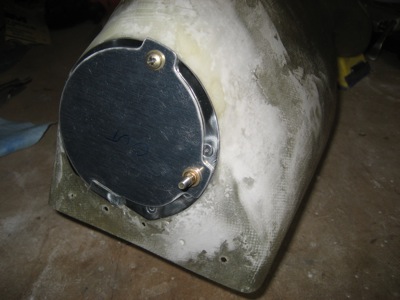
The door itself is a piece of 0.063" alclad that pivots around a screw and is actuated by a pull cable. This is the open position:

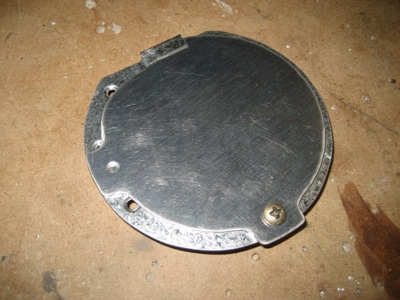
And here's the closed position. It took a bit of grinding to get it to close securely and move without interference.

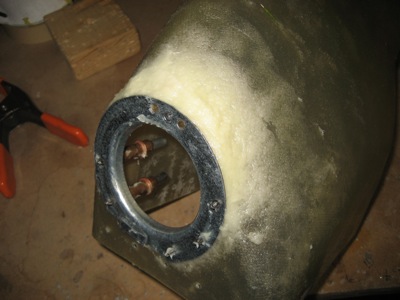
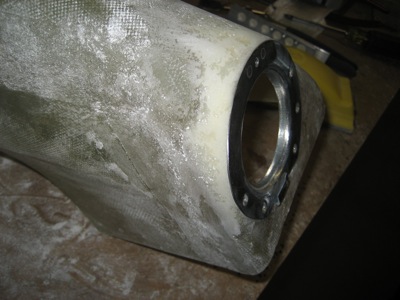
The surface of the air duct is not flat all the way across, so you have to build it up to match the mounting ring. I mixed up a big batch of epoxy and flox and laid down a fillet, trying to as much as possible to squeegee the excess material away from where I didn't want it to go – this stuff is tough as nails and therefore hard to sand.

Here's the end result of the first round of sanding. I wish Van's would modify their mold to have a flat-topped bump on the side for this thing – sure would be a lot easier (and lighter!) to do it that way.

As I did other stuff with fiberglass this weekend, I'd use the leftover epoxy from each work session to mix up some microballoons that I'd apply to the alternate air door here and there, just to make it look less nasty. I know it will be hidden under the cowling, but I would like it to at least be a little bit professional looking.

I installed the pop rivets and polished the heads smooth to keep them from hanging up the door, or pushing it outwards and causing a gap, aka an air leak.

Here's the finished product, minus the cable that will be installed later once I figure out where to put the cockpit control for it. It's pretty ugly right now, but it will look better with a coat of paint.