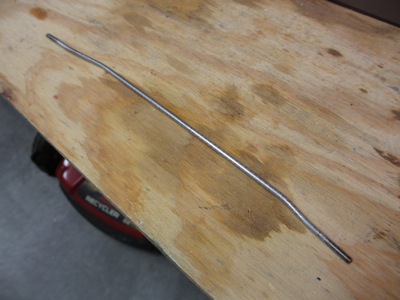
The forward and rear parts of the baffles are tied together underneath the engine cylinders with steel tension rods. These pull the baffles down and around to keep them in contact with the cooling fins, which forces air to go through them and do useful work cooling the engine. You make these out of raw stock, bending as required to clear various protuberances that stick out of the engine.
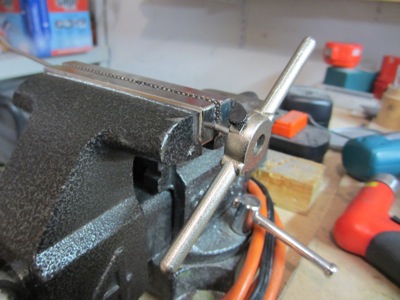
Threading the stainless rods is kind of a chore, but relatively ordinary all the same. Forward a half-turn, back a quarter-turn, repeat until done, and use plenty of cutting fluid.
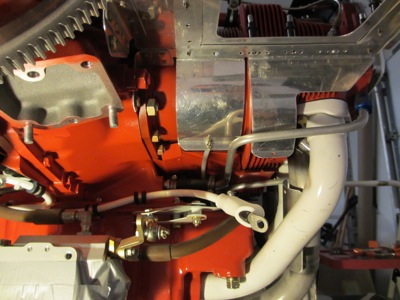
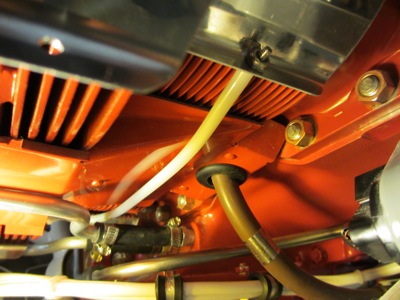
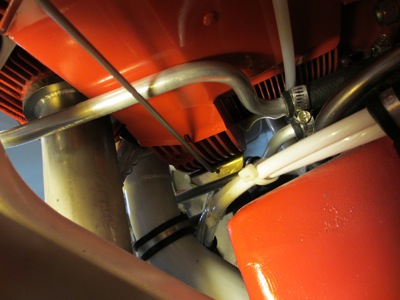
Here's a view of the general area where this is going on. You can see where the left inboard tension rod is in place, and the outboard rod has yet to be fitted.
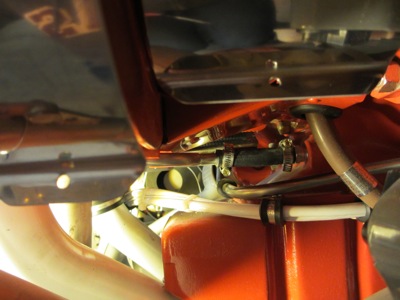
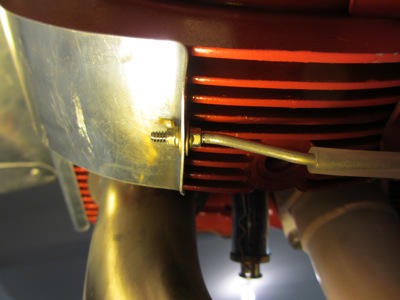
A closeup of the left inboard tension rod being fitted. The hardware is only temporary – this will use all-metal locknuts when it's installed for good. The portion of the rod between the forward and aft attach tabs is covered with nylon tubing in order to keep it from chafing on the bottom of the cylinder.
Here's the inboard rod on the right side of the engine being fitted. You can see how it's bent to fit through the available space:
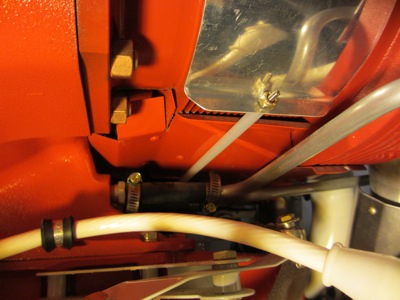
It's hard to see, let alone get a photo of, but the hose clamp near the center of the image was in the way of the right outboard tension rod. I managed to remove the clamp, shorten the band, and reinstall it in a friendlier orientation.
Test-fitting the right outboard tension rod. This has quite a significant Z-bend at either end, although from this angle it's hard to notice.
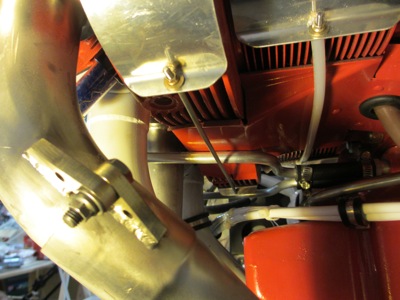
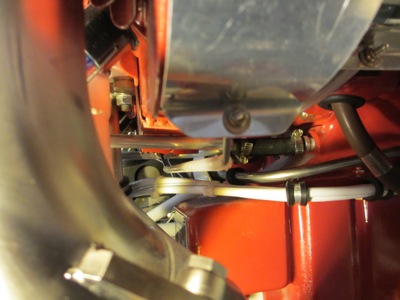
A view from the side, peeking through the exhaust pipes and intake tubes:
You want to ensure that there's sufficient separation between the steel rod and the aluminum oil return line to keep one from chafing through the other and letting out all your engine oil:
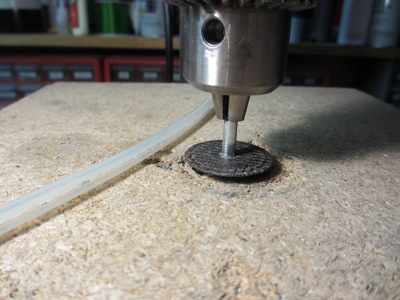
I wanted to put nylon tubing over the outboard rods as well, but they're bent too sharply to let it fit past the bends. So instead I split the tubing along its length, by cranking my drill press spindle down almost to the table, and carefully running the plastic tube against a cutting wheel. (while wearing heavy gloves, of course!)
Perfect fit:

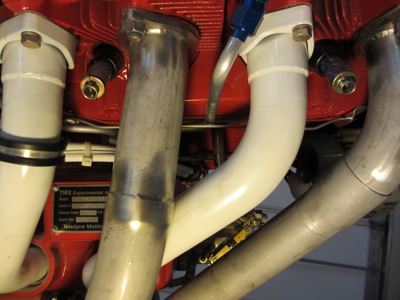
Here you can see how the outboard rod has to dive down to clear the oil tube, then turn back up again at the far end. But one thing I found worrying about this arrangement was the fact that there was nothing to keep the bent rod in the correct orientation required to prevent it from rubbing on the oil tube.
I solved this by using an extra nut and washer at one end, to clamp the rod firmly to the attach tab. Now it can't rotate on its own. At the other end, I kept the default single nut so that the rod can still slip through the hole in the other attach tab, to handle the cylinders shaking around independently while the engine is running.
Various things have been going on to prevent me from working on the airplane recently, but hopefully I'll be able to do a lot more work going forward. Feels good to be back to fabricating stuff out of metal.