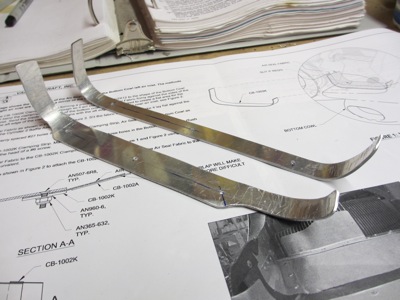
On either side of the lower cowl, you're supposed to attach a piece of rubber baffle seal material to bridge the gap between the cowl air intake lip and the metal baffles. These are the only two rubber pieces that are attached to the cowl instead of the baffles themselves. I first made some aluminum backing strips to fasten the rubber to the cowl. Note the special shape of the nearest one, which is necessary to preserve proper edge distance on the left inlet (the one that's mostly taken up by the air filter).
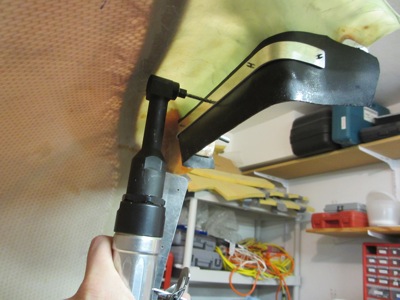
Once again the angle drill is worth its weight in… something heavy and expensive. You can see in this photo that I drilled an extra hole on the inboard end of each attach strip, so I could put a screw on the "upright" portion. I found that helped the rubber seal stay in place a little better when installing the cowl.
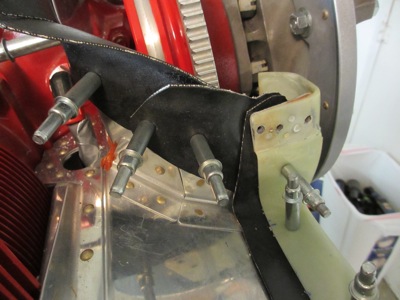
Here's what one of these seal strips looks like when being test-fitted. Since the bottom cowl is installed from below, these strips have to pass up and over the metal baffles as you raise the cowl, which can be awkward. You want to start with an oversized piece and gradually cut it down until you find the balance point between too hard to install and not enough overlap with the metal baffles. I ended up with about 1/2" of overlap, which is similar to other RV's I've seen. These strips have also been a pain in the rear on every other RV I've ever taken the cowl off of, so I think I must have them sized about right.
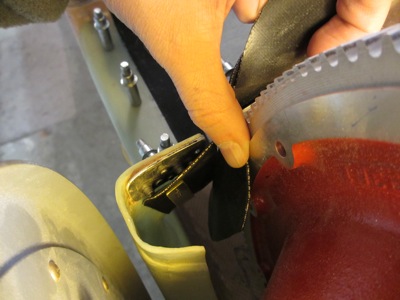
I added a countersunk screw at the outboard corner on each side, the better to keep the rubber seals from folding up when installing the cowl. This was only possible thanks to the extended attach flanges I laid up a while back. The screw and tinnerman washer are hidden beneath the upper cowl when it's installed.
Here's how it looks at the inboard end:
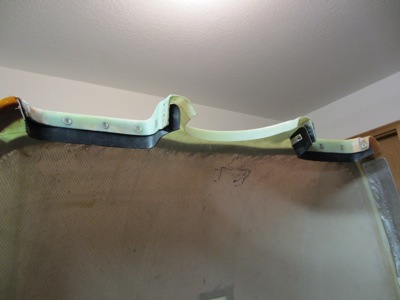
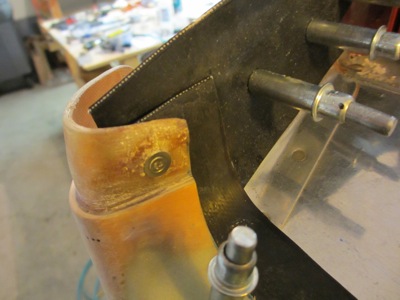
The cowl seal overlaps and sits on top of the "ears" on the crankcase baffles (exaggerated here for clarity). You can sort of see the upper leg of the metal attach strip here too:
That's the last of the rubber baffle seals to be fitted! Everything from here onwards is assembly, at least as far as the baffles are concerned.

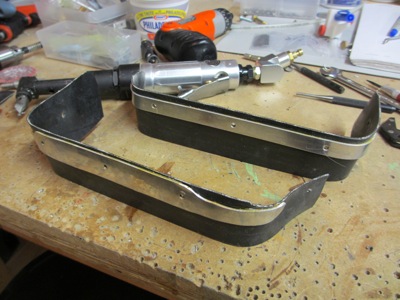
The plans tell you to permanently attach the mounting strips to the rubber seals with Pliobond. What they don't tell you is that this stuff is also the most evil, nasty, noxious, horrible-smelling gunk on the planet. Worse than Proseal even. I had to vacate the garage while it cured so I wouldn't get gassed.
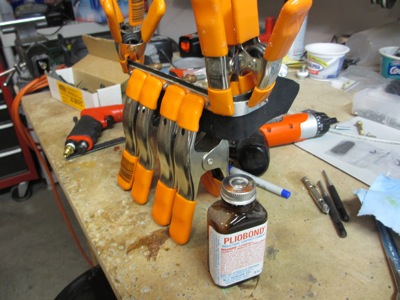
The result, a couple days later:
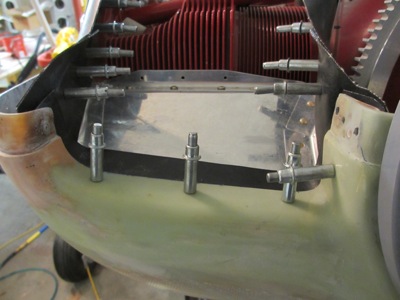
I countersunk the cowl for #6 tinnerman washers and attached the seal strips with screws and nuts: