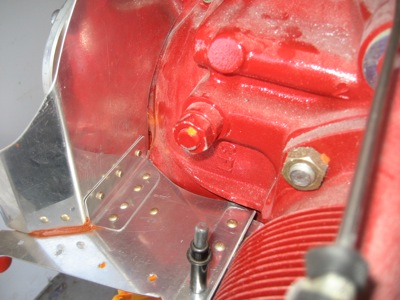
After trimming the baffles to their final shape, I finished riveting together all the parts that I had been leaving clecoed together for fitting purposes. First I made some doublers out of scrap to reinforce the outboard corner of the #3 cylinder baffle:
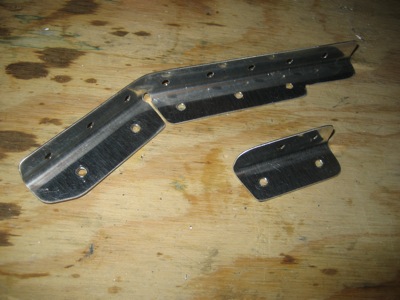
Here's what it looks like riveted together:
Another view. I'm not sure if reinforcement is strictly necessary here, but it was easy enough to do and adds almost no weight.
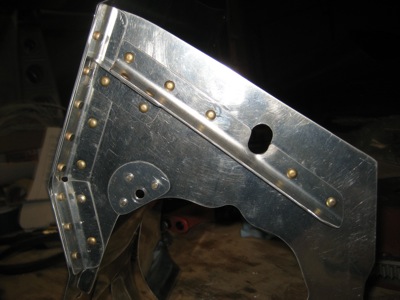
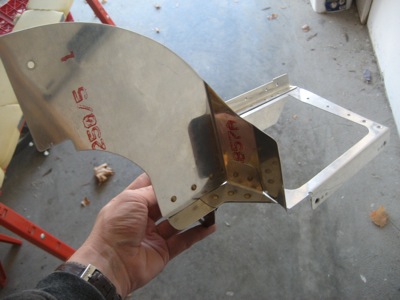
Here's the previously-seen #1 cylinder baffle, newly riveted to the starboard side crankcase baffle.
Closeup view of the joint… flush rivets towards the front where the rubber seal material will go:
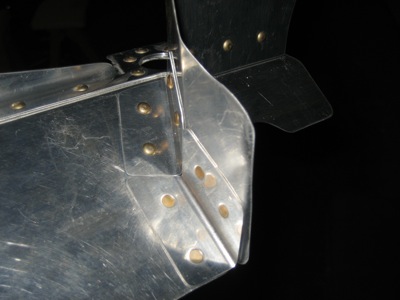
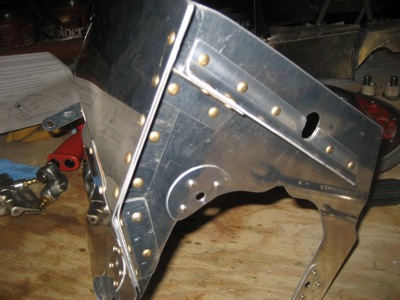
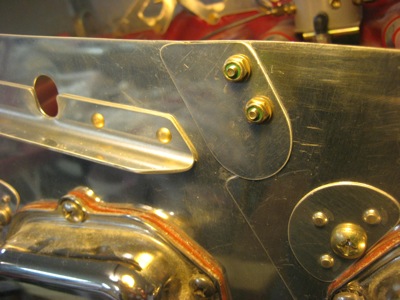
And now the #2 cylinder baffle, also riveted to its corresponding crankcase baffle. I later used RTV to fill those visible gaps where the parts come together.
A view of the #2 cylinder baffle from the aft side. The angle reinforcement piece has almost no rivets through it, since it will primarily be secured by the screws that hold the air filter retaining ring.
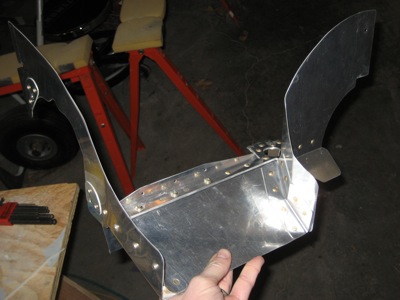
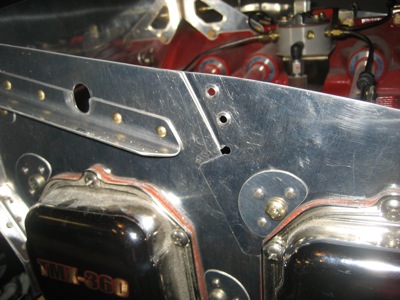
All the baffles are now riveted together permanently, and back on the engine temporarily:
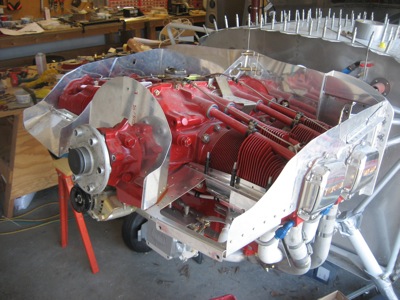
It's a bit hard to see in a photo, but there are substantial gaps between the forward baffles and the nose of the crankcase that will have to be caulked up when I put them on for good. You can also see some of the RTV previously mentioned.
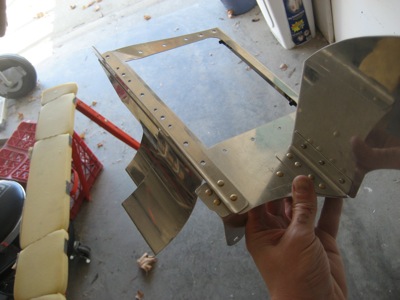
The plans tell you to rivet little tabs to the forward cylinder baffles where they overlap the aft ones, to make a sort of expansion joint. I wanted these to be removable without drilling out rivets, so I sized the holes for #6 screws instead.
Screw heads are flush on the inside to accommodate the rubber seals:
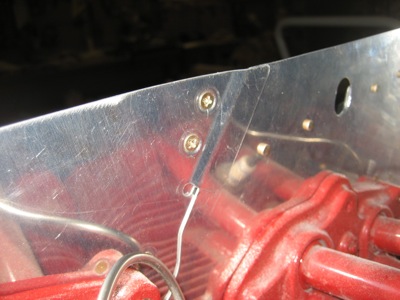
I cut the tabs slightly oversize so they would seal up the tooling hole that's visible in the previous photo:
One small step at a time…