So anyway, I decided to rethink my crankcase breather setup and remove the vacuum valve that was plumbed into the exhaust pipe. This thread on VAF has a lot of back-and-forth about the relative merits of such a setup, but it's posts like this one that really got my attention. I decided I'd made a mistake and violated my cardinal rule – learned through hard experience – of not being an early adopter for any changes to critical components of the aircraft structure, engine, or fuel system. I will keep the air/oil separator installed, since the operation of such a device is well-understood, but the vacuum valve needs to go.
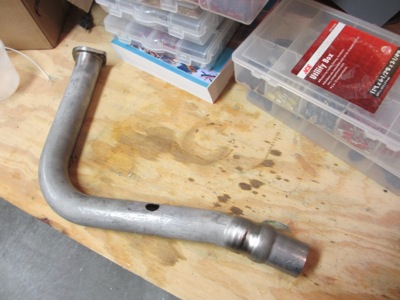
I was able to pull the #4 exhaust header off the engine without dropping all four pipes, which was a real time-saver. I sent it off to the manufacturer (Vetterman Exhaust) to have a patch welded over the big hole drilled in it.
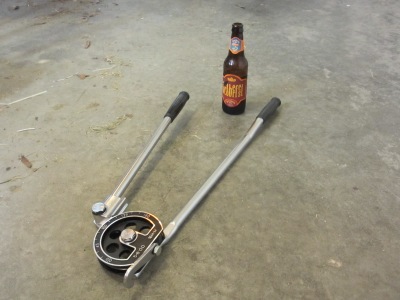
Then I went out and did what I ought to have done in the first place, which was to buy a bunch of 5/8" aluminum tube and a big old bending tool. These tools aren't cheap, but fortunately I managed to find one for about half price at an online tool vendor that was cleaning out their stock. (large tube bender shown here with my favorite Free State seasonal for scale)
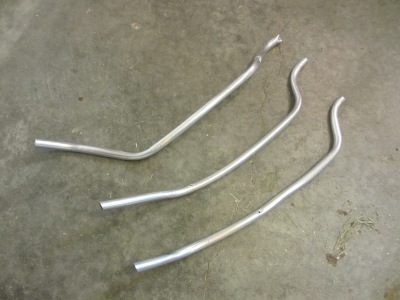
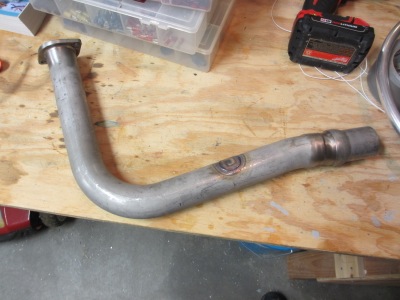
Good thing I bought twelve feet of tubing, since it took me a few tries to get the shape exactly right and not kink anything:
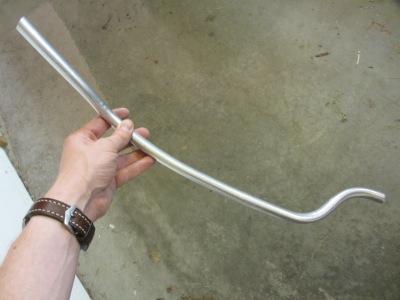
Finally, here's the finished piece. It doesn't look like much, but it was very carefully shaped to fit in a very confined space.
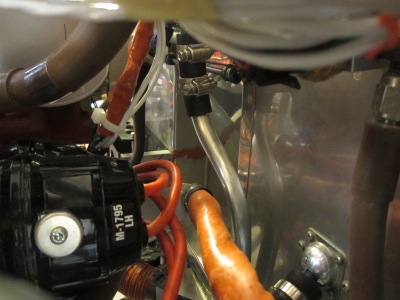
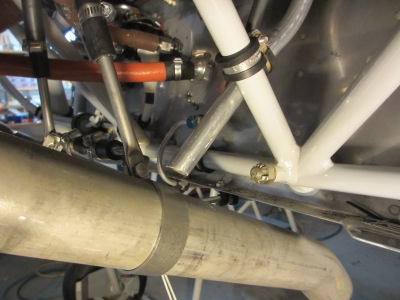
Starting from the bottom of the oil separator, the new breather tube immediately jogs towards the left side of the airplane before bending downwards.

The S-bend allows it to avoid the prop governor cable, which was my main obstacle previously. A short piece of rubber hose and some clamps join the breather tube to the outlet of the oil separator.
Another view looking up from the bottom, showing how the tube hugs the firewall and avoids the prop cable:

Here's an overview of how the bottom end of the tube is arranged:
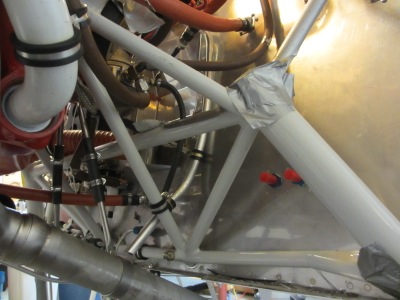
An adel clamp into a convenient nutplate secures the tube to the firewall:
At the bottom end, the breather tube is attached to the engine mount by another pair of adel clamps, and terminates about a half inch above the left exhaust pipe. In this photo and the one above, you can also see the "whistle slot" I drilled in the tube to provide an escape path for crankcase gases in case the end of the breather tube freezes up in cold weather.
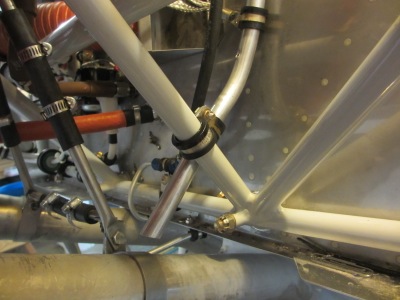
Some builders argue that the bottom end of the breather tube should be angled towards the cowl airflow exit or else the engine will leak all its oil; you can find just as many who will swear up and down that it has to point the other way or else the engine will leak all its oil. I left it cut more or less parallel to the exhaust pipe – we'll see how it works.
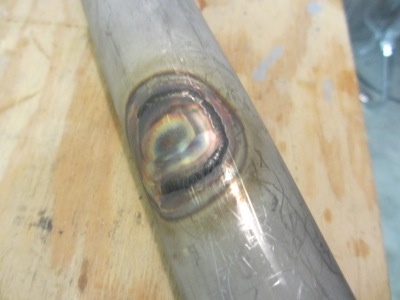
Meanwhile, the #4 exhaust pipe came back from Vetterman good as new. I think I actually spent more on postage than I did for the repair.
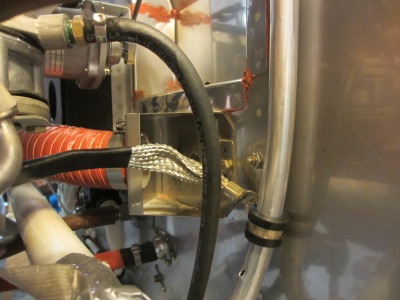
A small patch now covers the previous hole. That's some nice welding:
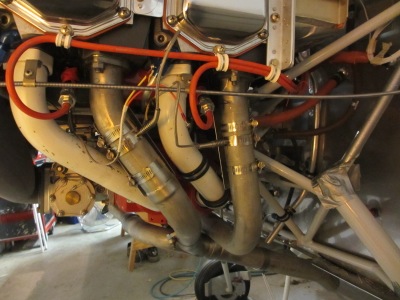
All pipes reinstalled with new lockwashers and nuts torqued:
So long, crankcase valve. The moral of the story, once again, is that sometimes the old ways are the best.
