The last major firewall-forward wiring job is to connect the thermocouples that measure exhaust gas temperature (EGT) and cylinder head temperature (CHT). There's two probes per cylinder, so it ends up being a fair number of wires.
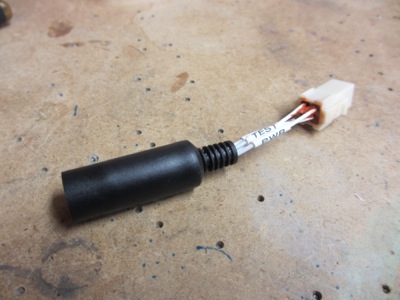
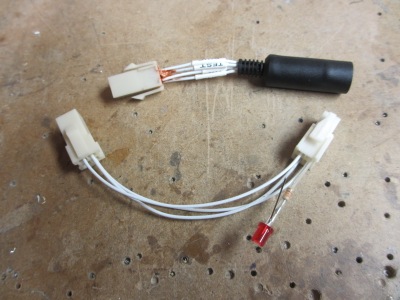
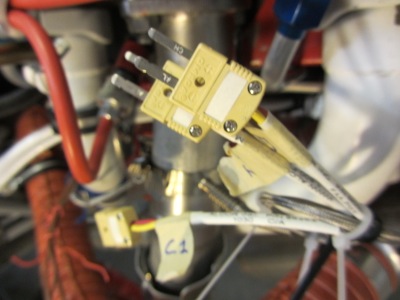
Rather than using the old-style ring terminals to connect the thermocouples, I decided to use these cool little connectors from Omega Engineering. A lot of aircraft manufacturers are switching to this method of connecting thermocouples since they're easy to work with and there aren't any concerns about insulating the connections.
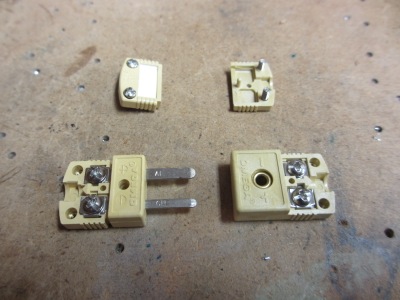
I cut off the ring terminals and installed the connectors on all eight probes. By the way, you have to be careful when wiring Type K thermocouples… the red wire is the negative side!
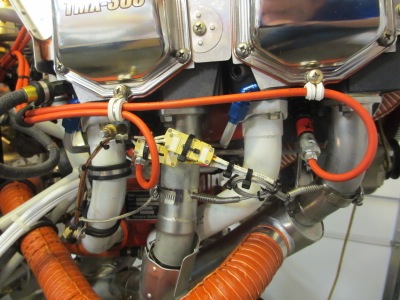
I'll skip over the couple days I spent working out the wiring routes and strain relief arrangements, and just walk you through the final product. Starting on the starboard side of the engine, the thermocouple leads and connectors are all bundled up and secured with high-temp tie wraps:
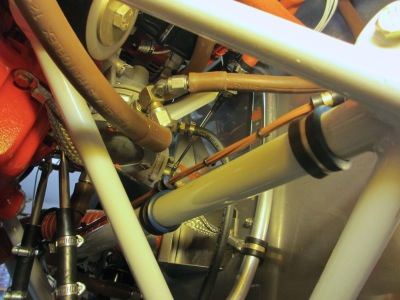
I made a little standoff out of a strip of 4130 steel, painted for corrosion resistance. It ties into the lower valve cover screw on the #3 cylinder and supports an adel clamp that secures the wire bundle. In this photo it's held on by a cleco since I intend to replace it with a high-temp silicone clamp when I get my next parts order in the mail.
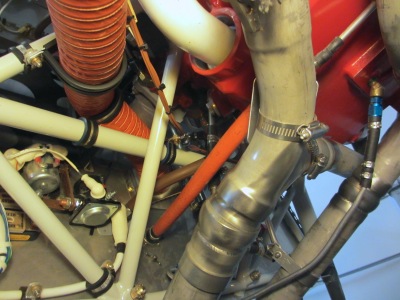
The wire bundle goes down the #3 intake tube, where it's secured by another pair of adel clamps near the bottom:
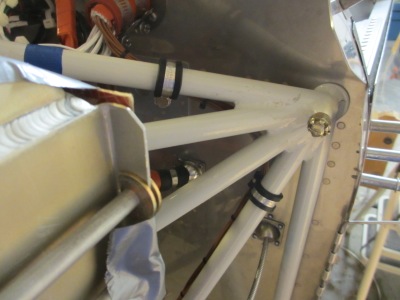
It's sort of hard to see in this photo, which is looking up at the bottom of the right side of the engine, but the bundle of thermocouple wires loops around a diagonal engine mount tube and attaches to the transverse tube with more adel clamps. Although it doesn't look like it in this photo, there is plenty of space between the wires and the diagonal tube.
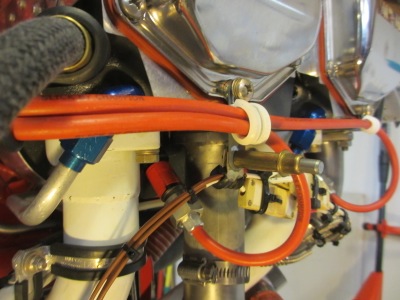
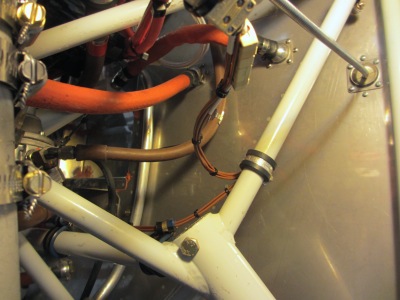
Now we're on the left side of the engine, looking across to the right. The wire bundle crosses the aircraft, following the transverse engine mount tube via three pairs of adel clamps:
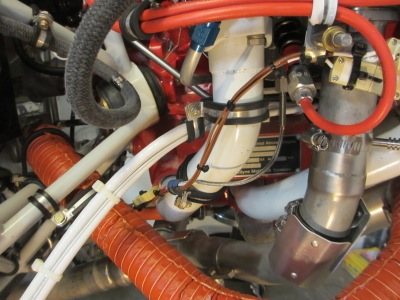
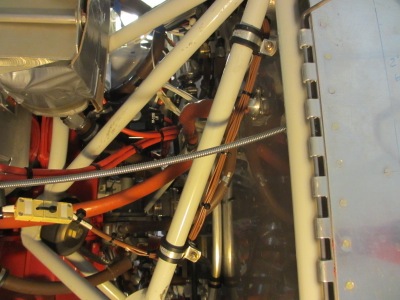
At the port-side landing gear socket, the wires turn the corner and head up one of the engine mount tubes towards the top corner of the firewall. Yet another pair of adel clamps routes them up the tube, and the wires for the #2 and #4 cylinders split off here as well:
The main wire bundle runs up the back of the tube, where it's attached with… you guessed it, another pair of adel clamps:
At the top of the engine mount, one more pair of adel clamps helps the wire bundle turn the corner, and then it disappears through the port-side firewall penetration:
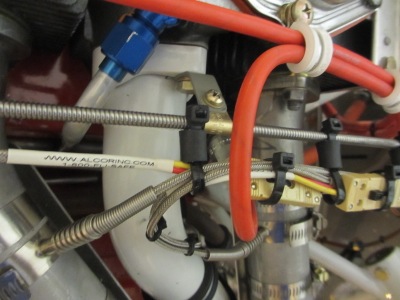
Meanwhile, the wiring on the left side of the engine is more straightforward. The wires and connectors are all bundled together and tied off – you can also see how I ran a tie wrap through the middle hole in each pair of connectors, to help prevent them from pulling apart:
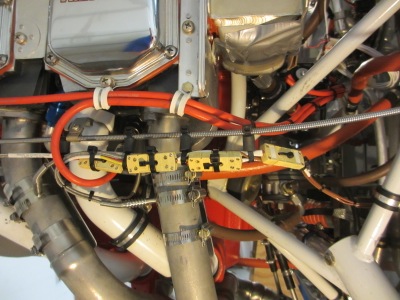
I used the cable for the alternate air door as a convenient way to route the wires on this side of the engine. I cut some 1/2" lengths of rubber fuel hose, and used more high-temp tie wraps to hang the wire bundle from the cable sheath. The result is a neat way of running the wires that looks nice and keeps them away from the ignition leads:
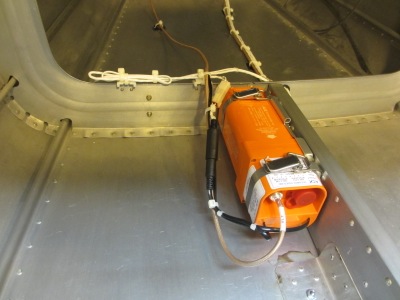
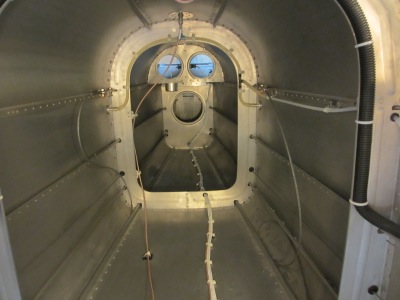
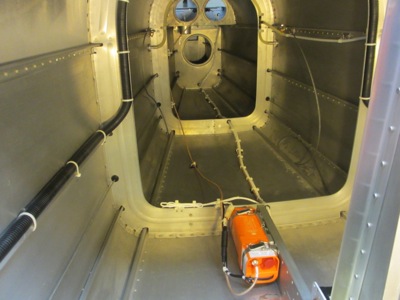
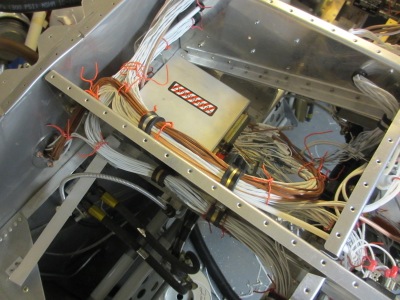
Inside the fuselage, the thermocouple wires are connected and more or less bundled, although at some point in the future I'm going to have to schedule an epic tie-wrapping session for the behind-panel wiring:
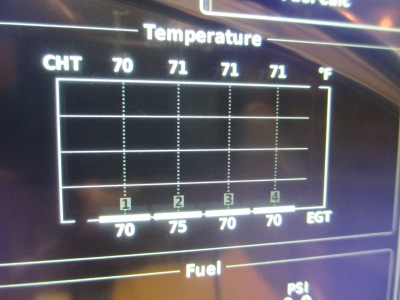
All eight of the probes are reading room temperature, which is a good sign. The fact that the #2 EGT is reading a little higher is just a rounding fluke – the EGT temperatures are rounded to the nearest 5 degrees.
I lost track of the number of adel clamps I installed as part of this little project. It sounds easy now, but each pair of clamps was a mini-nightmare all by itself. These clamps are difficult enough under benign circumstances, but in the FWF area where you can barely get your fingers on them, let alone a wrench, it can seem nearly impossible at times. I hope I don't have to install any more adel clamps for a good long while.