The next step of the aluminum canopy fairing odyssey is to make the cover strip that goes over the top of the rollbar and bridges the gap between the windscreen and canopy.
First I had to work on shimming the windscreen away from the rollbar where necessary to make it flush with the canopy, or at least as close as possible. I found that taping popsicle sticks to the windscreen was useful to help visualize how the end result will turn out.
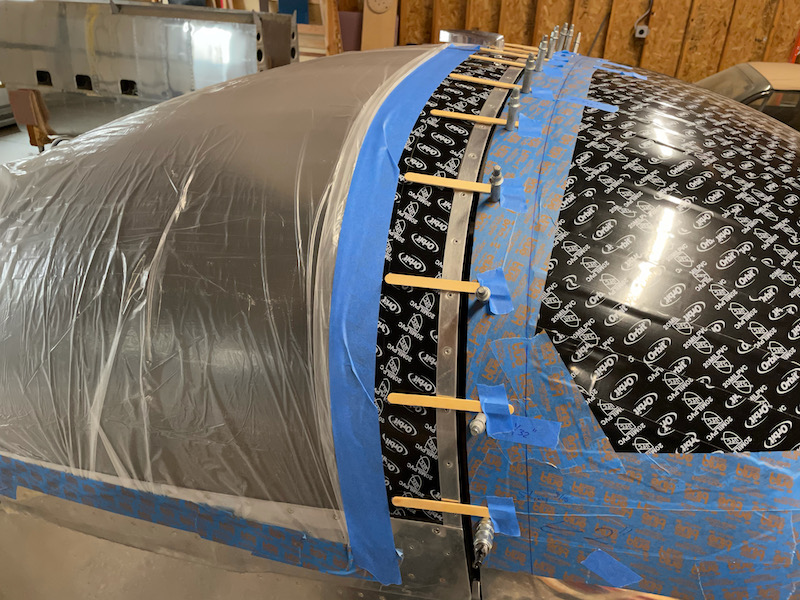
With an aluminum top strip you have a bit less ability to hide mismatched heights than with a fiberglass fairing, but you also need a bit of wiggle room to let you close the canopy safely, so you want to avoid a totally flush fit. I shot for a consistent gap of at least 1/16" all around, and shimmed the windscreen to get as close to that measurement as I could. For temporary fitment purposes I'm using stacks of plastic washers of varying thicknesses, held in place with masking tape:
After I had the shims more or less figured out, I cut up some more poster board and got busy making templates:
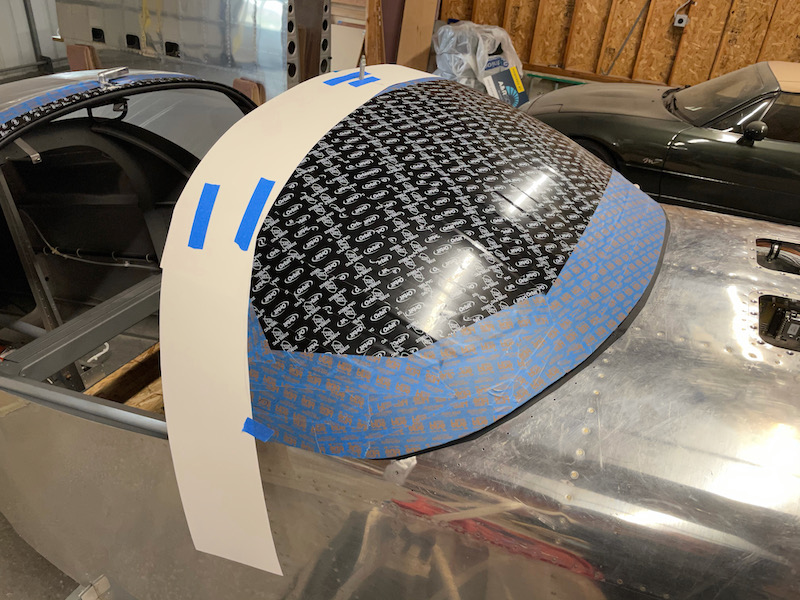
Refining the initial shape… I am intentionally creating these "elephant ears" at the bottom so I will have enough material to create a nice-looking radiused contour to transition from the top fairing to the side fairings:
I forgot to take pictures of the next couple hours of work, but basically I decided to make a partial practice fairing out of a scrap of 0.020" aluminum that I had in my scrap bin. Onto this I traced my work-in-progress pattern, then drilled the topmost fastener hole. With the test fairing clecoed to the rollbar at the top, I worked my way downward, marking and drilling one hole at a time. For each successive hole I removed the fairing so I could drill it and deburr, then reinstalled and continued to the next hole. This was time-consuming but obviously you don't want to be drilling into your plexiglass.
To locate the holes, I laid out some guidelines that I could use to re-measure the hole locations, which is a technique that I often find more accurate than using a hole finder. As I continued down towards the longeron I was able to tweak the fit at the aft edge of the test fairing by pulling forward on the lower corner to force it to conform to the required compound curve. All in all this was a successful test, and I'm glad I did it because it helped me refine the shape of my template, by adding more material to the aft edge so I'd be able to pull the bottom corners forward.
Once I knew it was probably going to work, I taped my full-sized template to a six-foot sheet of 0.040" aluminum and marked my initial cuts:
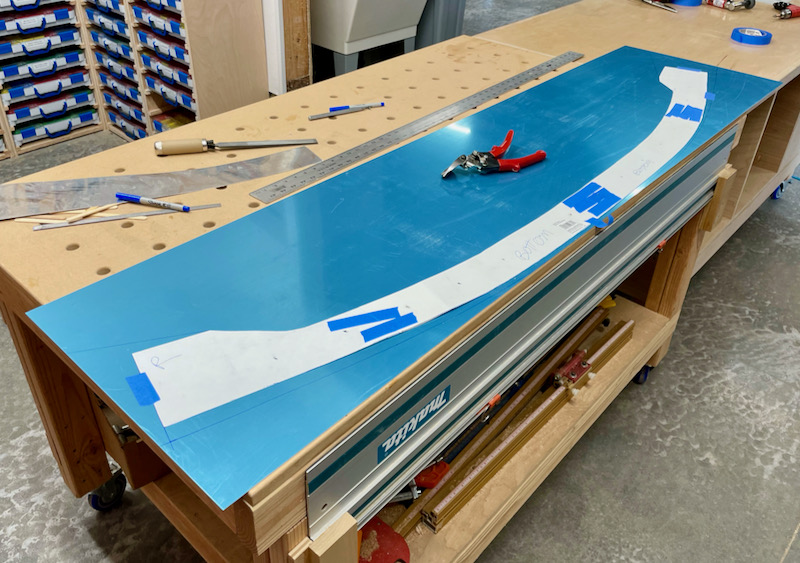
I think my hands are going to hurt tomorrow – that was a lot of 0.040" material to cut with hand snips! Of course I deburred all the edges even though this is going to get trimmed back further – don't want to risk scratching the plexiglass.
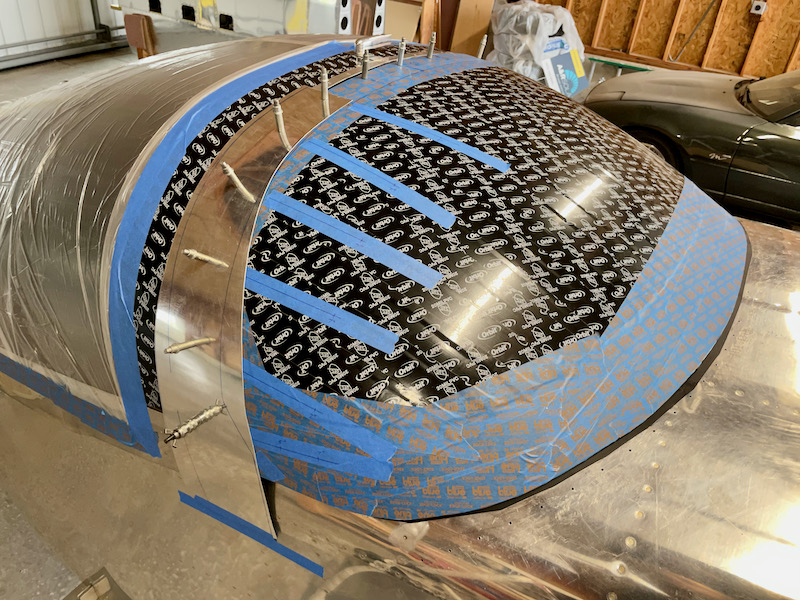
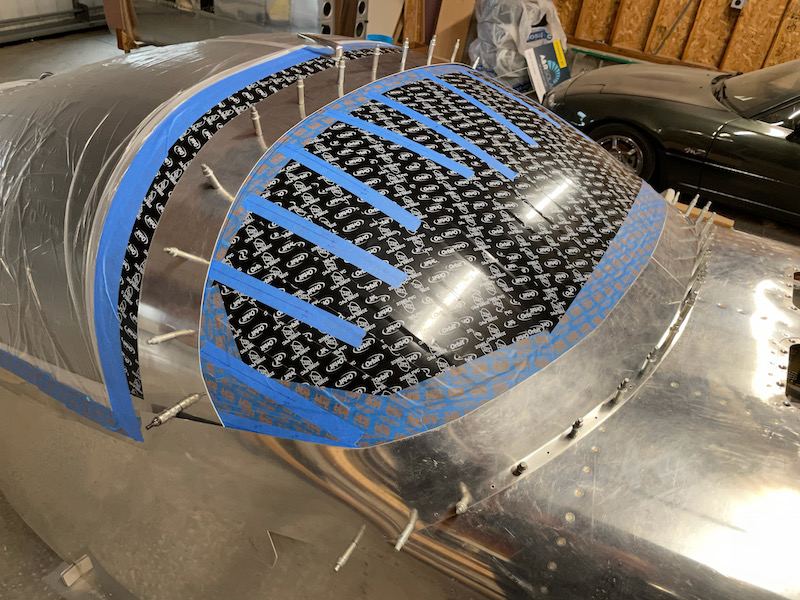
After having practiced on the test piece, I knew what to expect with the full-size article. I clecoed the center hole, then worked my way downward one hole (per side) at a time, removing the fairing each time to drill and deburr.
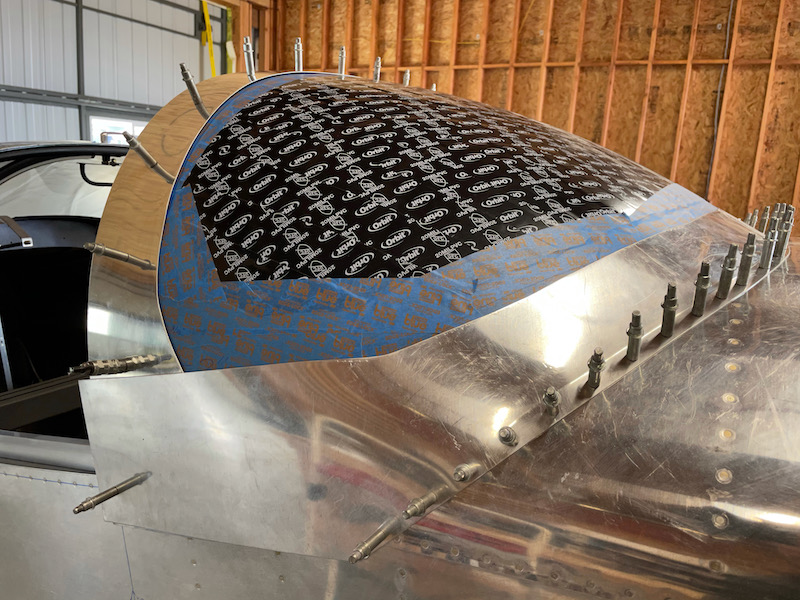
I continued until I had all the holes drilled and the fairing clecoed through the plexiglass into the rollbar. To get the fit I wanted, I pulled the lower corners as far forward as I dared – and came close to running out of edge on one side, despite thinking I'd left plenty of extra material. Luckily I managed to just make it work.

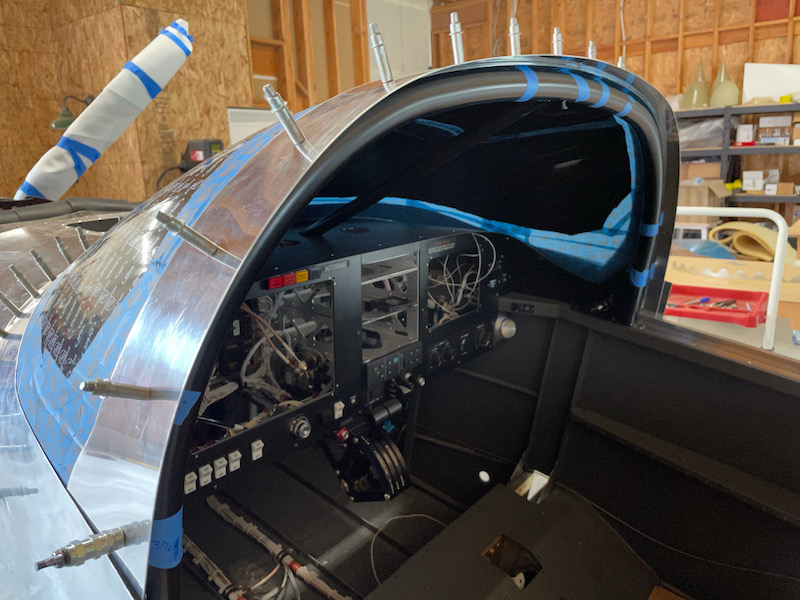
Test fitting with the windscreen base fairings installed – looks pretty good so far:
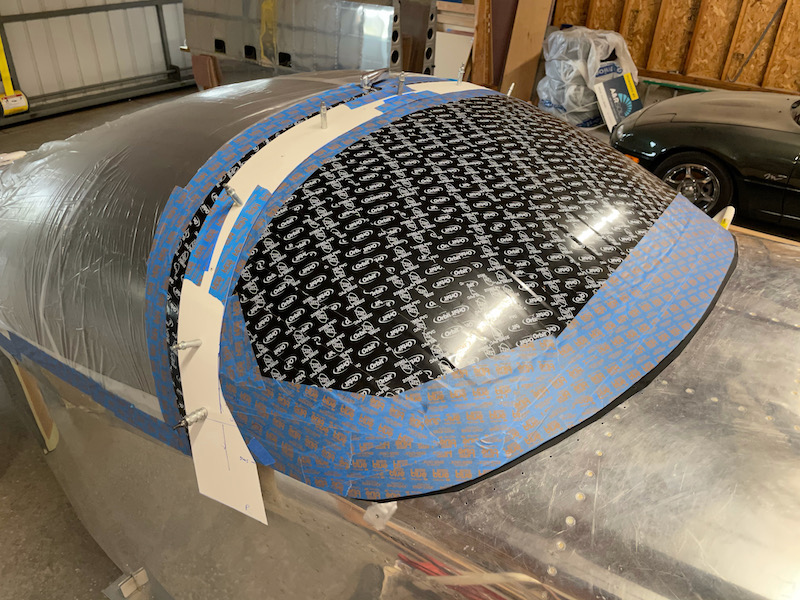
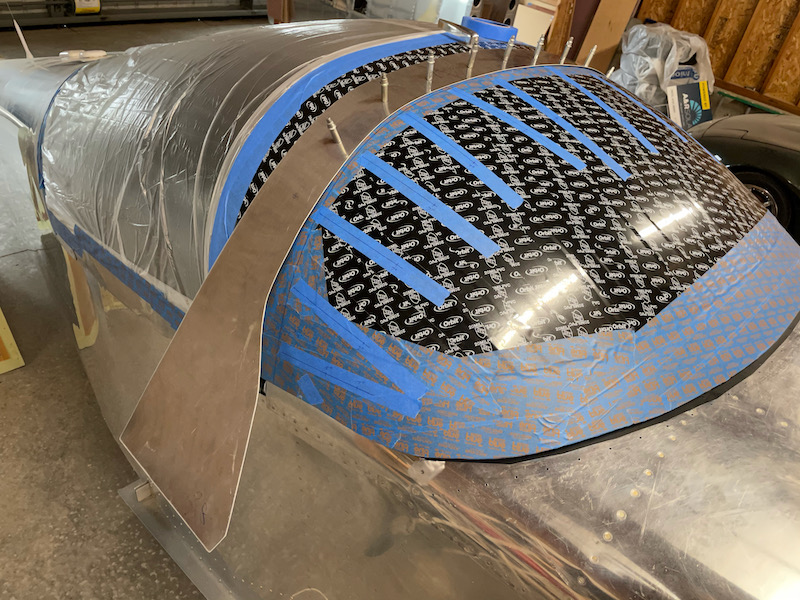
After some consideration, I decided a 1" overhang (measured from the aft face of the rollbar) would be plenty. The shorter your overhang, the better the fairing will fit the canopy due to the curvature, and the less chance it will get kicked by passengers climbing in and out. For my airplane, 1" will just cover the aluminum trim strip that goes over the front of my canopy, so it's a natural place to end the top fairing.
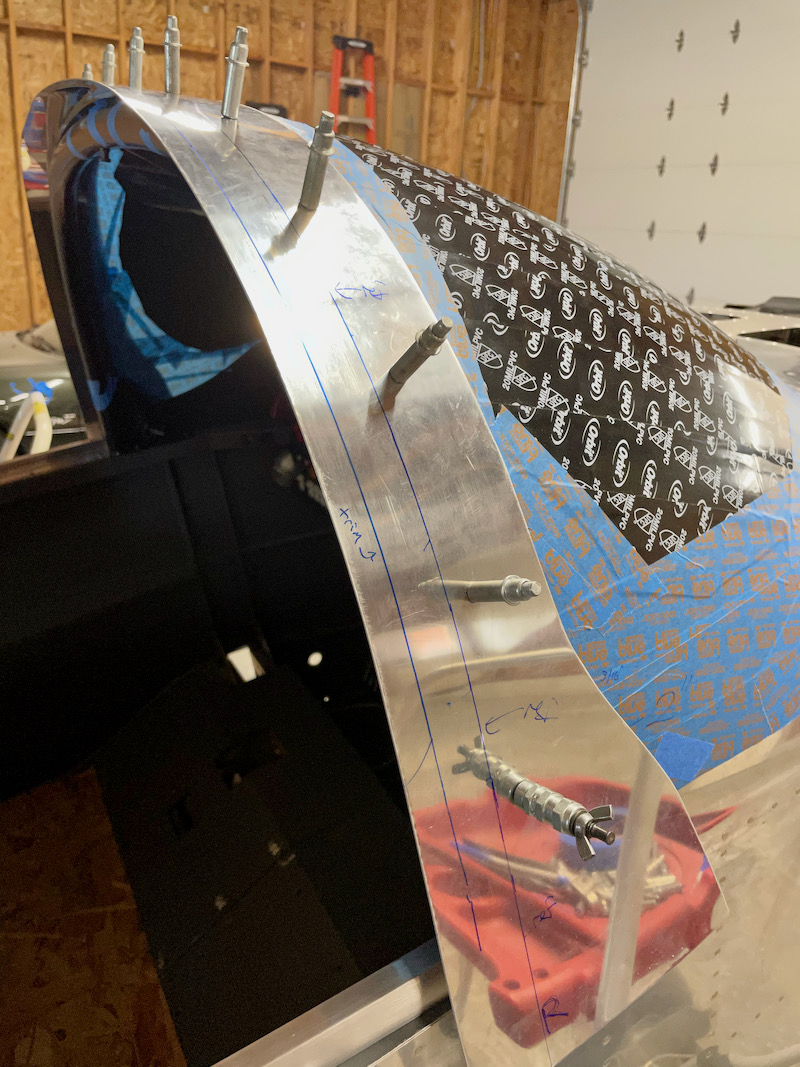
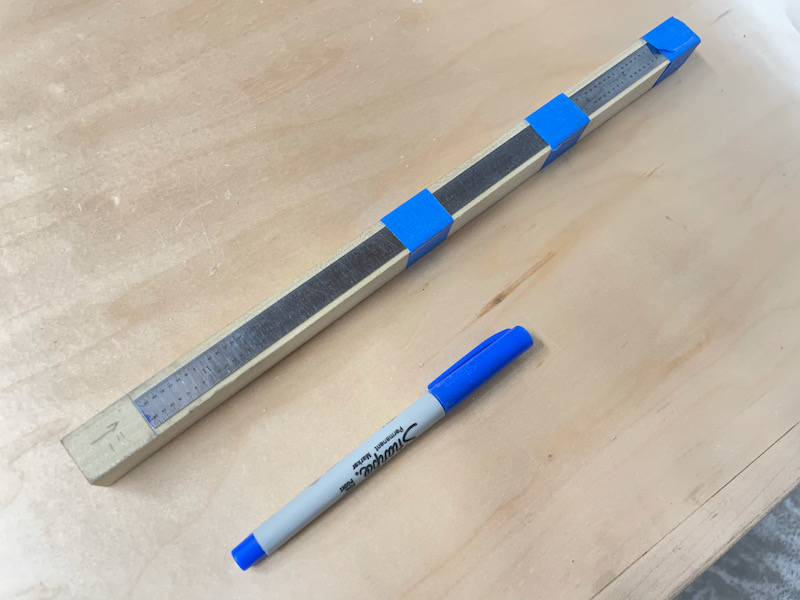
I marked the lines shown in the above photo by taping a ruler to a scrap of wood, with the ends offset by 1". I ran the wood stick around the inside of the fairing, being careful to keep it square, and used the ruler on the outside to trace my reference line. This was super easy and worked great.
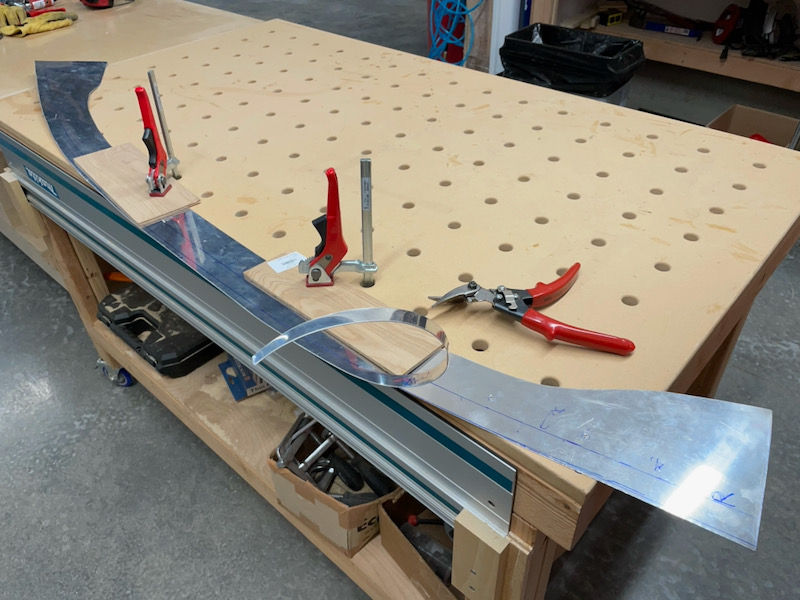
My woodworking assembly table turns out to be quite useful for making cuts in large pieces of aluminum. I'm able to use the grid of dog holes to clamp the piece vertically to the table, using some wood scraps to avoid marking it up. This lets me use both hands on the snips, which is a huge advantage when making cuts in this kind of thick material. It makes it handier when filing cut edges too.
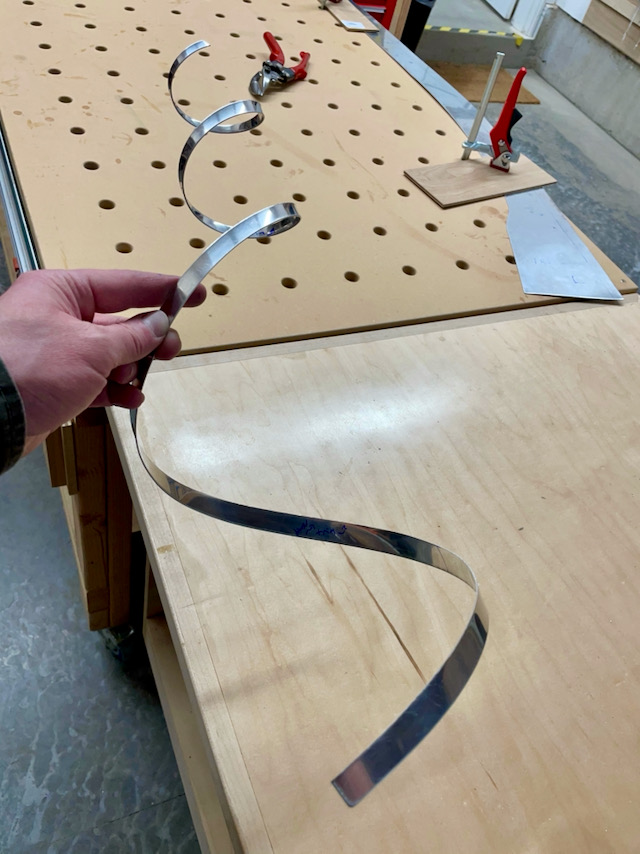
Accidental shop art:
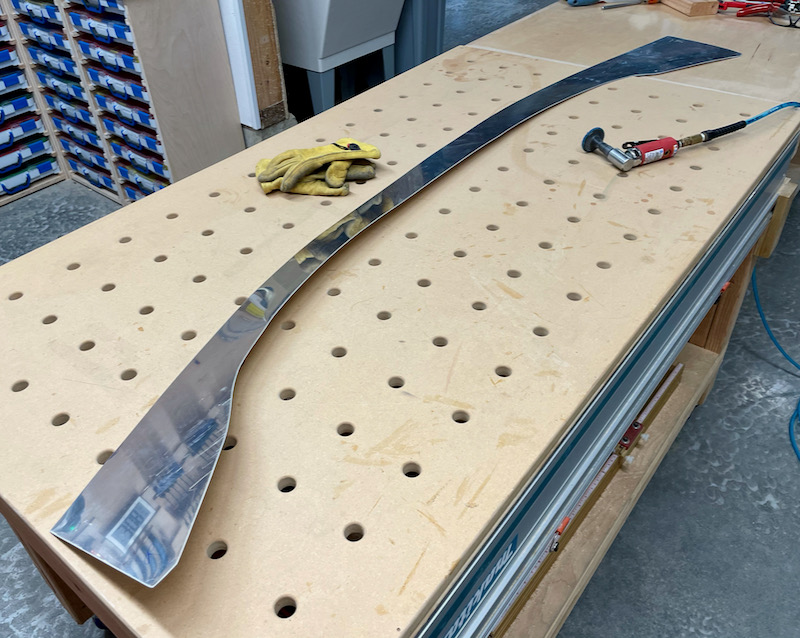
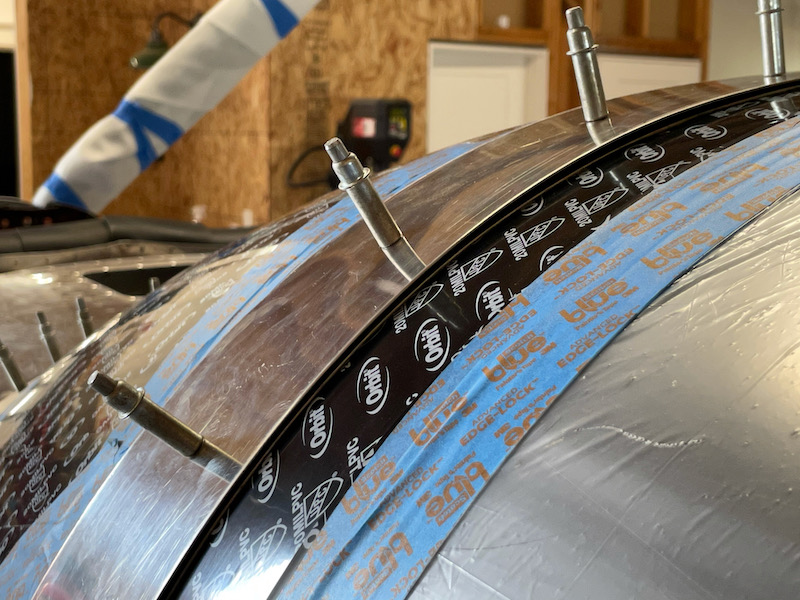
Here's the fairing with the aft edge trimmed back to leave a 1" overhang. I deburred it pretty well, but may still eventually take a fine file to it to make sure it looks absolutely straight. Still, it's not bad right now:
I'm pretty happy with the gap I achieved – between 1/16" and 1/8" all around. That should be big enough to avoid it getting hung up when opening and closing, but small enough that it's not noticeable unless you really look. If you examine this photo closely you can just see the aft edge of the canopy trim strip peeking out:
The last thing I managed to accomplish was to locate and drill the bottom-aft hole on each side of the airplane. These will help hold down all the various fairing pieces as I move on to the next step, which will be to trim the remaining edges. But that's enough work for one weekend!