Archive for the ‘Vertical Stabilizer’ Category

Vertical stabilizer fairing

Sunday, November 6th, 2022

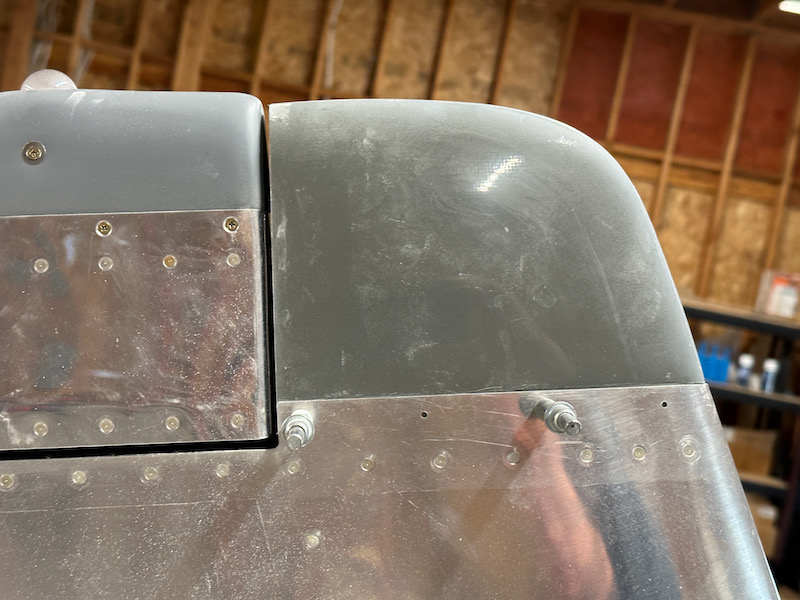
With the rudder finished and installed on the airplane, I'm now able to fit the vertical stabilizer fairing. Here it is clecoed to the skin:
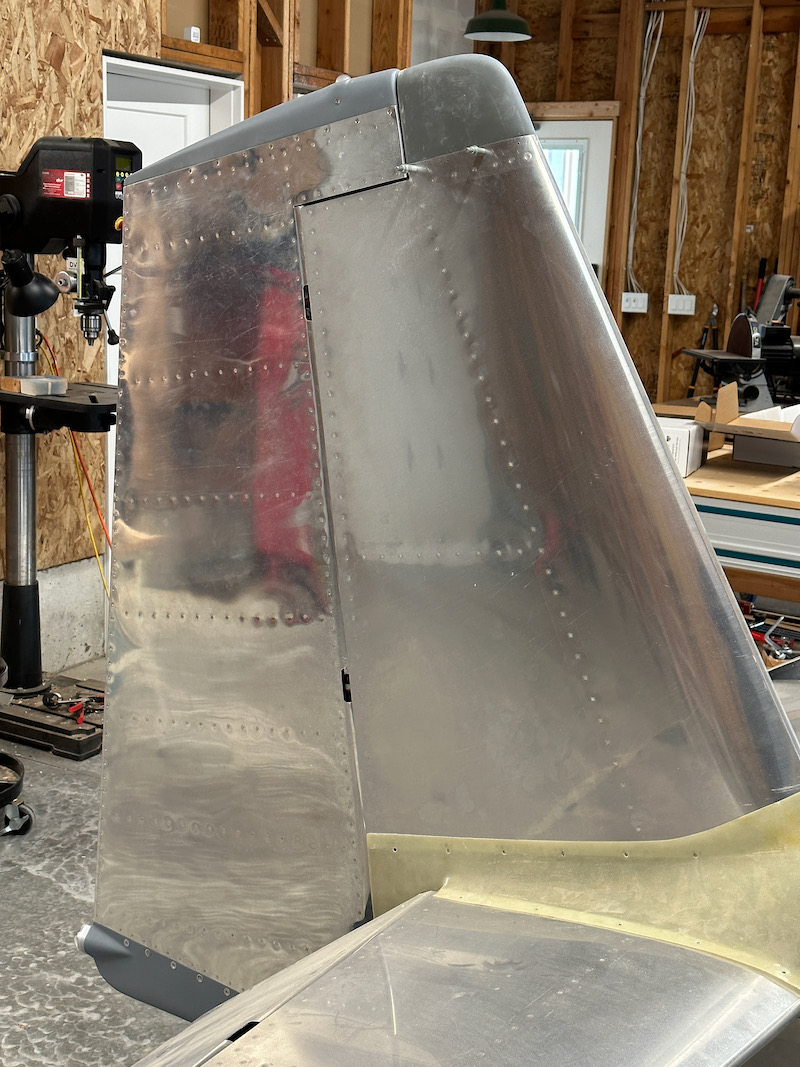
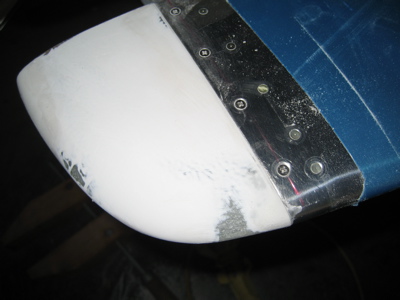
Unfortunately the shapes of the vertical stabilizer and rudder fairings don't match at all. Given that Van's can produce metal parts with holes that align perfectly, I'm not sure why their fiberglass parts are so troublesome – you'd think they'd be able to turn out properly-sized fairings in some kind of CNC-produced mold. But anyway, this mismatch needs to get fixed:
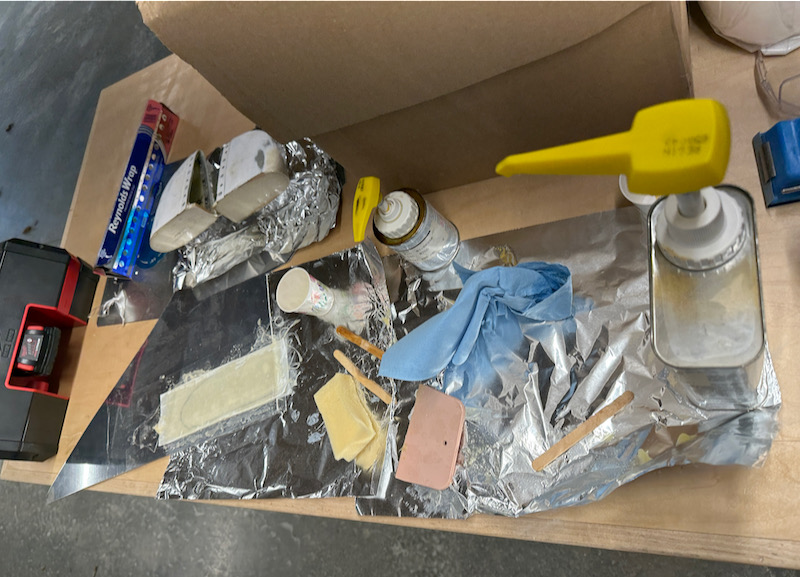
The back face of the fairing also needs to be closed up with something. I decided to use the method currently given in the RV-14 plans, and laid up three plies of glass over a flat piece of aluminum (visible at left). Oh fiberglass mess, how I have not missed you.
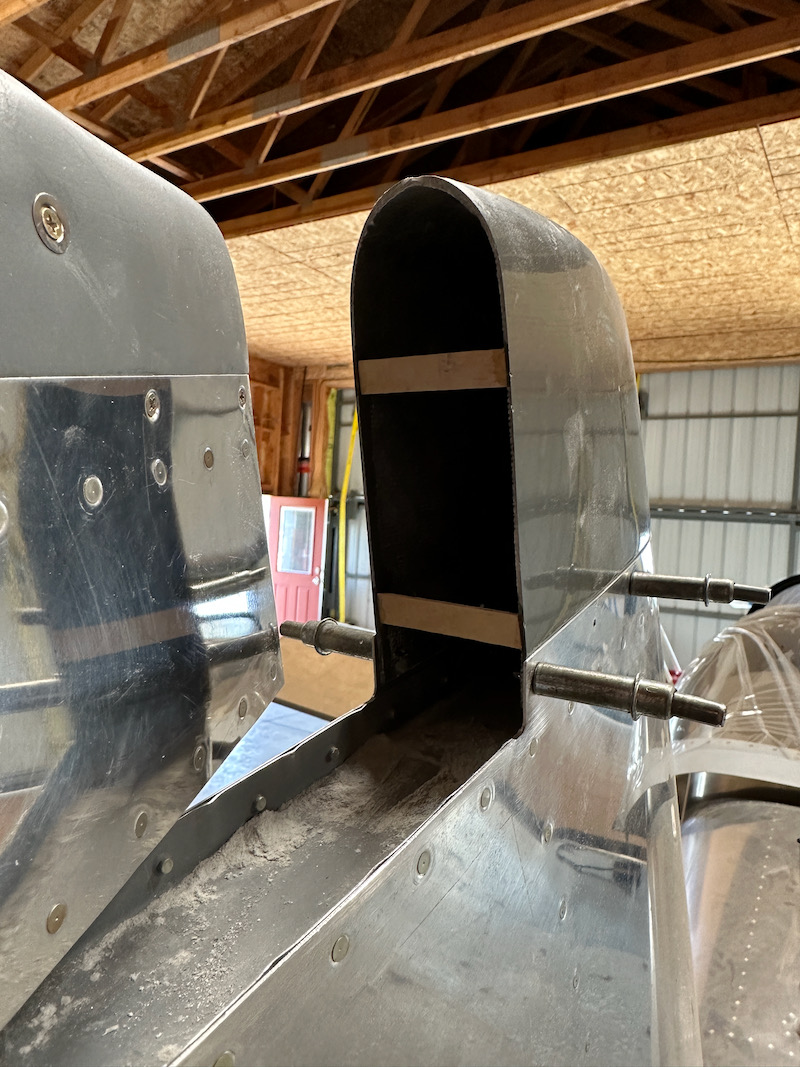
While that was curing, I cut some popsicle sticks to the correct size and super-glued them inside the fairing, flush with the edge. These will keep the fairing from collapsing when it's removed from the plane:
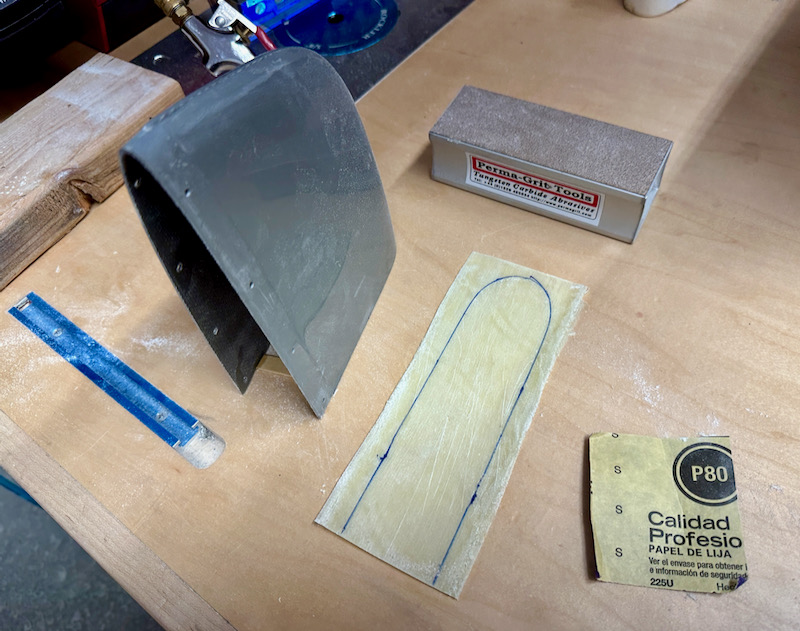
I ended up with a thin, flat sheet of stiff plastic, which I marked and trimmed slightly oversize:
Then I bonded it to the fairing with a flox bead, and an additional glass layer on the inside. The RV-14 plans tell you to do this step on the airplane, which seems like it would be messy; the popsicle sticks allow you to do this on the workbench where you can control the mess easier. I left it to cure overnight under an incandescent lamp due to the arrival of winter weather here in the northwest:
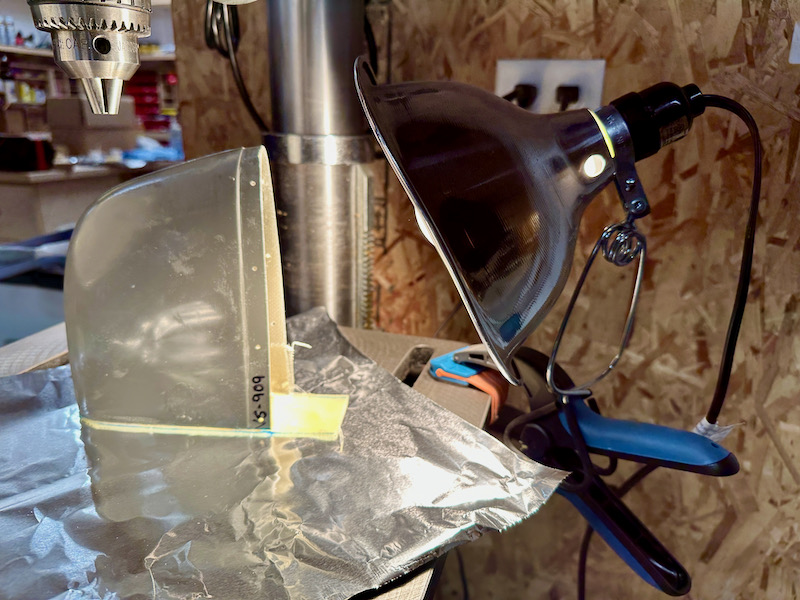
After curing I sanded the edges flush, and the result is pretty good. The popsicle sticks are now sandwiched between glass layers, which will prevent them from soaking up water and swelling:
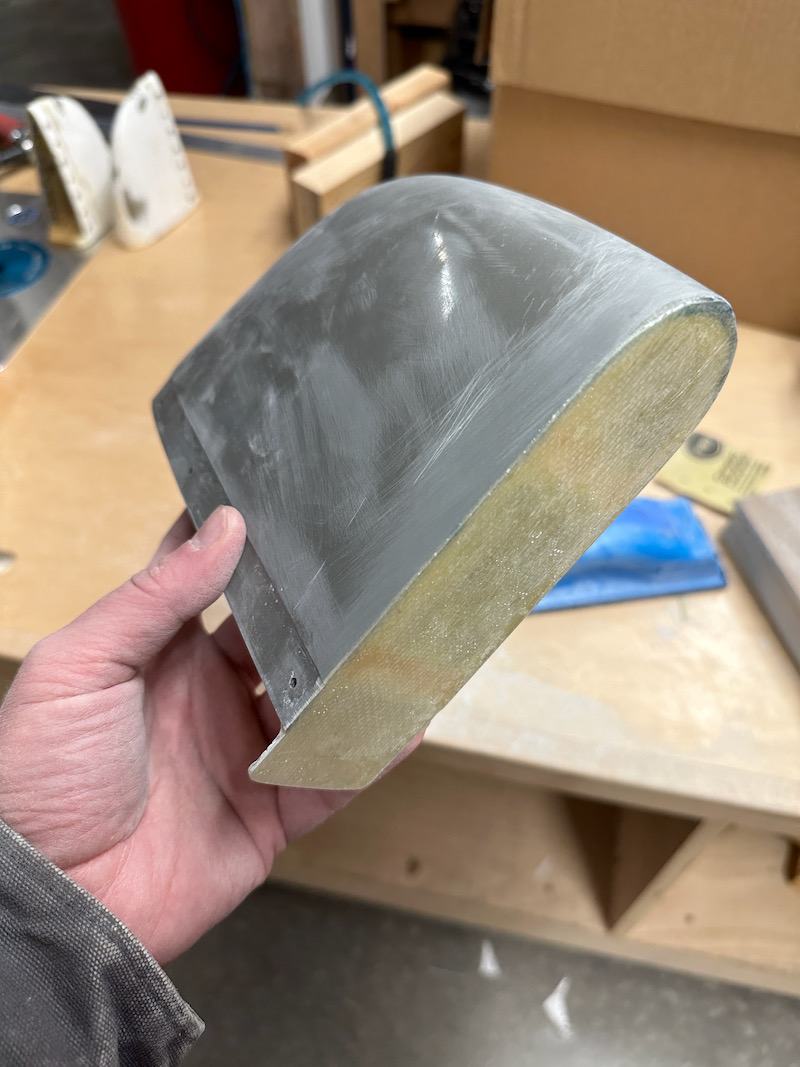
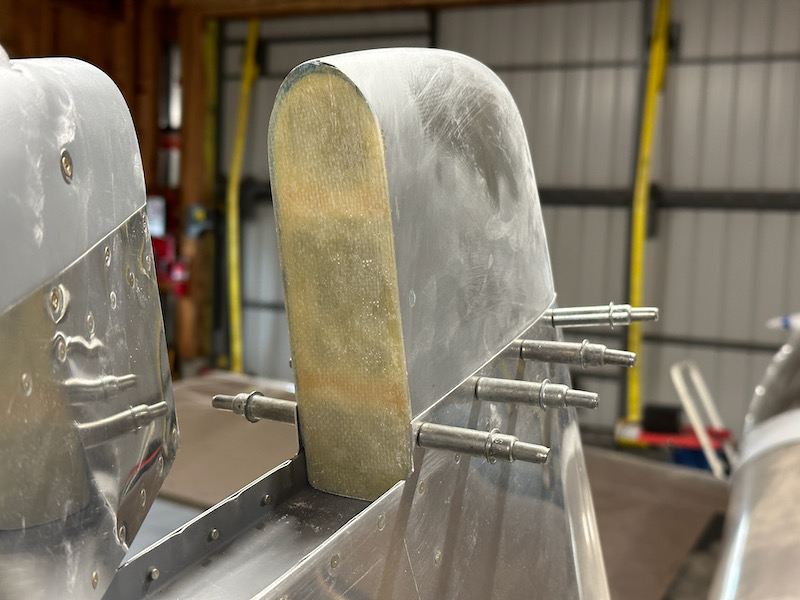
The little tongue at the bottom took a few iterations to sand to the right shape:
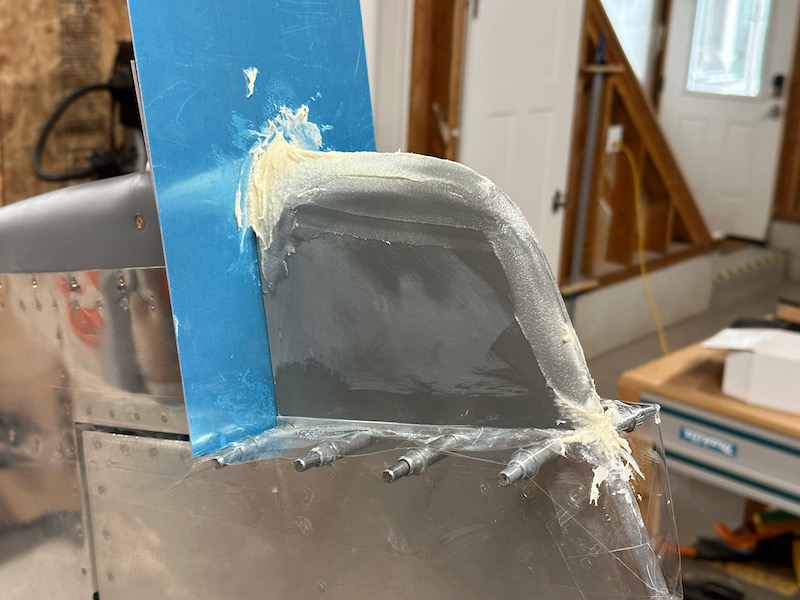
Making the fairing structurally complete is easy enough – the hard part is making it look nice. I protected the vertical stabilizer with tape, stuck in a piece of vinyl-covered aluminum as a divider, and slathered on the first application of micro filler:
After sanding most of it off, the shape is starting to improve… note the built-up areas at the nose as well as on top:
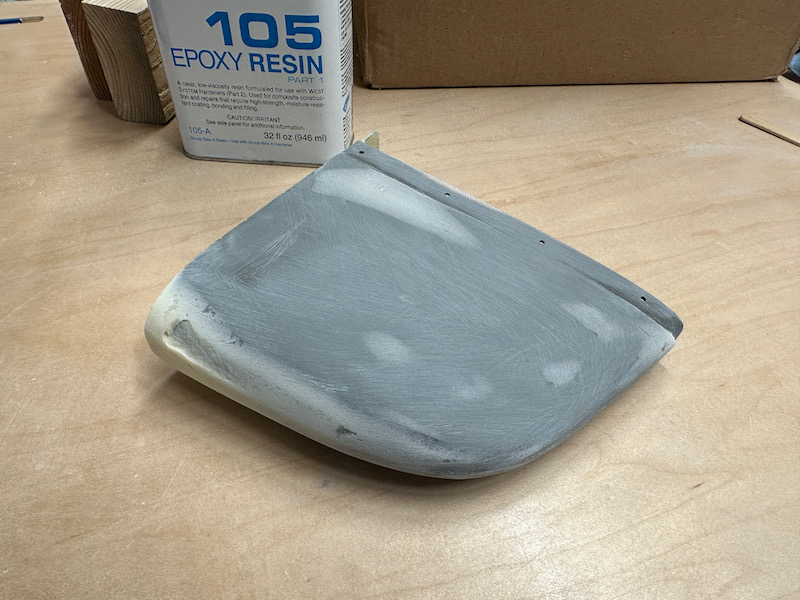
Another round to fill the low spots:
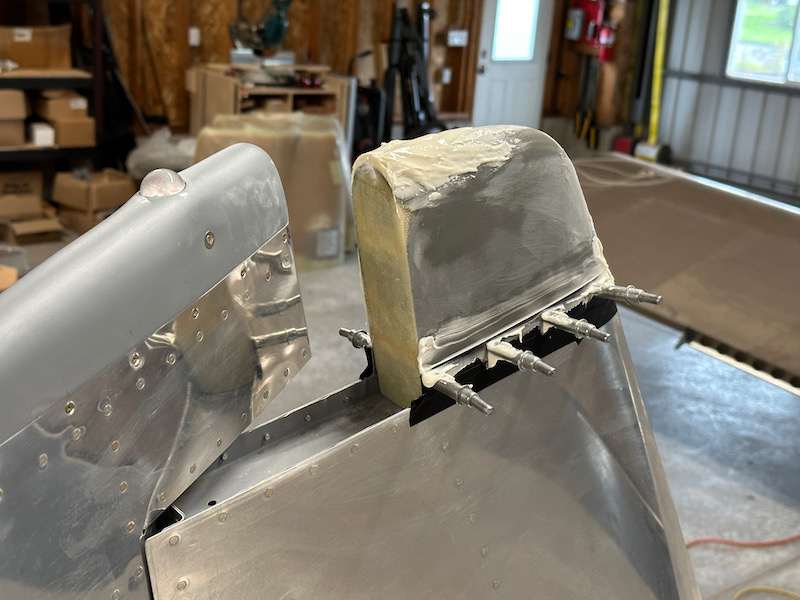
Sanding flush with the skin:
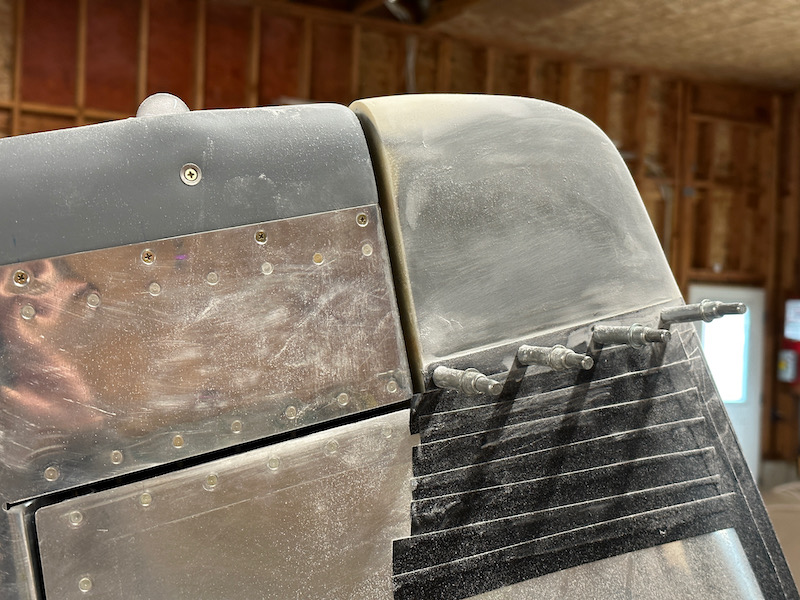
Here's the finished result, which looks terrible visually but is now the correct shape and smoothed to 320 grit:
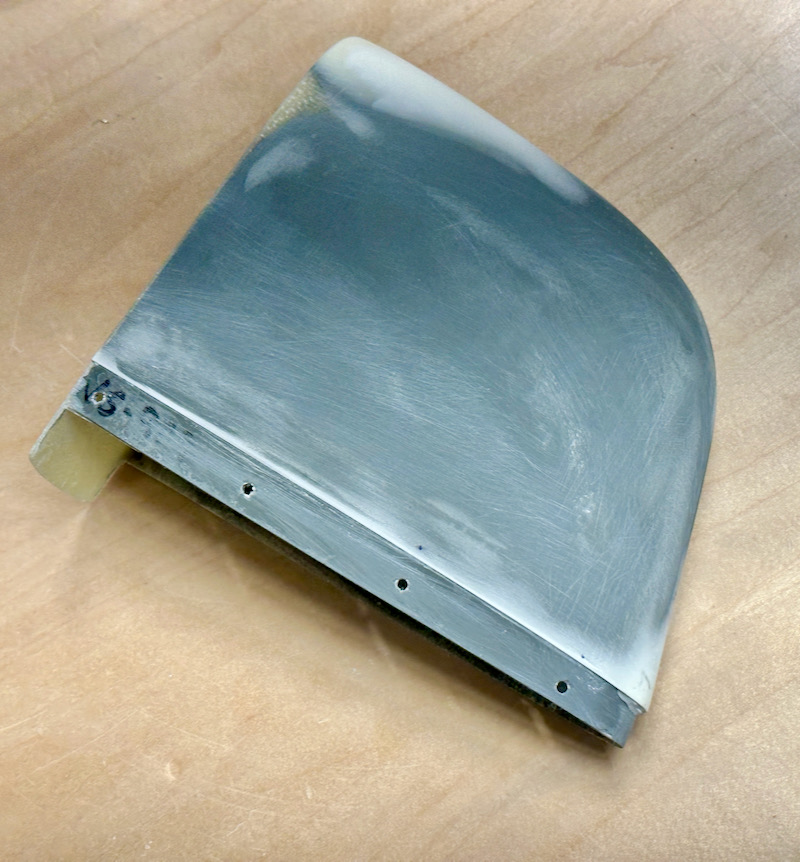
I did the usual thing with nutplates mounted on aluminum strips:
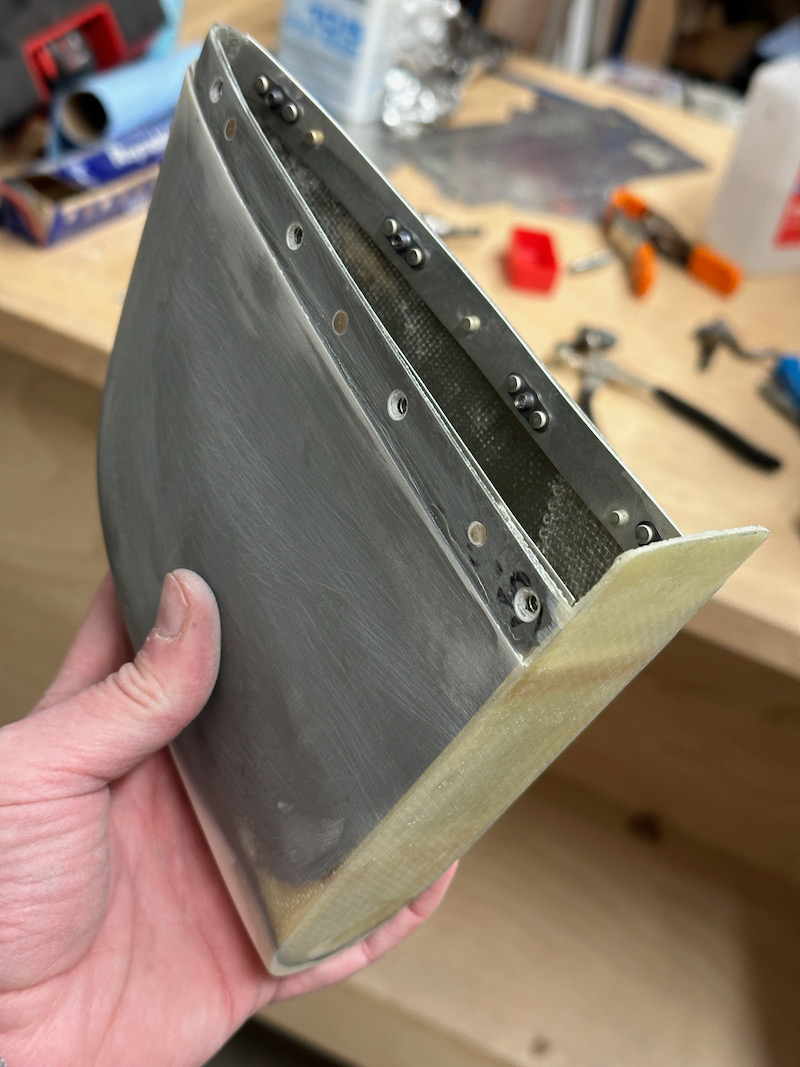
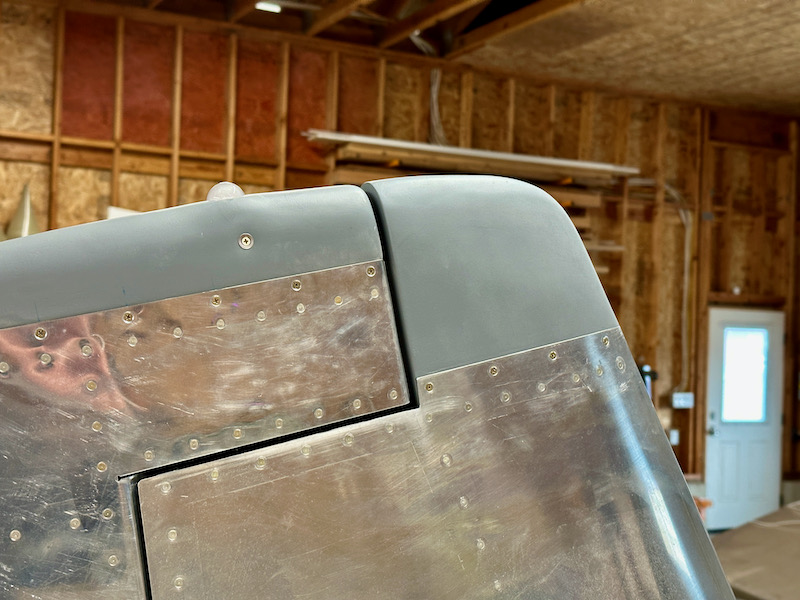
After a few coats of high-build primer, more sanding, and a final cosmetic coat of 7220, this is the finished result. Not perfect, but good enough for now. Eventually I'll have a pro painter take care of the last 10% and make it look really nice.
Misc stuff

Sunday, March 25th, 2007

I spent the whole day in the garage but didn't take many pictures. I guess I didn't actually get all that much accomplished – mostly I puttered and cleaned up the garage. It was great to be outside in the nice weather though.

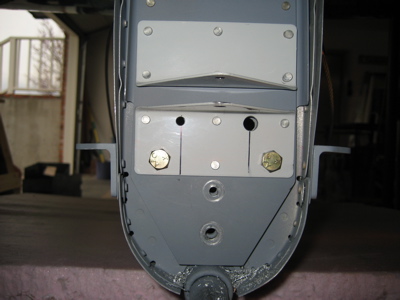
One of the pre-tail-mounting chores I've been meaning to do is drilling the holes for the strobe and nav light wires that will go through the vertical stabilizer spar into the rudder. I picked the same location as Dan for much the same reasons – with the taildragger there aren't many other good choices for where to run these wires. I drilled a 5/16" hole for the strobe cable and a 3/16" hole for the nav light wires. Both holes are a little oversized so I can use a few layers of shrink tubing and some RTV to protect the wires from chafing.

Another day, another round of filling and sanding empennage fairings. I'm just doing a little bit every work session, fitting the glass work in between other tasks that are more fun.

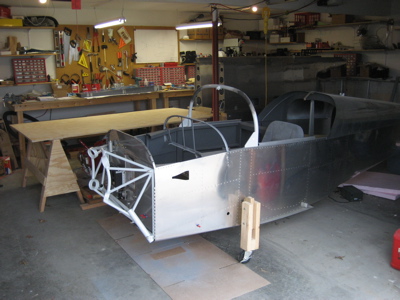
I rearranged the garage a bit, and made a little table out of a sheet of plywood and a couple sawhorses. This is where the canopy is going to sit while I work on it. Yes, I've decided to work on the canopy some more before I put the airplane on the gear and mount the engine. Matthew convinced me that it'll be easier to get to it while it's down low and not high up on the wheels. Plus it seems to be warm enough these days to start thinking about working with plexiglass again.

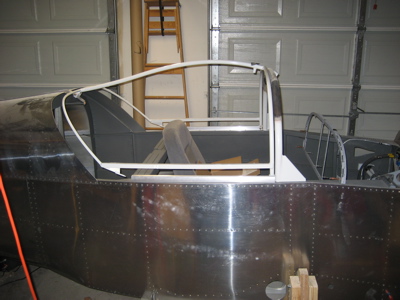
I got out the canopy frame to make sure it still fits – yep:

Belt and suspenders

Thursday, August 10th, 2006

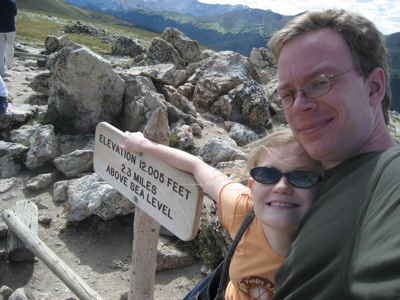
Back from a short vacation. We did a bit of rafting and a bit of hiking. Here's us on top of a mountain. It was very windy.

Just for grins, I called Van's and asked if there were any issues with the edge distance on the top two bolts versus the tailwheel weldment. Ken Scott said, roughly, "As long as you have any edge distance whatsoever it's no problem at all, but if you're a real belt and suspenders type of guy you could put another AN3 bolt in the middle." Belt and suspenders? Sign me up!

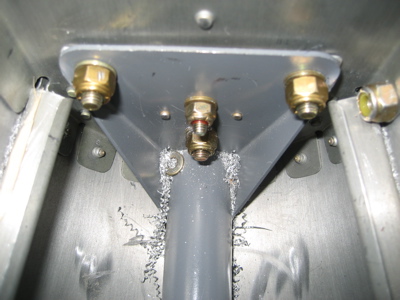
So here I've put an extra 3/16" bolt in there to help me sleep better at night:

Man, there's all kinds of stuff in there. Actually the whole tailcone is filled with dropped washers, nuts, clecoes, and metal shavings galore. After I get the empennage attach chores done I'll have to clean all this out.

Working on empennage attach some more

Saturday, August 5th, 2006

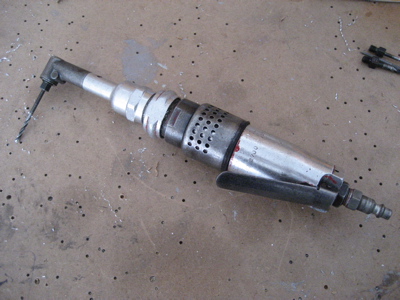
On an impulse, I bought this cool angle drill that was on sale at Brown Tool. I didn't get a chance to use it today though, since I need to replace the air fitting and it's really stuck on there tight. It'll have to wait until I reattach the vice to the bench.

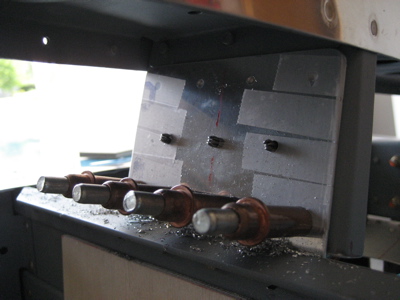
I carefully positioned the F-781 forward spar attach plate so it was lined up vertically and on the centerline of the aircraft, then drilled it to the horizontal stabilizer spar. The vertical stabilizer spar is just floating there in this photo, it's not clamped or attached at the moment. You can also just barely make out the 0.032" shim I made to go between the plate and the spar, since there was a gap there. It's held in place with scotch tape in this picture.

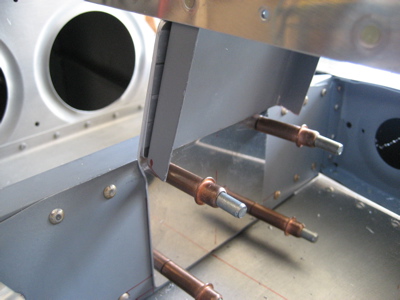
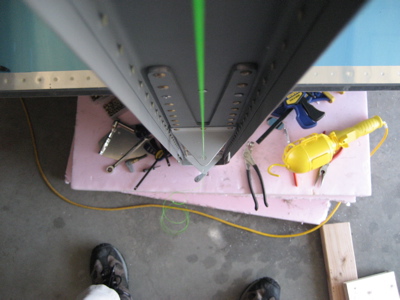
I used a metal straightedge to make sure the aft end of all three rudder hinge points were in line, then I dropped a string down through the bolt holes just to double check. Small movements at the front end of the stabilizer have big effects back here in terms of getting the hinges to line up.

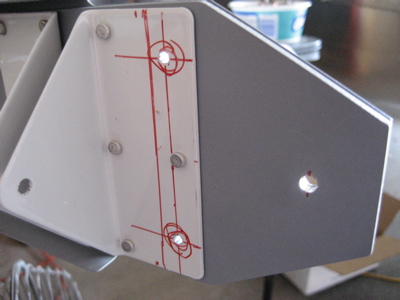
Once everything was good and lined up, I match drilled the holes in the attach plate through the VS spar, or at least as many as I could reach with the angle drill. I also drilled and reamed the pilot holes through the attach plate and HS spar up to 3/16".

I removed the stabilizer from the airplane to finish drilling the remaining rivet holes.

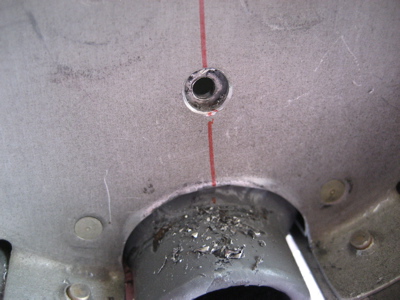
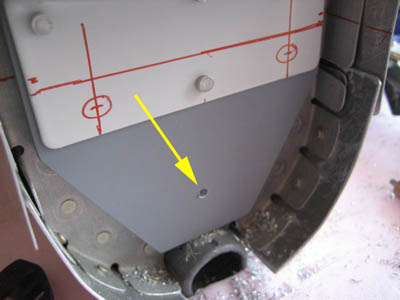
There is a tooling hole in the aft bulkhead exactly where the plans call for you to put the lowest of the three 1/4" bolts that attach the bottom part of the VS rear spar to the aft bulkhead and tailwheel mount. I center punched and drilled a #30 pilot hole right in the middle of that tooling hole, through the tailwheel mount.

Then I put the vertical stabilizer back on, bolted everything down, and back-drilled through the pilot hole into the stabilizer spar. Then I drilled the resulting hole up to 3/16" for temporary fitting.

I unbolted everything and took the stabilizer back off, then marked and drilled the other two bolt holes through the lower hinge bracket, using the dimensions on the plans.

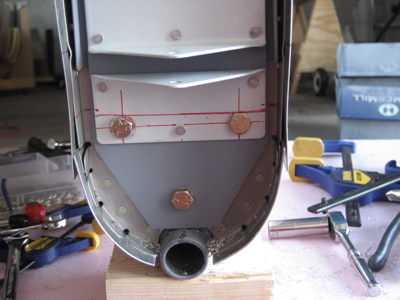
Then I bolted the stabilizer back in place yet again, drilled and reamed all three bolt holes up to 1/4", and put some temporary bolts in.

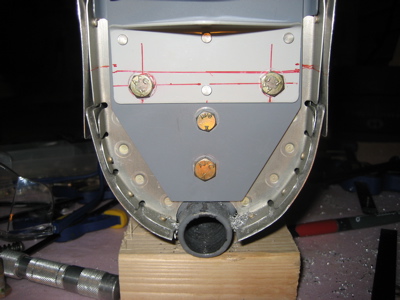
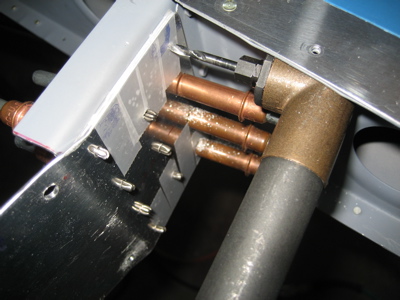
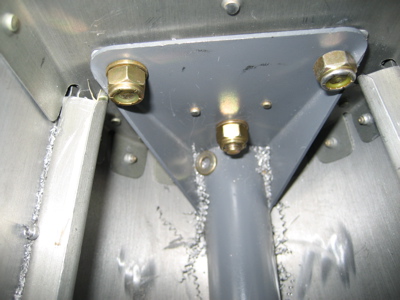
Here's an inside view. There is acceptable edge distance on both of the upper bolts – I was worried about this – but they're a little closer to where the radius of the bent-up edges start than they probably should be. On the left side, I may have to grind down the washer a tiny bit to get it to lay flat. If I'd moved the holes inboard about 1/8" each from where the plans have you put them, it would have been perfect. This is okay though. This entire area has you measuring and drilling blind, so if it comes out halfway decent you've done about as good as you can.

This looks a lot like it did a few days ago, but now all the holes are drilled and the vertical stabilizer is actually bolted in place. This thing is completely solid – you can grab ahold of the end and give it a shake, and it won't budge. I suppose that's a good thing for a 200 mph aircraft.

I just have to deburr, prime, and rivet some stuff, then it can be bolted in place for good. Actually though, I will probably take it off again and just put some smaller bolts through the tailwheel mount instead. That way I can roll the fuselage around without the tail, to save space in the workshop.

But first, off to Colorado for a mini vacation.

Still working on vertical stabilizer attach

Monday, July 31st, 2006

I measured about fifty times to make sure the vertical and horizontal stabilizers were absolutely perpindicular, then I drilled and bolted the up elevator stop to the fuselage and the VS spar.

I still have to fit and attach it in two other places, but this is a start. It's also all I have time for tonight!