Archive for the ‘Vertical Stabilizer’ Category

Working on vertical stabilizer attach

Sunday, July 30th, 2006

Well, I got back from Oshkosh. Was busy working most of the time, but I did have a little time to sneak off and check out the latest gadgets. I also did some engine shopping. Anyway, tonight after the incredible heat subsided a bit, I spent a little time on the project. Here is the up-elevator stop prior to cutting:

Here it is all cut and with pilot holes drilled.

Here's the up-elevator stop being fitted to the aft fuselage. This piece is also one of the three places where the vertical stabilizer attaches to the rest of the airplane. I wasn't quite ready to commit to one particular stabilizer alignment yet, so I didn't drill the other set of pilot holes (from the elevator stop through the VS spar) tonight.

This whole process of fitting the empennage is very fiddly. Must go slowly to avoid building a crooked airplane.

Working on empennage attach

Sunday, July 23rd, 2006

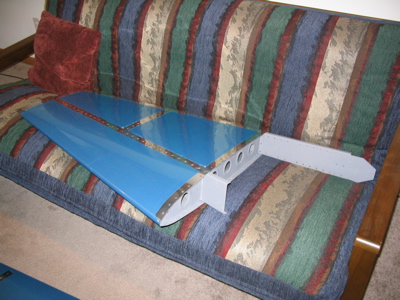
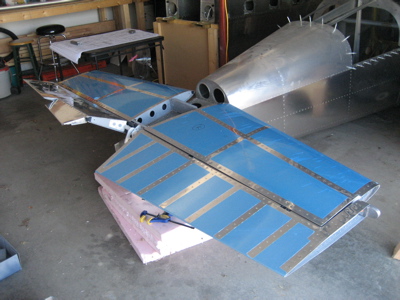
More work on the empennage attach chores today. I hauled the elevators down from the airplane storeroom, and spent a bit of time filing metal away from the left elevator where I noticed it was a little close to the outboard edge of the trim tab. Good clearance all around now.

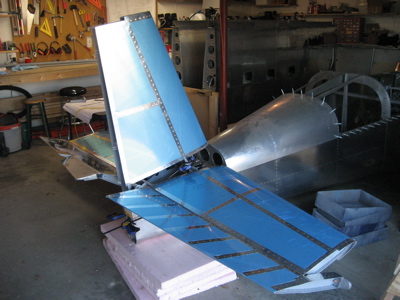
Then I temporarily mounted them to the stabilizer. Hey cool, the tail has moving parts now!

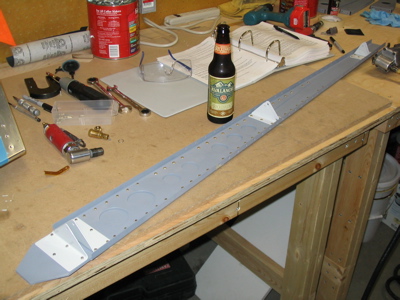
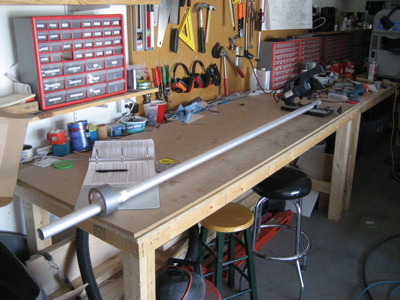
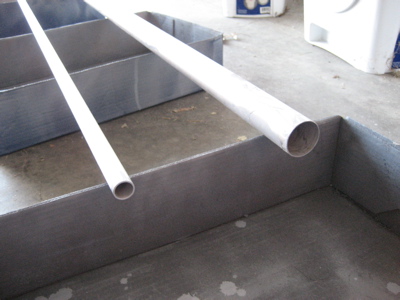
The next step in the plans is to make the elevator pushrods. I cut them to length using my handy dandy miniature chop saw:

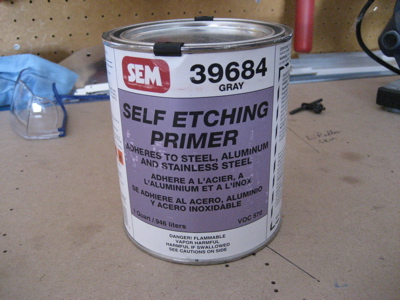
I had previously picked up a quart of this SEM self-etching primer, which is pretty similar to the GBP 988 I've been using elsewhere, just in liquid form instead of a spray can.

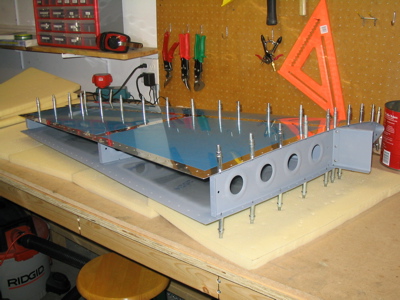
To prime the insides of the pushrods, I taped over one end, poured liquid primer down the other end and taped it up, and then sloshed it all around inside. Since these pushrods are so long, especially the aft one, using the liquid primer here was easier than spraying a ton of primer down the inside like I did with the previous ones.

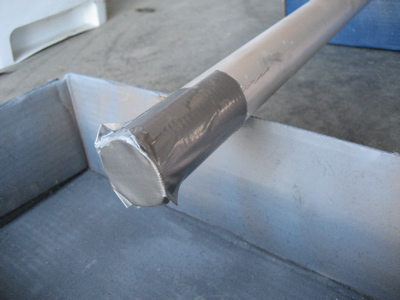
After the insides were all coated with primer, I uncorked the ends to let everything dry out.

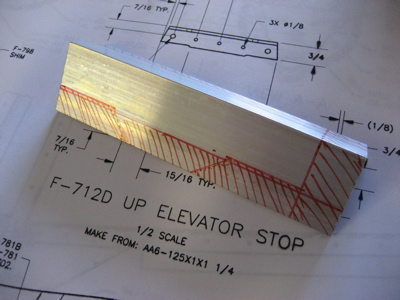
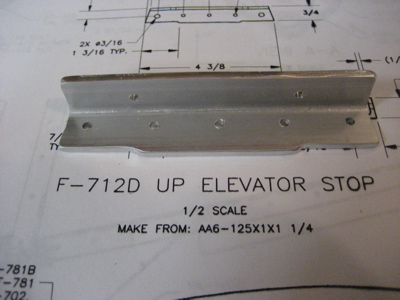
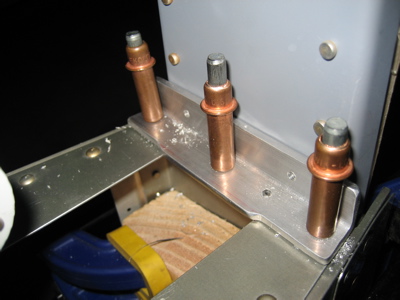
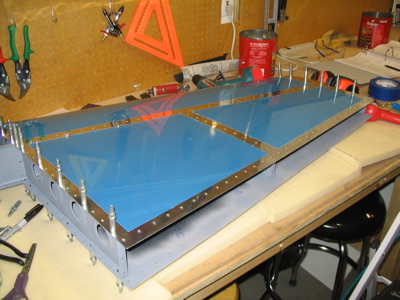
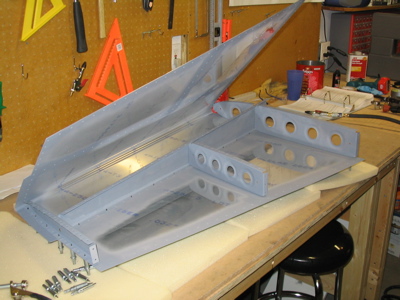
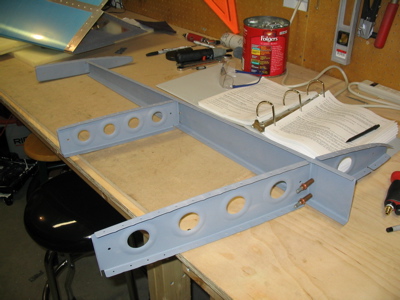
While the pushrods were drying, I got out the vertical stabilizer attach plate and clamped it in place to test the fit.

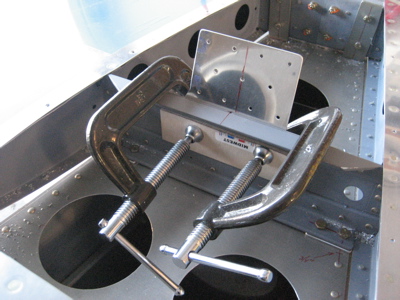
One of the first things the plans have you do when you begin the process of attaching the vertical stabilizer is to cut 5/8" off the VS front spar. Uh, gee guys, it sure would have been nice to have known about this when I was building the thing in the first place. It would have been a lot easier to trim the spar before it was, you know, all riveted in place and stuff. Further evidence that the RV-7 is a Frankenplane: Wings and vertical fin from an RV-8, fuselage and rudder from an RV-9, and instructions from who the heck knows where. Oh well, they fly nice and look real purty.

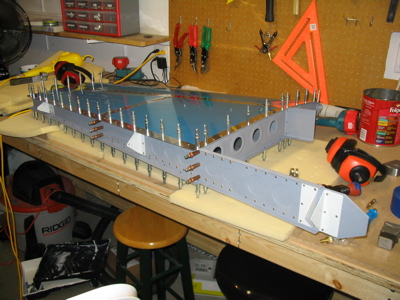
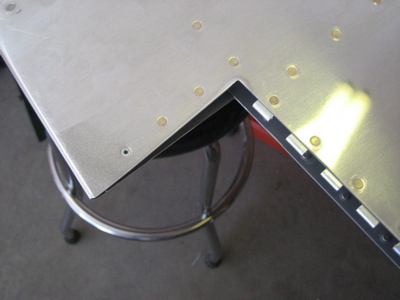
I got as far as clamping the vertical stabilizer in place before I had to knock off for the night. I'll be away at Oshkosh for the rest of the week, but it's nice to know that I have this thing-that-looks-a-lot-more-like-an-airplane-now waiting in the garage for when I get back…

Finished Vertical Stabilizer

Saturday, June 25th, 2005

Mary was awesome again and came out to pound in the skin-to-forward-spar and skin-to-middle-rib rivets:

Then the rear spar gets clecoed on…

…aaaaaaand, done. The vertical and horizontal stabilizers are finished, hooray!

Got the VS ready to rivet

Thursday, June 23rd, 2005

I didn't get to fly as much tonight after work as I'd planned, so I got to work on the RV just a little bit. I swapped air connectors so I could run the rivet gun – as an aside, boy do I not like using the air tools without my handy swivel connector and my lightweight couplers – and smashed in the rivets that attach the ribs to the lower part of the forward vertical stab spar. Then, everything gets clecoed together:

I'll have to make sure to be extra nice to Mary so she'll be willing to come out to the sweltering garage to pound in these rivets this weekend…

VS spar riveting

Wednesday, June 22nd, 2005

I managed to find enough normal-sized air couplers laying around the garage to get the squeezer hooked up, so I was able to get the rear vertical stabilizer spar riveted together:

(Note that I keep an ample supply of lubricant available to make the work process go smoother)

The next step has you rivet the VS ribs to the front spar. I managed to get the upper and center ribs attached, but the geometry of the lower rib/spar interface has me stumped. I guess I'll either figure out a way to get the squeezer on those rivets, or I'll just smash them with the rivet gun. In that case, I have to wait for the new air fittings to arrive on Friday so I can get my regular air lines hooked up again and run the rivet gun.