Archive for the ‘Canopy’ Category

Canopy skirt seal block

Thursday, July 27th, 2023

Probably the last deferred task related to the canopy is the installation of the C-679 seal block. This is supposed to plug the hole in the aft canopy skirt where the center track goes through, to keep cold air from blowing on your neck.

Per the plans, I simply tied the seal block to the canopy frame with a length of monofilament fishing line. It took quite a few tries to get the length just right, and there isn't a lot of room below the canopy skirt in which to tie knots, but at least you can do the whole job without crawling into the fuselage.

Once adjusted properly, the seal block is automatically pulled into the recess in the canopy skirt when the canopy is closed. When the canopy is opened, the C-661 slider block simply pushes the seal block out of the way. It actually works surprisingly well, and seems like it will block a lot of air. I'm sure it helps that I molded the fiberglass canopy skirt around the block; the stock aluminum skirt design might not seal as well.

Like many of Van's "unique" design features, this is design is highly mickey mouse, but also very lightweight. We'll see how well it works.

Glued windscreen

Friday, May 21st, 2021

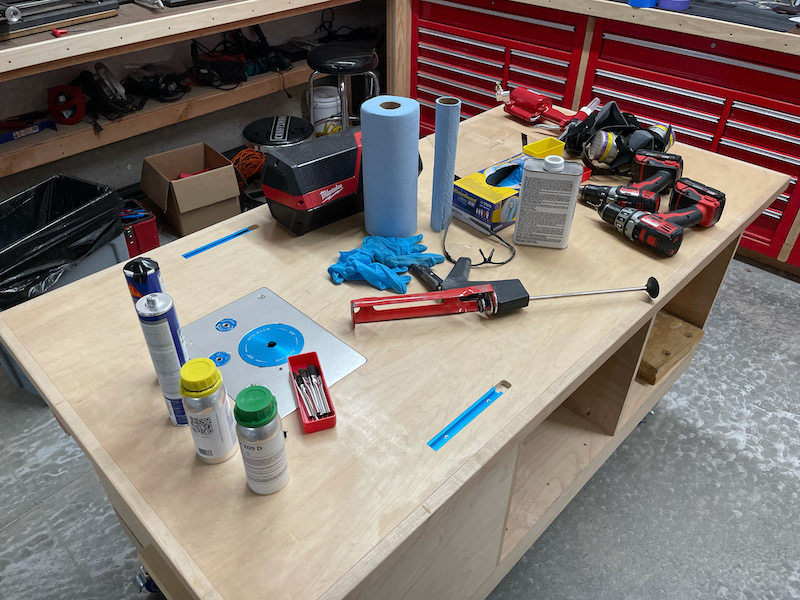
In exchange for a free burrito lunch, I convinced a friend to come help me install the windscreen and fairings. An advantageous deal for me, since a second set of hands is really a necessity for this job. You're working with adhesives and chemicals that want to get all over everything, and once you start applying the glue you're on a time clock. Fortunately the Sikaflex adhesive has a pretty long working life, but you do have to keep things moving along.

First, we wiped down all the glue surfaces with 205 Aktivator, followed a few minutes later by 209D primer. Having a second person on standby to wipe up drips before they flash off is key for the vertical surfaces:

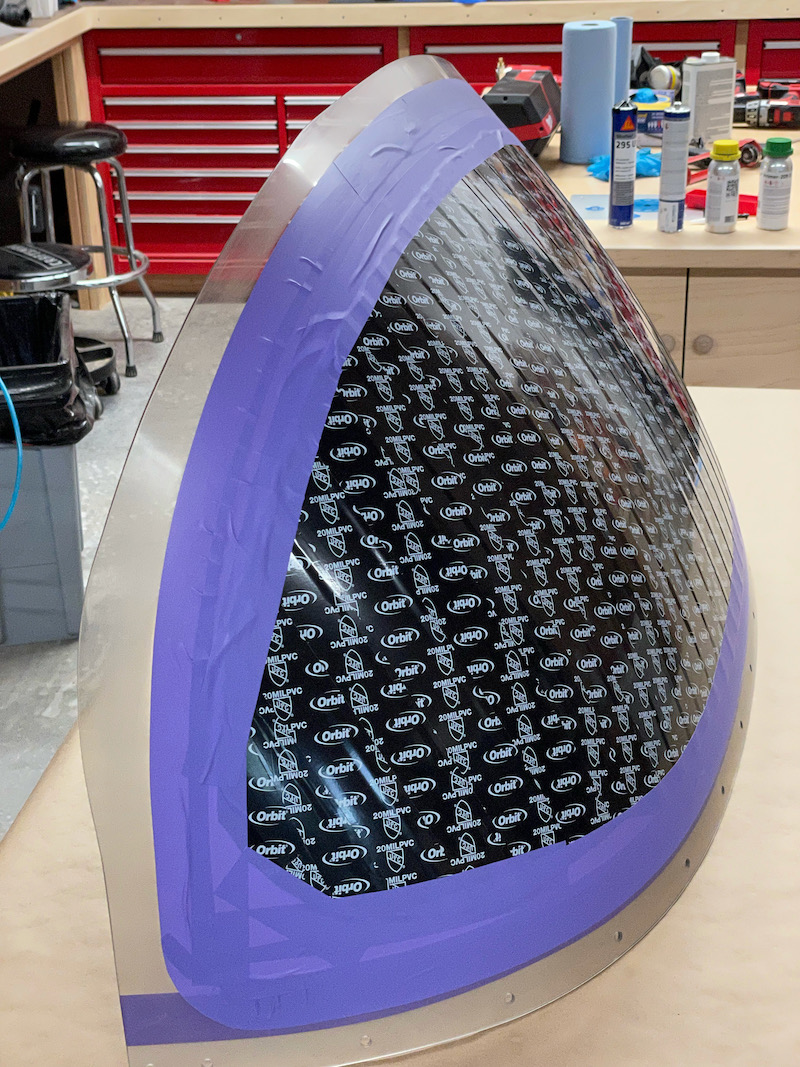
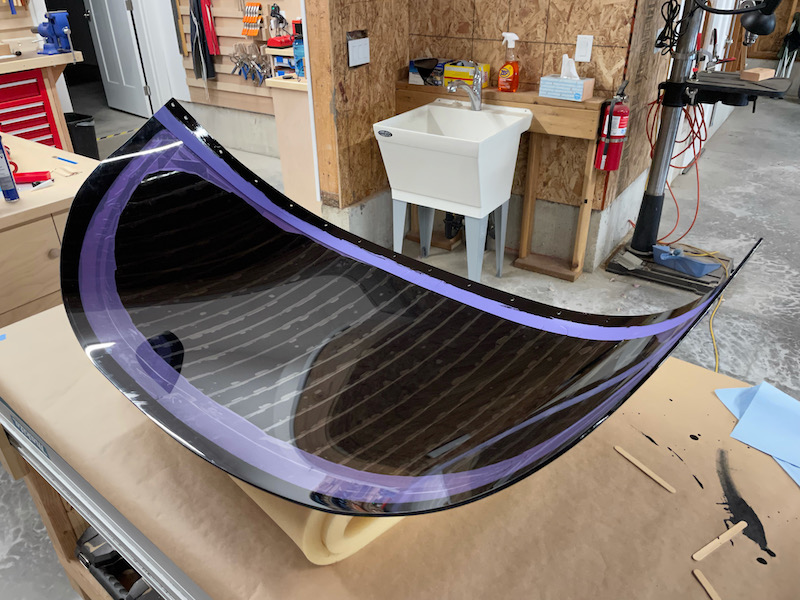
My assistant held the windscreen glass up in the air while I primed the edges. Since all the edges had wet primer on them, we set it on a stack of foam to cure without touching the table.

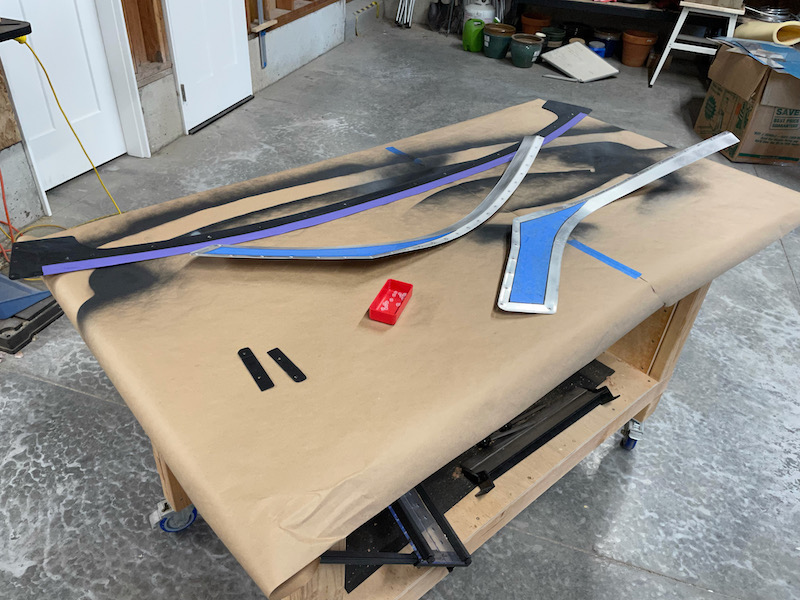
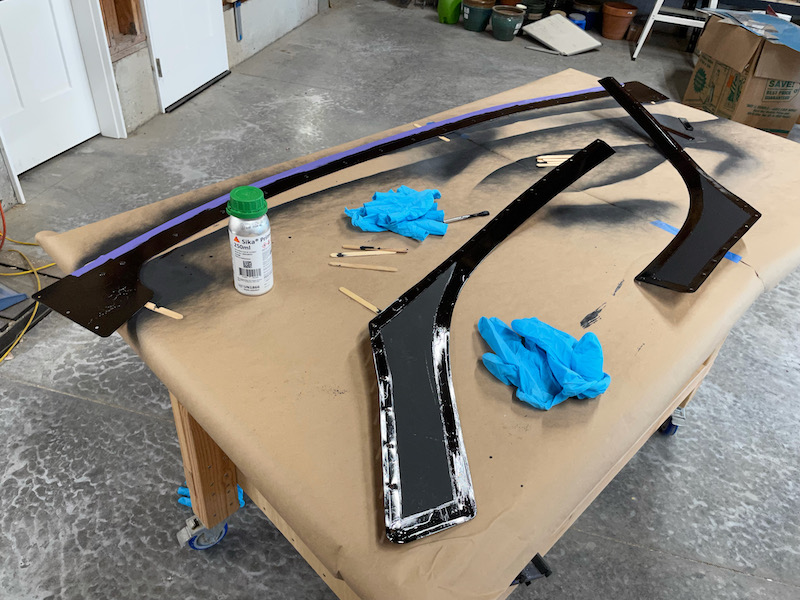
We also primed the glue lines on the inside of the aluminum fairings:

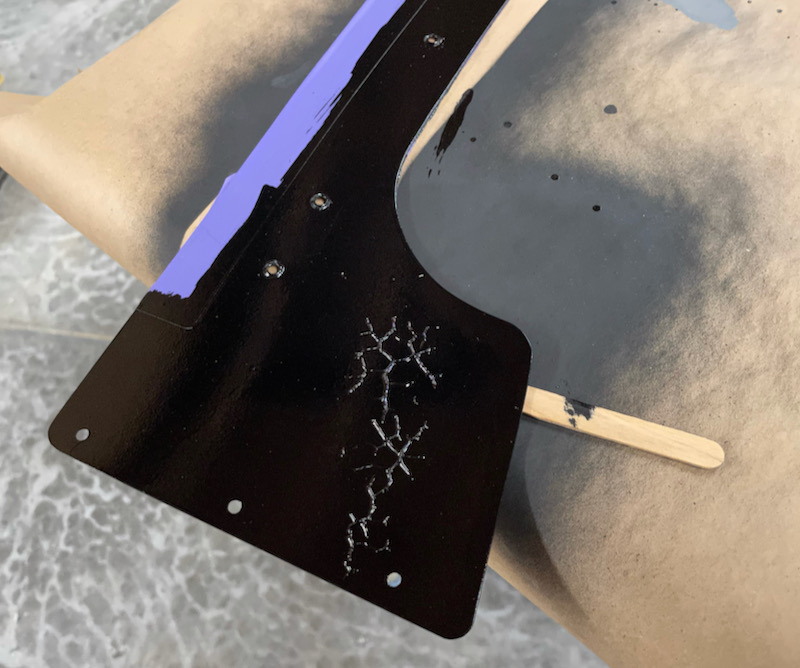
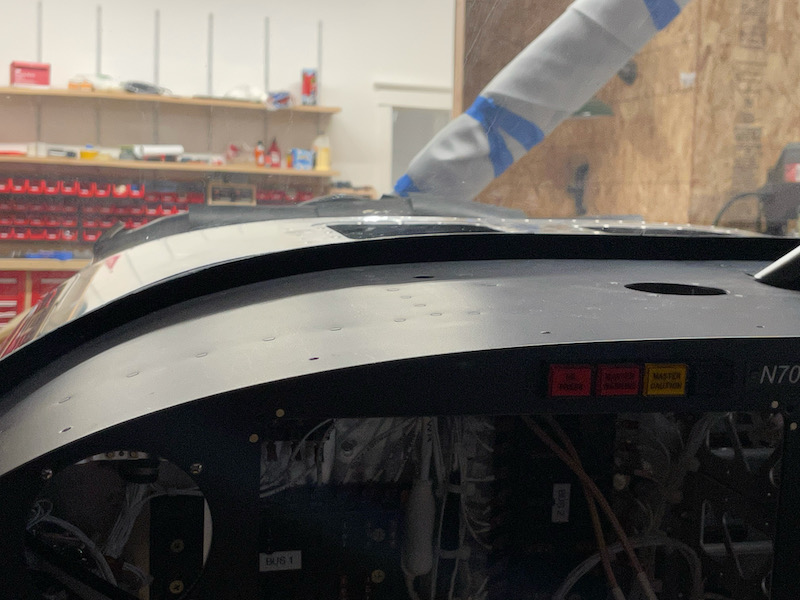
A worrying development – the solvent in the primer (strong stuff, from the smell of it) caused the black paint on the fairings and fuselage to wrinkle. But at this point we were committed to proceed, and the affected areas are only cosmetic and shouldn't be visible anyway, so we pressed on. Next time I will be more careful about keeping the paint and primer separated, or else removing the paint in areas that will be primed.

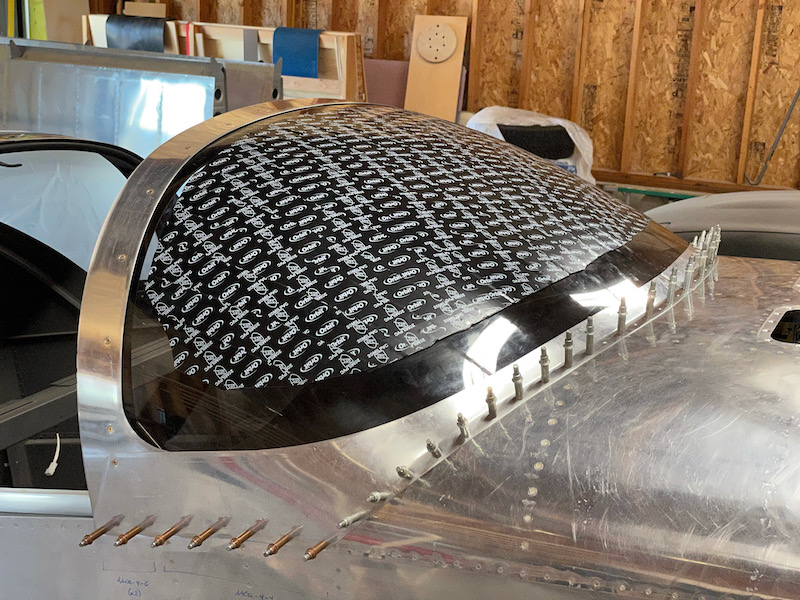
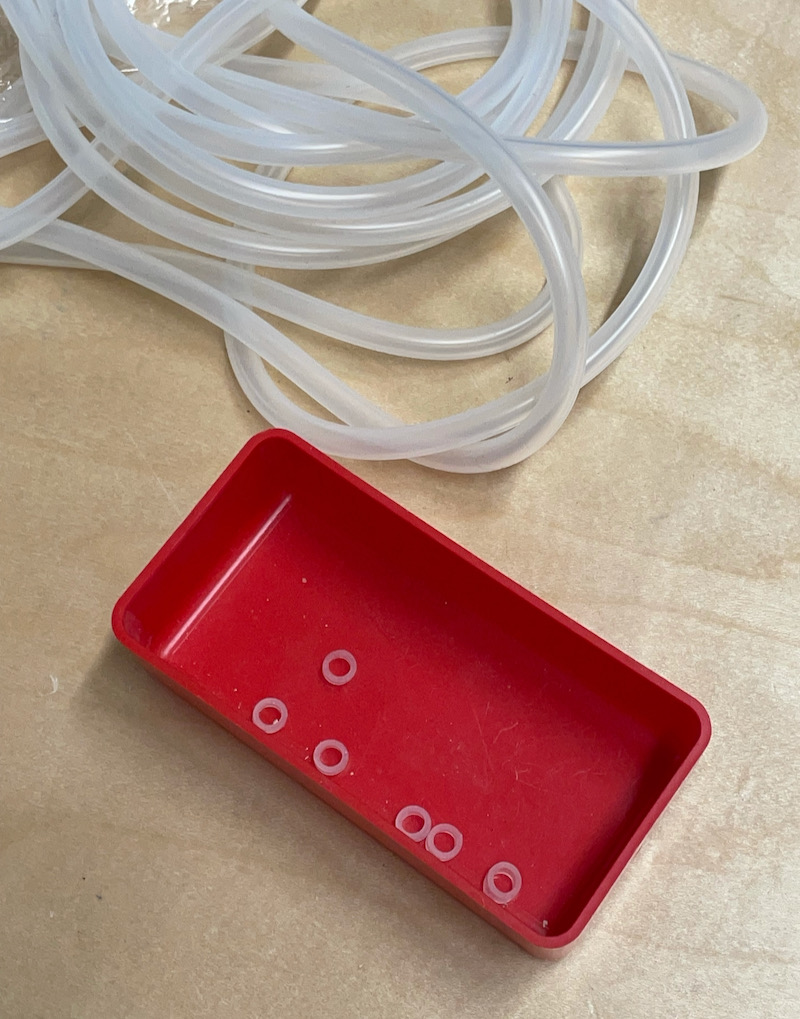
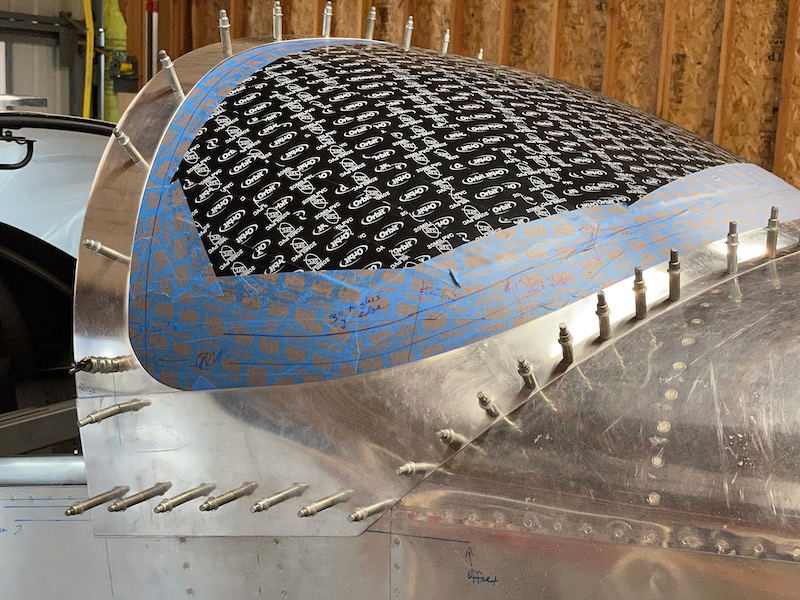
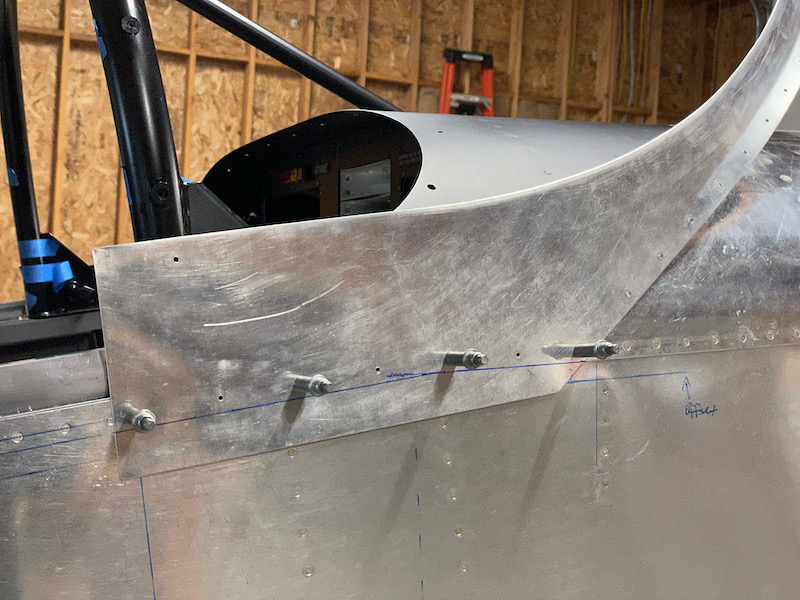
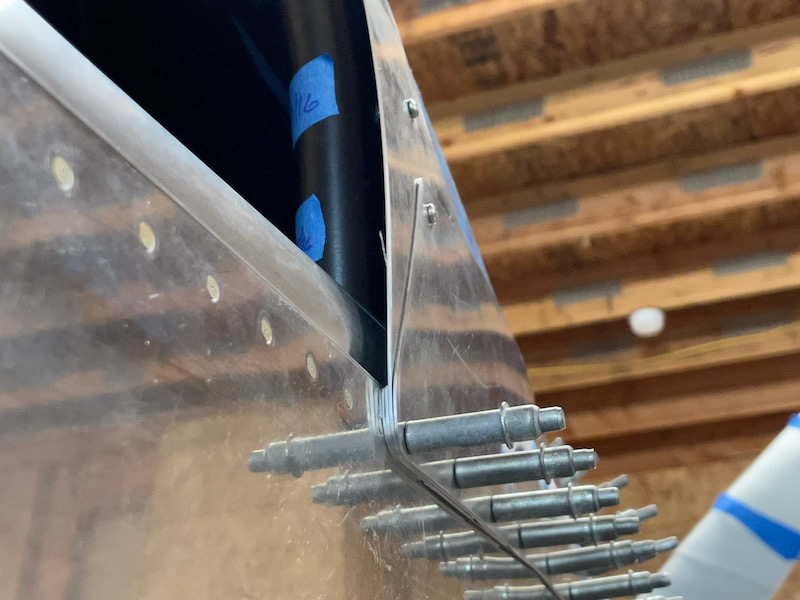
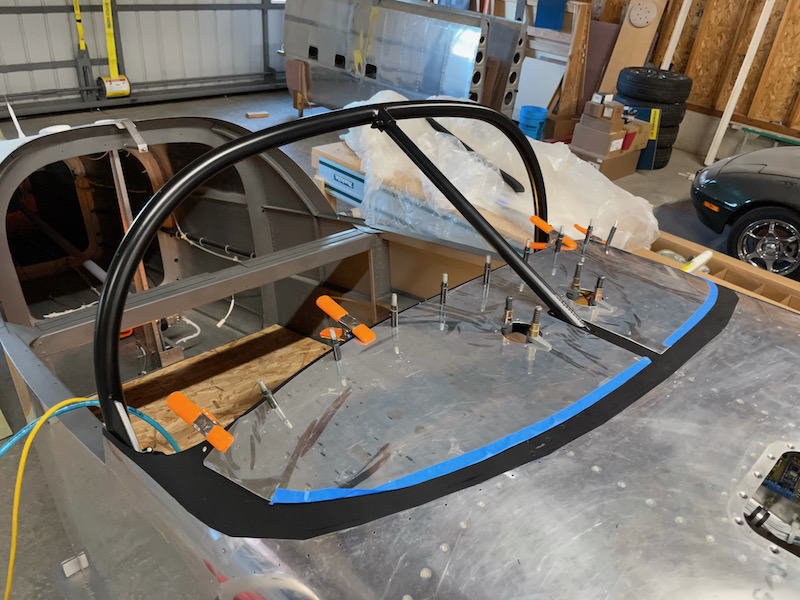
Not a lot of in-progress photos from this point on, since we were busy making a mess. First we set the windscreen glass onto the fuselage – dry, no glue yet – and glued/screwed the top fairing strip starting from the center and working down both sides, not forgetting to install the silicone bushings in the screw holes. Then we smeared the glue for the windscreen base fairings onto the fuselage and glass, as seen here:

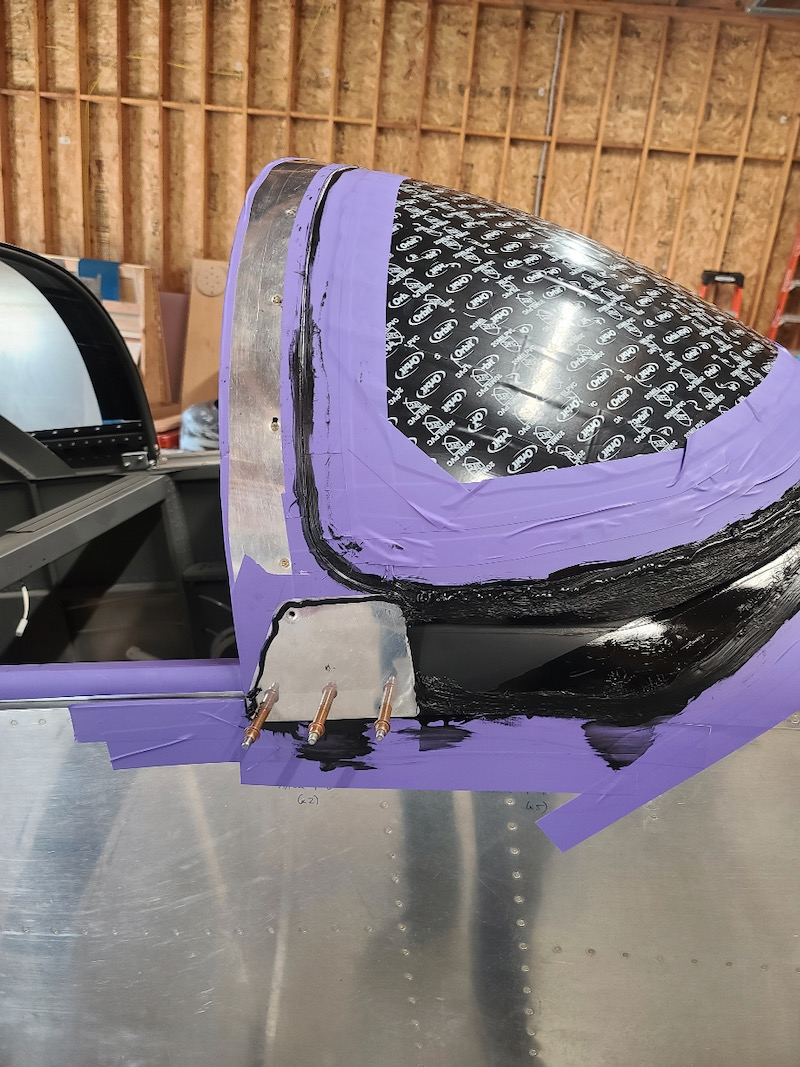
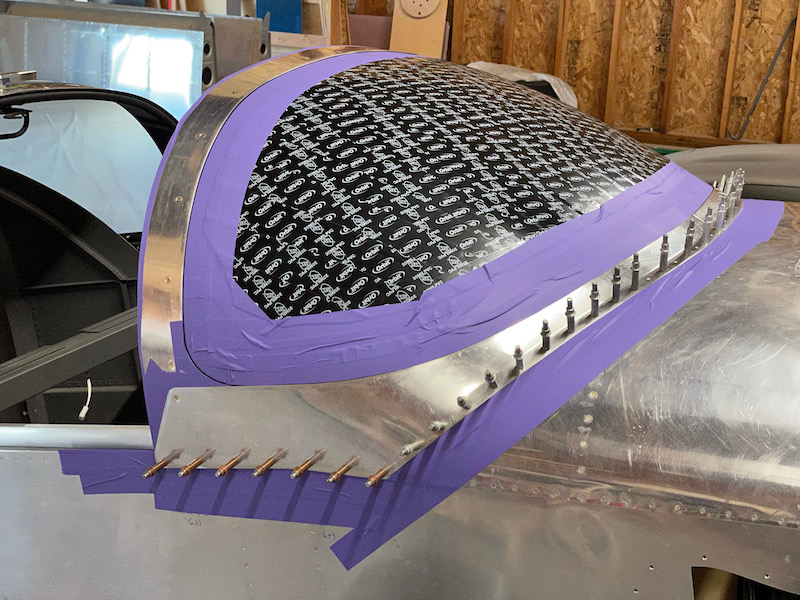
I clecoed the fairings to the fuselage and pressed them down onto the glass to get a good amount of squeeze-out:

I used popsicle sticks to clean up the excess adhesive and tool the edges:

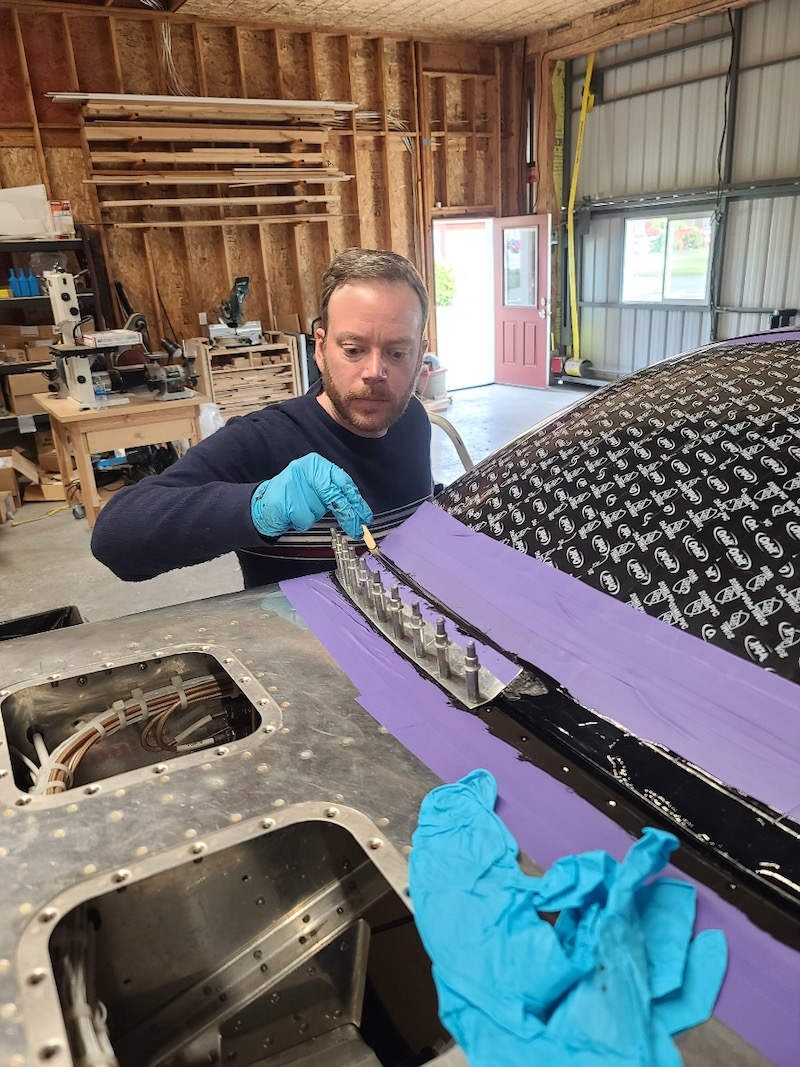
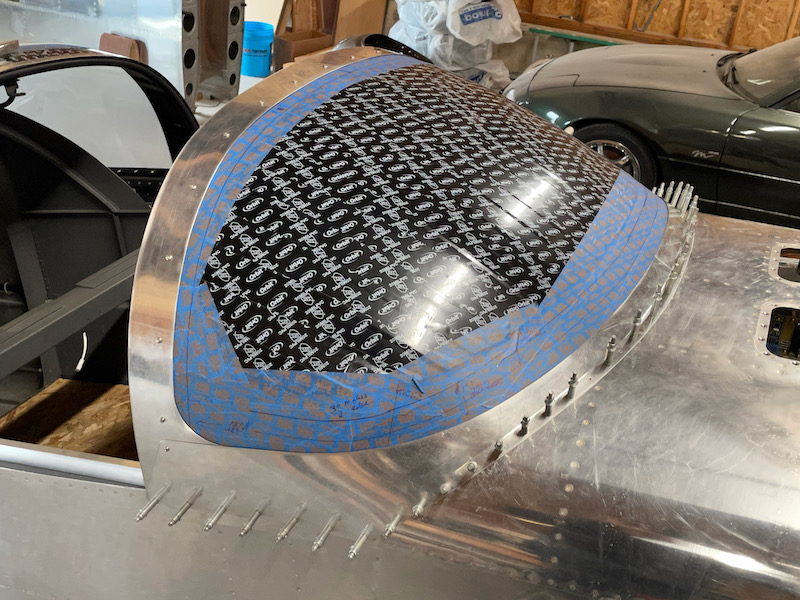
Then we installed all the rivets (MK319's along the front, AACQ-4's along the longerons), cleaned up more squeeze-out, tooled more edges, and then finally removed the masking tape. I also laid in a thick bead of adhesive on the aft face of the rollbar where it meets the glass inside the cockpit, but didn't get a picture of that step.

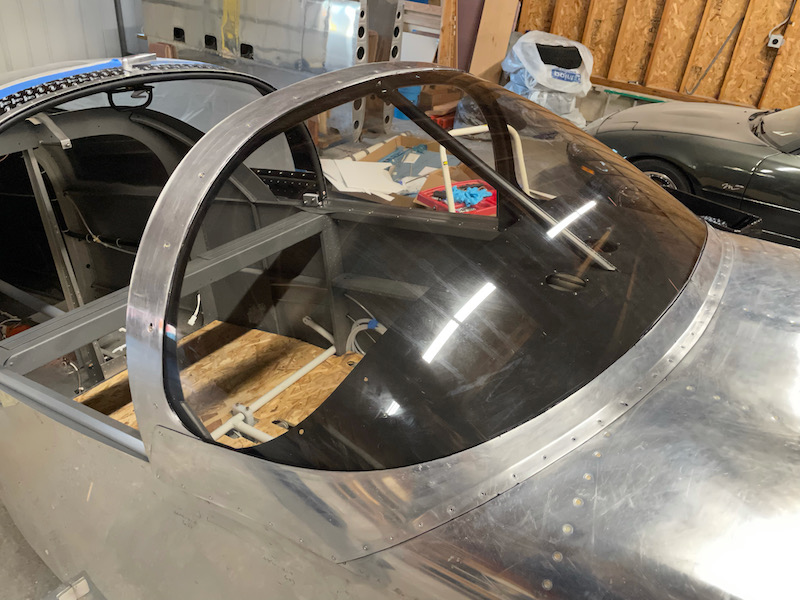
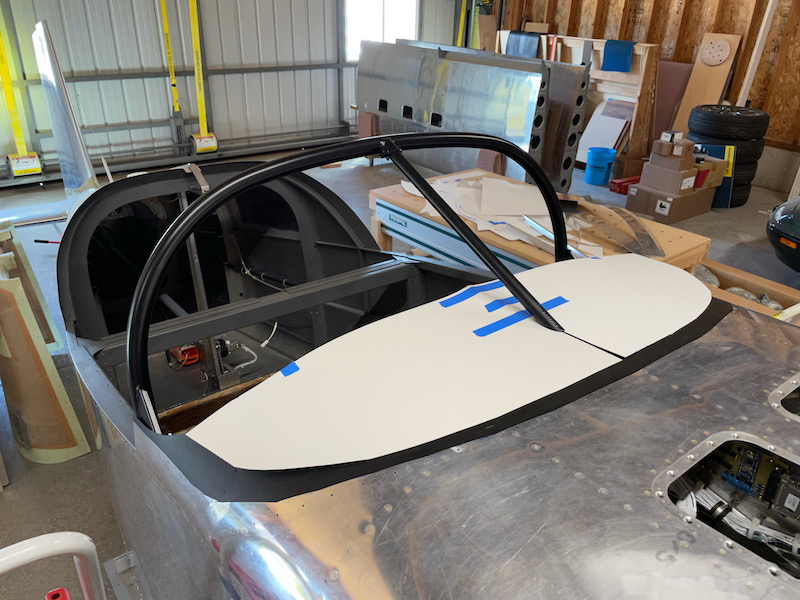
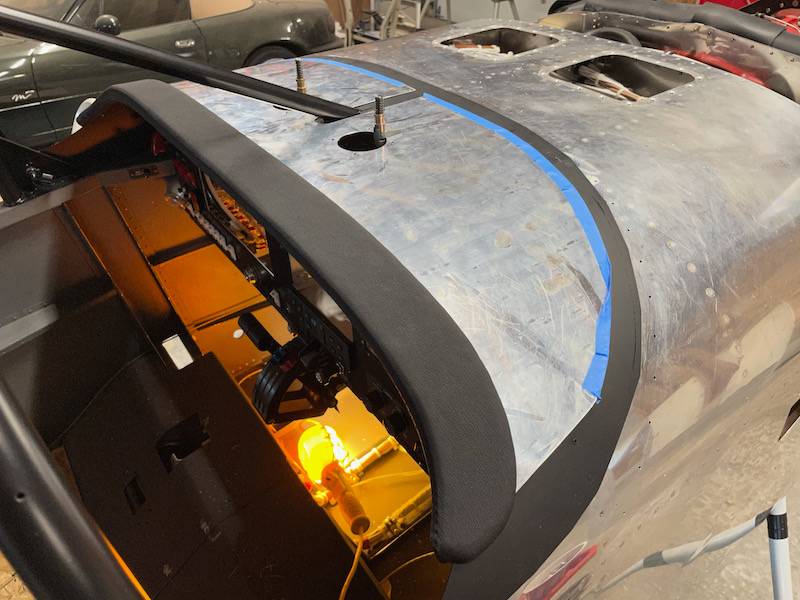
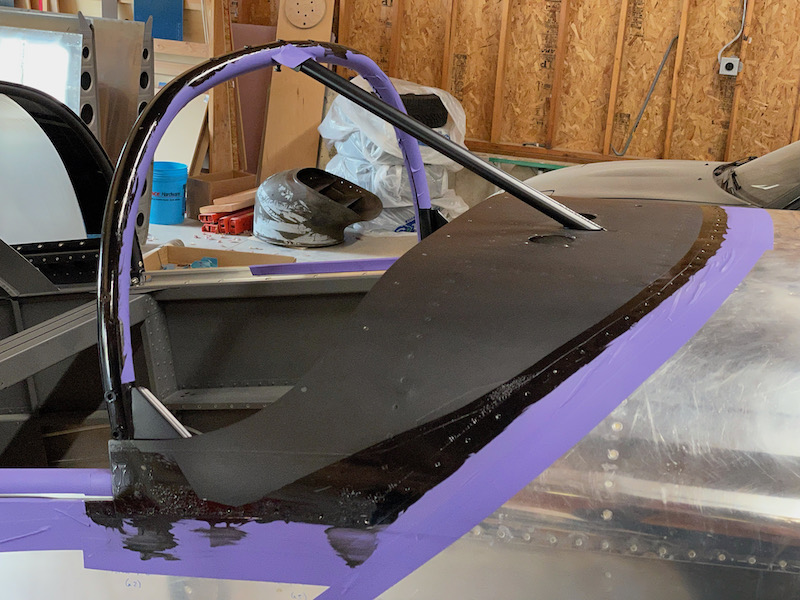
And now at last, the windscreen and aluminum fairings are attached for good!

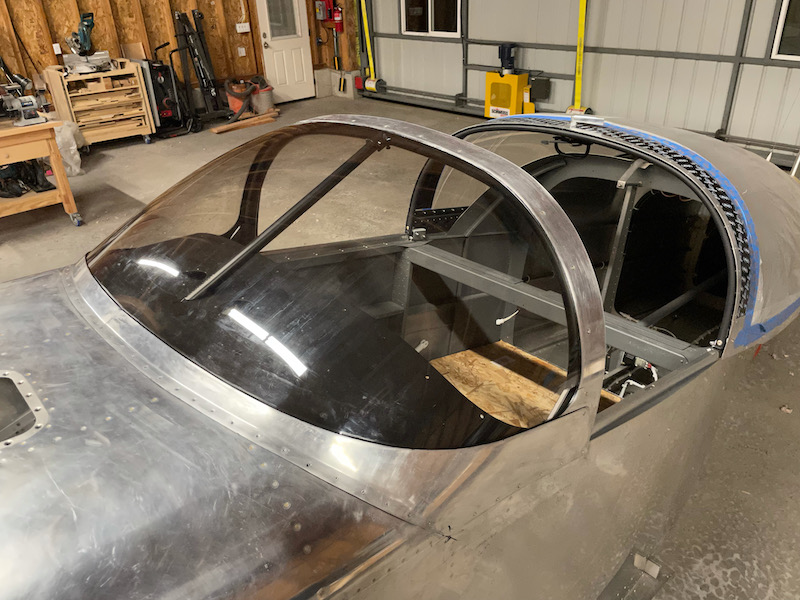
I'm really happy with how this looks:

In various places I will have a bit of cleanup to do after the glue is fully cured. But the nice thing about Sikaflex is that it won't stick anywhere that there isn't primer, so I should be able to just rub these little rubber chunks off the aluminum like stray dabs of rubber cement.

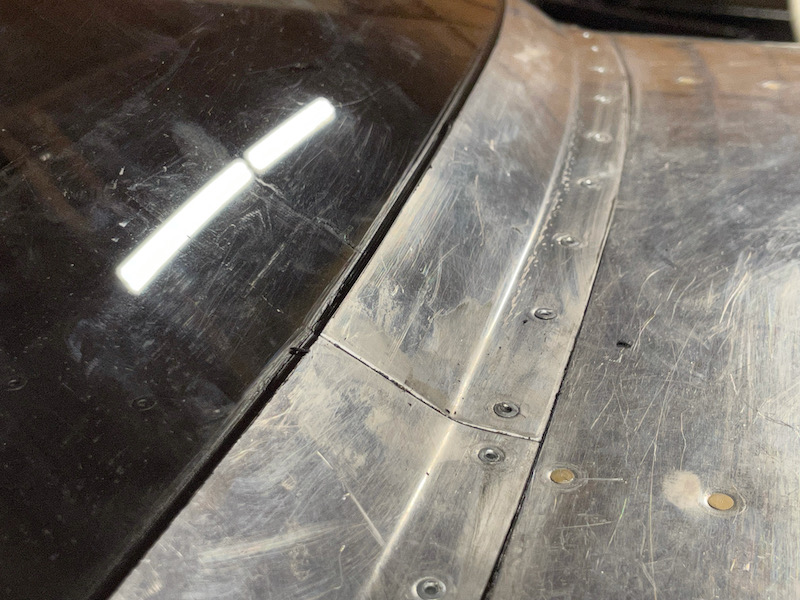
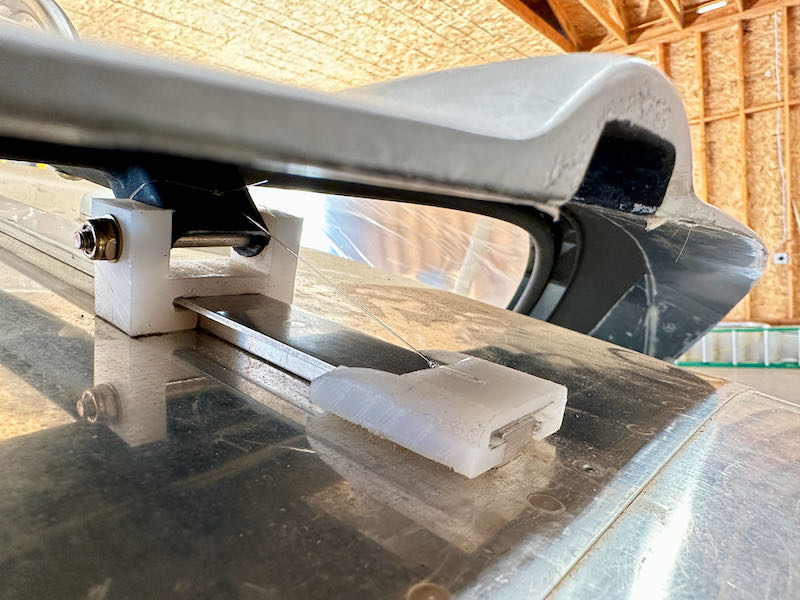
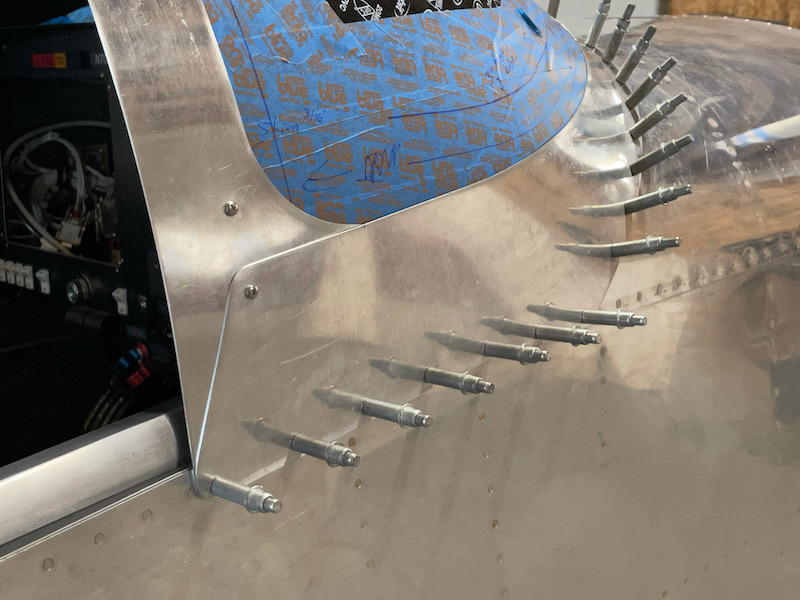
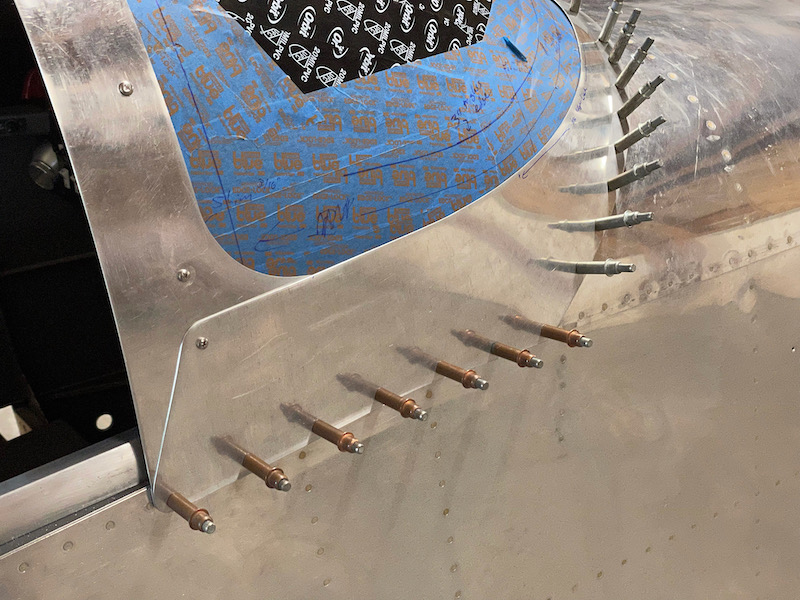
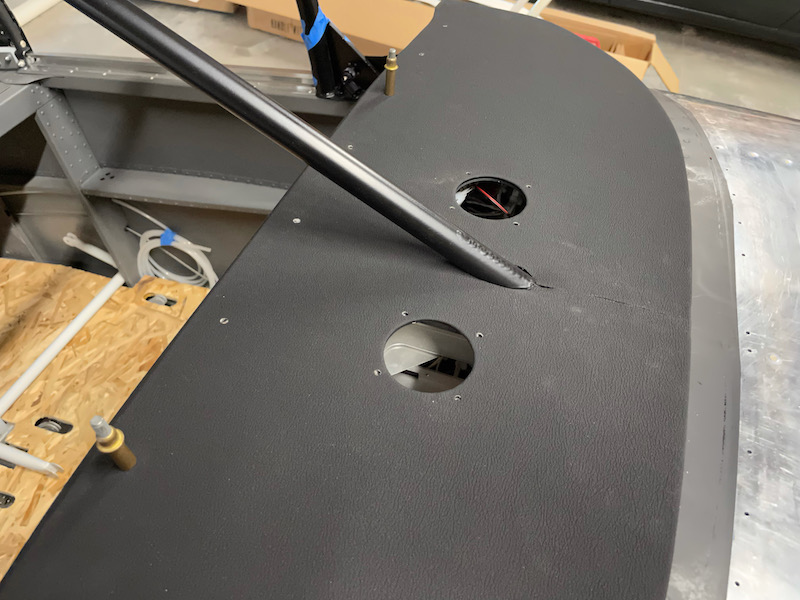
Photographing the adhesive bead under the aluminum fairings is difficult, but I'm happy with the result. The black spot near the rivet in the foreground is a drop of primer that leaked through the rivet hole from the back side. That will be difficult to completely remove, but easy enough for the painter to sand down and paint over.

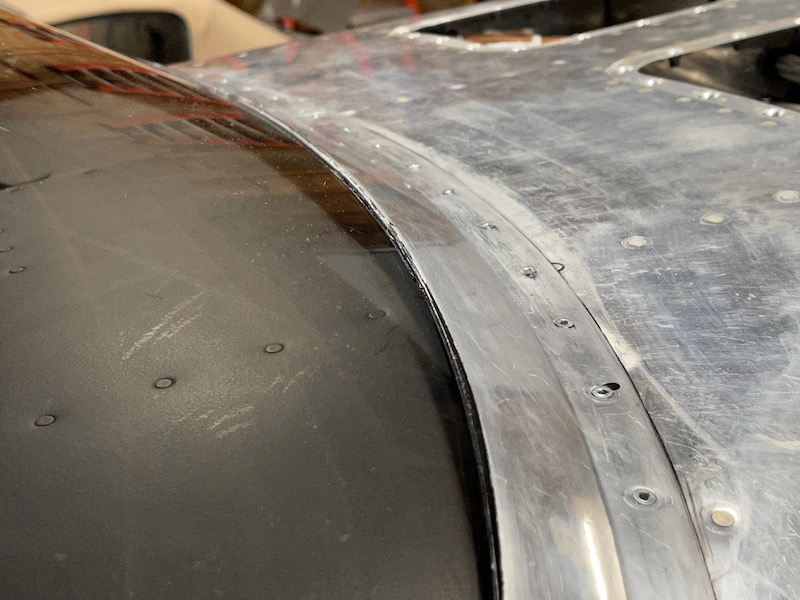
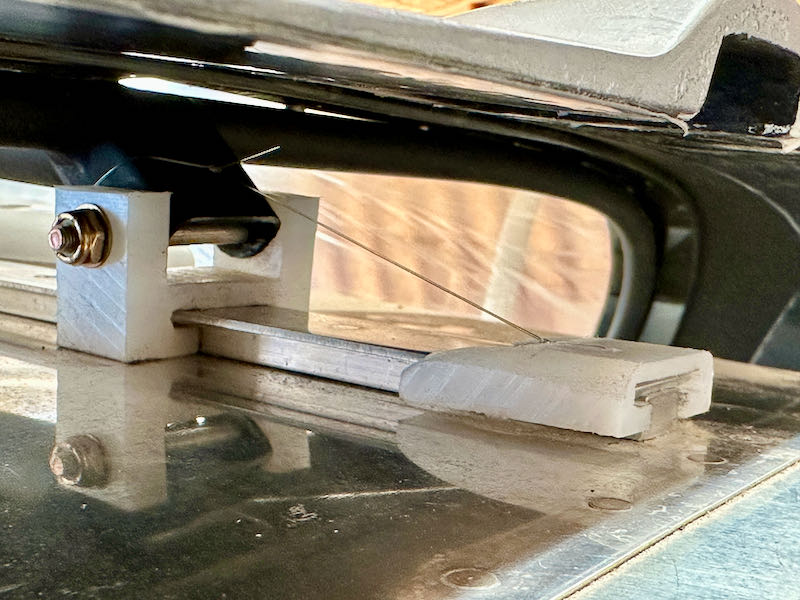
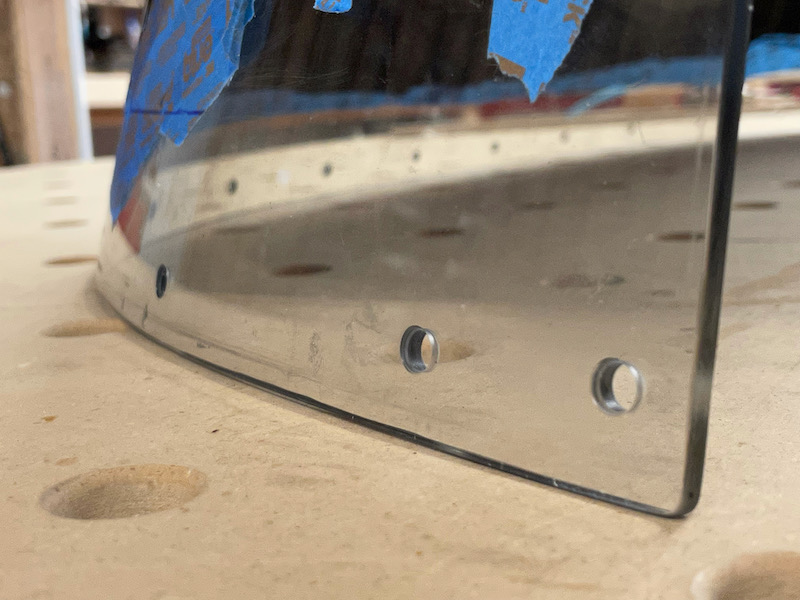
Here's another primer oops-spot on the top fairing strip. There's also a line of unwanted glue on the glass due to some remedial last-minute post-masking-tape-removal tooling, but I can already tell that it will rub off cleanly once it's fully cured.

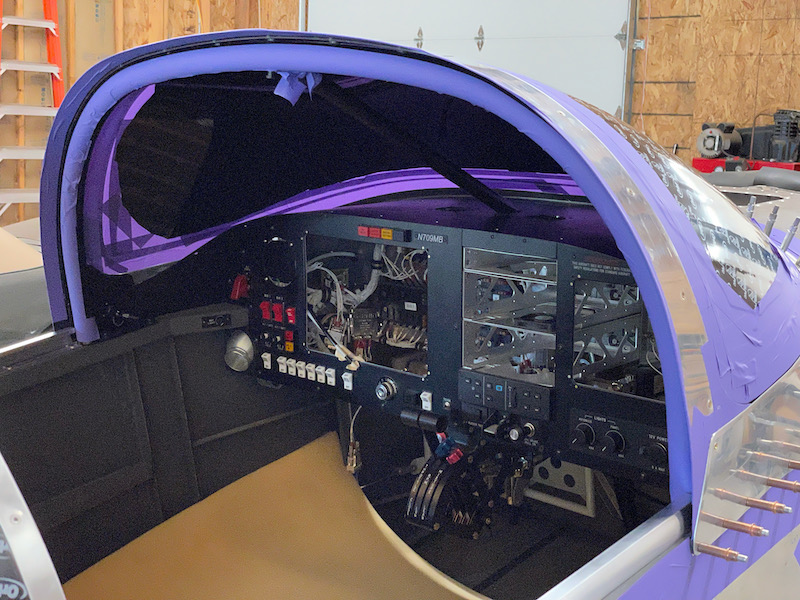
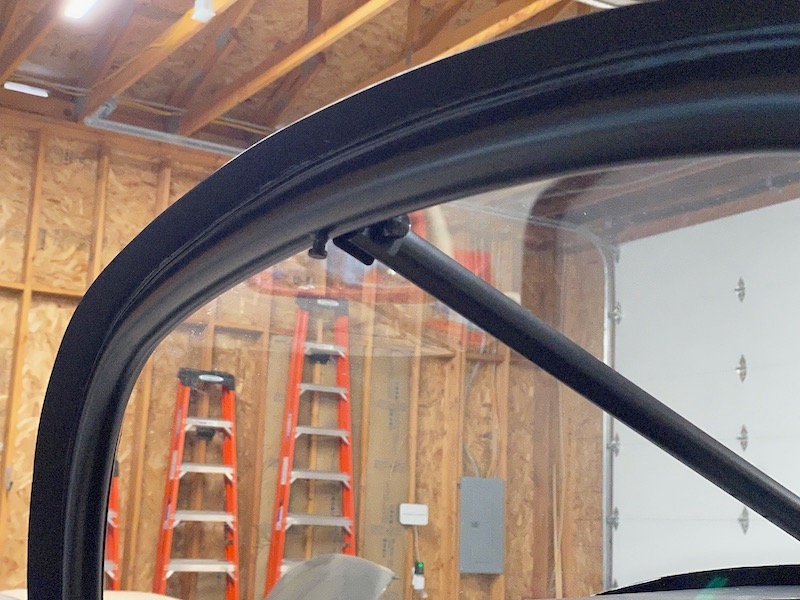
Inside the cockpit, I was able to achieve a great-looking fillet with nice straight edges. I used a gloved finger for the radius here and the result is very nice.

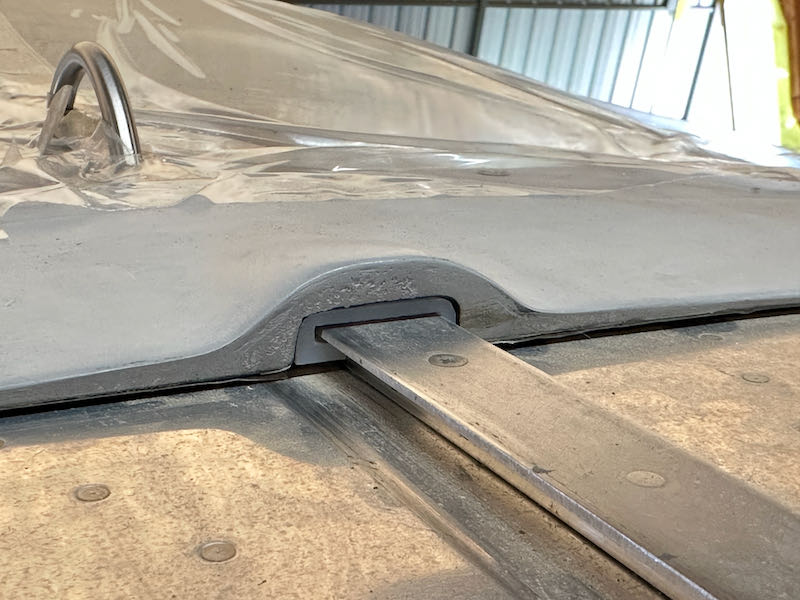
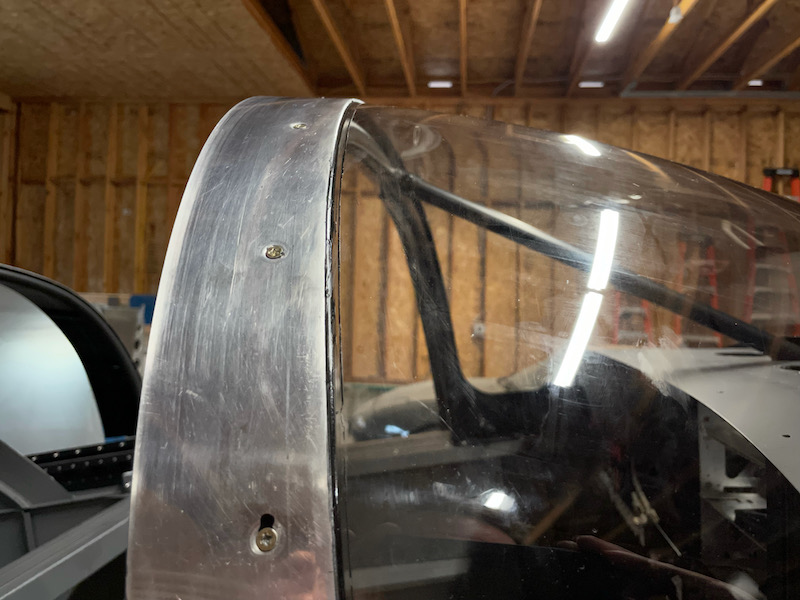
From inside the cockpit, the bottom edge of the windscreen is totally opaque, so you can't see any of the glue where the fairings are bonded. However, in spots where the plexiglass doesn't fully contact the fuselage skin you can still see the edge of the glass, with a glue bead visible in the gap. It's not really visible in photos, but I still have an idea for how to address this cosmetic imperfection to make it look better.

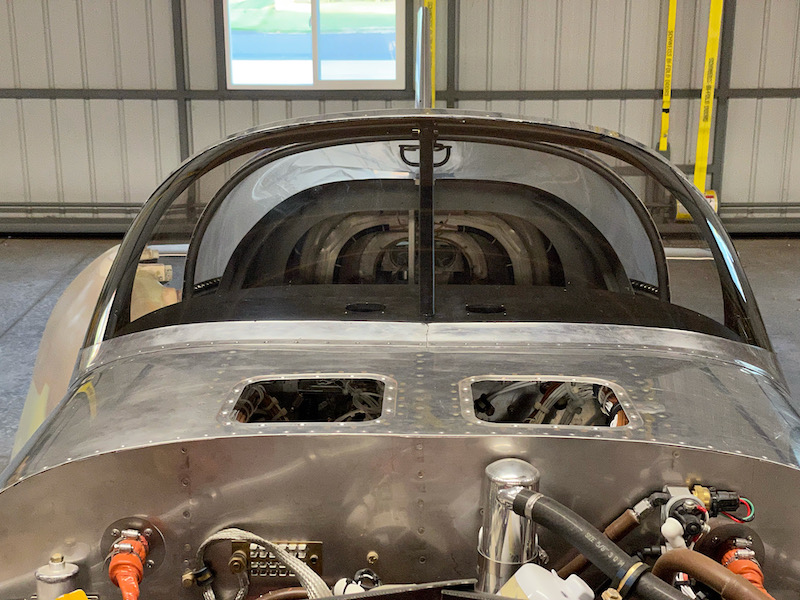
One more picture of the finished result, just because it looks so great. What a milestone!

Windscreen install prep

Wednesday, May 19th, 2021

Working through the checklist of tasks to complete before installing the windscreen… I masked off the areas of the metal fairings where the adhesive will eventually be applied, and painted the remaining interior surfaces flat black since they will be visible from inside the cockpit.

I stripped off the protective blue masking tape from the edges of the windscreen and screwed/clecoed it in place one last time:

Then I very carefully masked all the glue lines with the purple 3M tape:

On the inside, I masked the rollbar and the underside of the top fairing, which will allow me to lay in a glue fillet in the junction where the rollbar, plexiglass, and aluminum fairing all come together:

Then I took the fairings off once again, and masked off the areas where I don't want to apply glue:

I used a maroon scotchbrite pad to lightly rough up all the mating surfaces, including the exposed edge of the plexiglass:

As I previously did for the sliding canopy, I cut up some silicone tubing to make little bushings for the oversized screw holes in the plexiglass. This is 4mm ID x 6mm OD tubing, which is just about right for a 5/32" screw in a 1/4" hole.

All the tools and supplies are laid out on the bench, just like the night before a battle…

Windscreen fairing fiddling

Sunday, May 9th, 2021

More progress on the windscreen fairing… I laid out a pattern of holes in the longerons (avoiding the existing rivet holes which I'm leaving alone) then drilled the fairing pieces using a hole finder:

You can also see that I added an extra hole at the aft corner of the lower fairing, to keep it from flapping in the breeze.

Next I drilled the pilot holes in the rollbar up to #36, and tapped them for 6-32 screws. This meant I got to use one of the Starrett tap wrenches Mary gave me for Christmas a few years ago. I love these things; they're so precisely and perfectly made, like little pieces of jewelery.

I ordered some black nylon spacers from McMaster to replace the temporary hardware-store ones I'd been using. These I attached to the rollbar with superglue – it doesn't form a super strong bond to nylon, but it's good enough for my purposes here. I used screws and tinnerman washers to keep them centered on the holes while the glue dried:

Here they are a few minutes later after I pulled the screws out:

Important note: It would have been better to tap the screw holes with the plexiglass and fairing pieces installed, so I could do a better job of getting the approach angle correct… still, I think what I've done here will still work.

Anyway, with the position of the fairings now locked down relative to the longerons, I was finally able to mark and trim the overhanging material from the bottom edges:

After much tweaking and adjustment, I think I now have the fairing pieces completely trimmed. Here the rollbar fairing is installed with hardware-store screws:

I angled the aft edge of the windscreen base fairing forward from the longeron to the bottom-most screw hole, which incidentally makes it look rather jaunty if you ask me.

I found that I needed to move the fairings outboard slightly at the bottom corners to allow the canopy to close without binding, so I made little spacers out of 0.040" to make everything slightly wider. This results in kind of a thick stackup of material – four layers if you include the top skin – so I'll probably put a little proseal fillet under here to smooth it out a bit.

I had no excuses remaining, so I final-drilled the holes in the longeron up to #30:

I countersunk the plexiglass to accommodate the #6 screw dimples in the rollbar fairing, then drilled the holes up to 1/4". That didn't actually leave much countersink left, more like just a light chamfer.

Then I deburred all the holes in the airframe, countersunk the longeron holes where required, and got started on dimpling the holes in the skin… whereupon I promptly dropped half of my 3/32" pop rivet dimple die set and lost it forever. I looked all around the hangar, but it seems to have been transported into another dimension. So, I guess I am stuck on this project until I can get a new one in the mail. What a bummer.

Glareshield cover

Saturday, May 8th, 2021

I haven't been happy with the durability of the black paint I put on top of the glareshield – it's not as bulletproof as I'd hoped, and I was starting to worry about seeing scratches up there from the usual wear of having sunglasses, headsets, and so forth set on top of it. Repainting the glareshield underneath the windscreen would be a real bummer down the road, so I decided I wanted some kind of separate glareshield cover piece.

I laid out a posterboard pattern whose forward edge was about 1/2" aft of the inside of the glareshield. I made it as wide as possible without making it impossible to install and remove around the roll bar.

From this pattern I cut up a piece of 0.020" aluminum I happened to have laying around:

I made holes for the defrost fans, and cut a slot in the middle to allow it to be slid into place around the rollbar center brace:

The aft edge is captured by the same screws that secure the glareshield edge trim piece:

I took the aluminum sheet down to Classic Aero to have them cover it with the same flame-resistant, UV-resistant faux-leather stuff they use for the edge trim piece. Fast forward a few weeks, and here's the finished result. Those guys do such great work.

The upholstered material over the center slot has a relief for the rollbar center brace, and a narrow slit forward of there. Once you wiggle it into place, the seam virtually disappears. The whole thing looks great, and I can't wait to install it… just need to get that pesky windscreen finally installed for good first.