Archive for the ‘Landing gear’ Category

Repacked wheel bearings

Sunday, February 4th, 2024

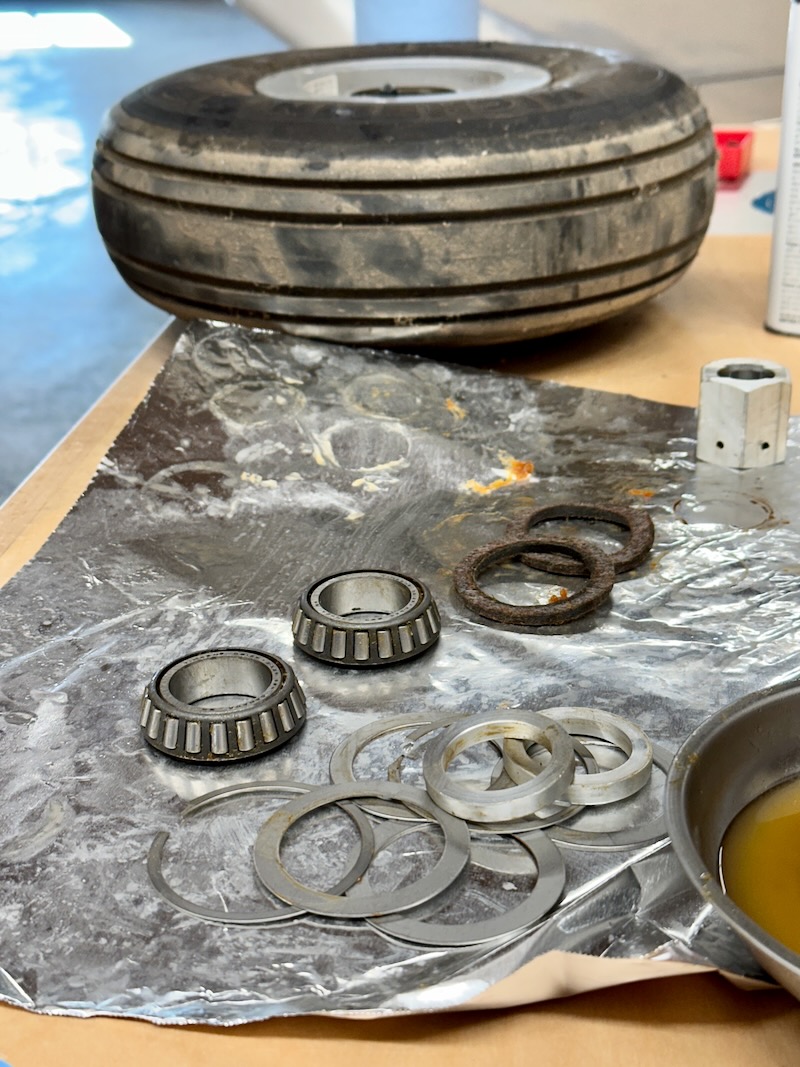
Since eventually this thing will need to roll, I removed the wheels, disassembled the bearings, and cleaned off all the old dried-out grease with mineral spirits and brake cleaner. Then I repacked the bearings with Aeroshell 22 – no pictures of that step since my hands were messy.

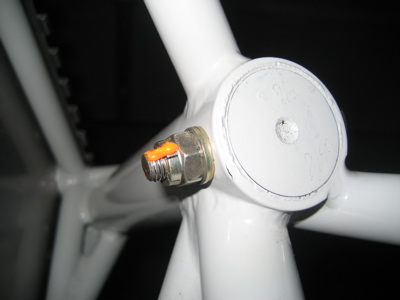
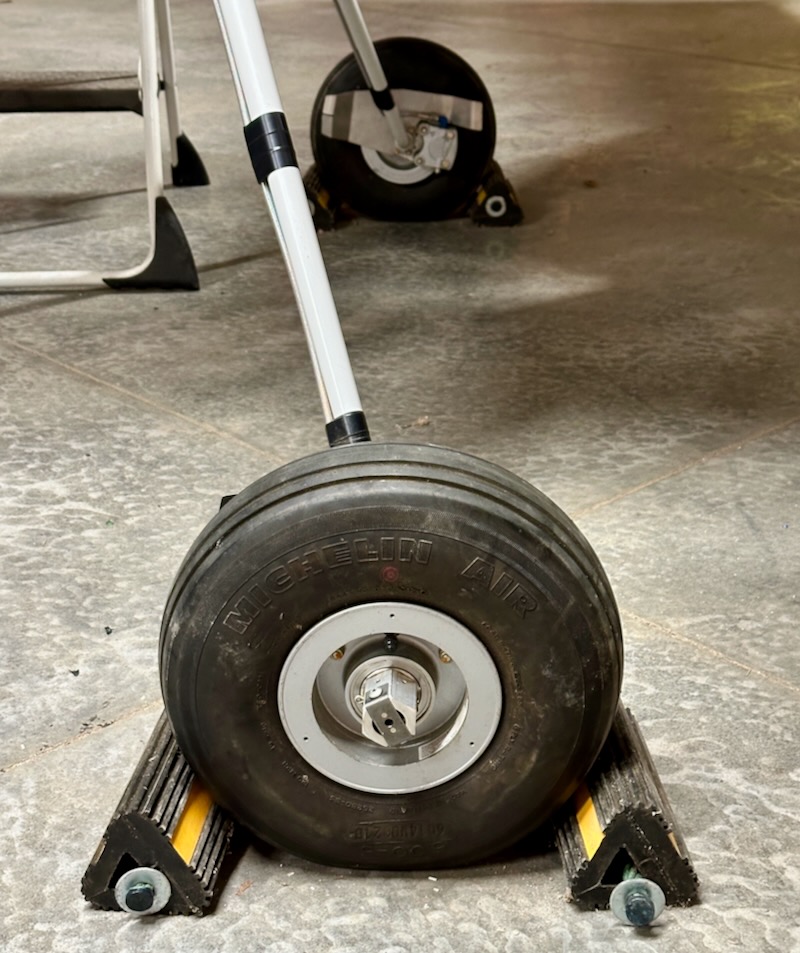
Wheels back on the plane, nuts tightened, and cotter pins inserted:

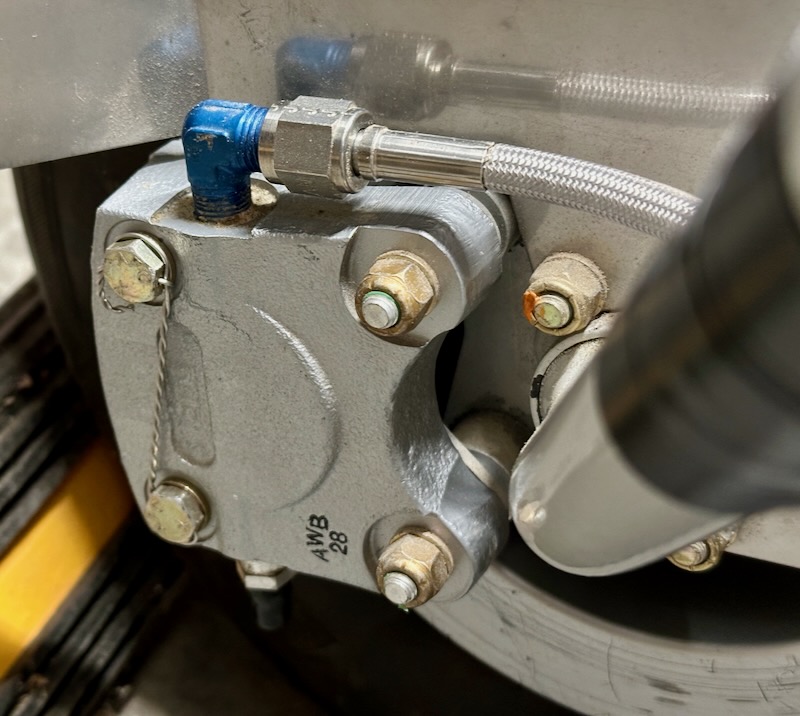
Brake caliper back plate bolts torqued and safetied:

Brake fluid

Sunday, December 31st, 2023

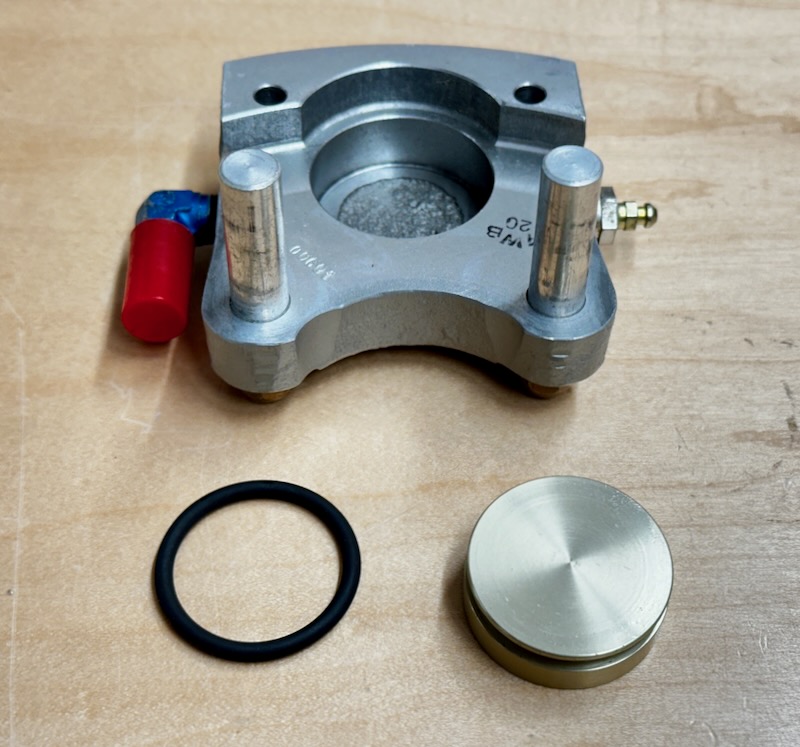
Before filling the brake system with fluid, I removed the calipers and took out the pistons so I could install improved o-rings. These are necessary to take full advantage of the higher-temperature brake fluid available these days (MIL-PRF-83282D) and were quite difficult to find in small quantities in the correct temperature rating of -40º to +400ºF. I ended up ordering them from Van's, which took a while due to their current difficulties. I lubed the new o-rings and the caliper bore with silicone before installing.

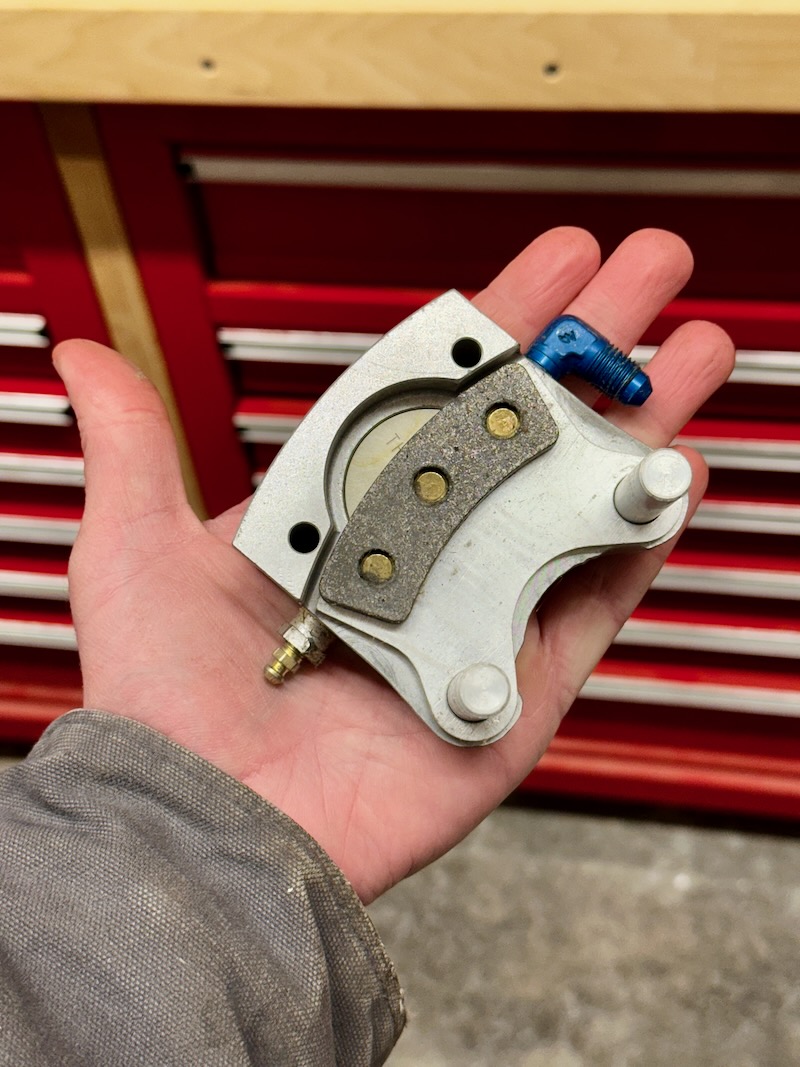
It's funny that this is all the brakes you get to stop nearly a ton of airplane traveling at highway speeds. Small wonder I chose to use high-temp brake fluid, since these can get really hot under heavy use.

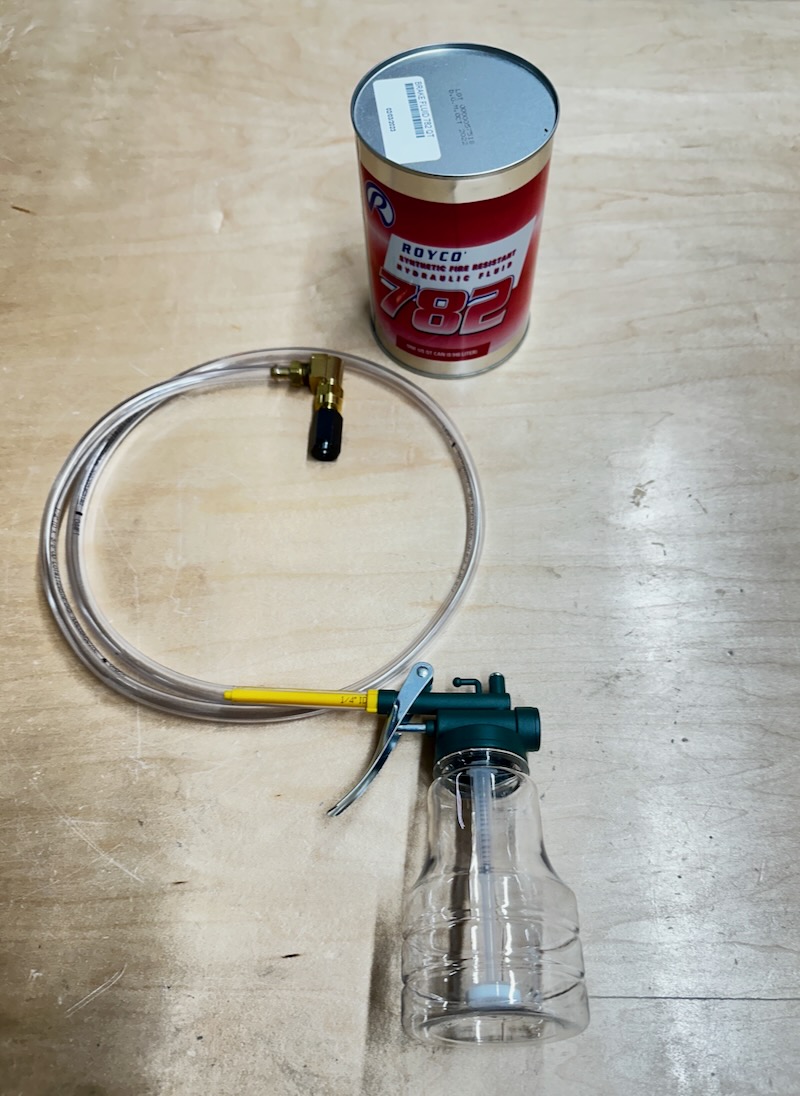
To bleed the brakes, I cobbled together this contraption from a small pump oiler and a special adapter designed to go on the bleeder fittings:

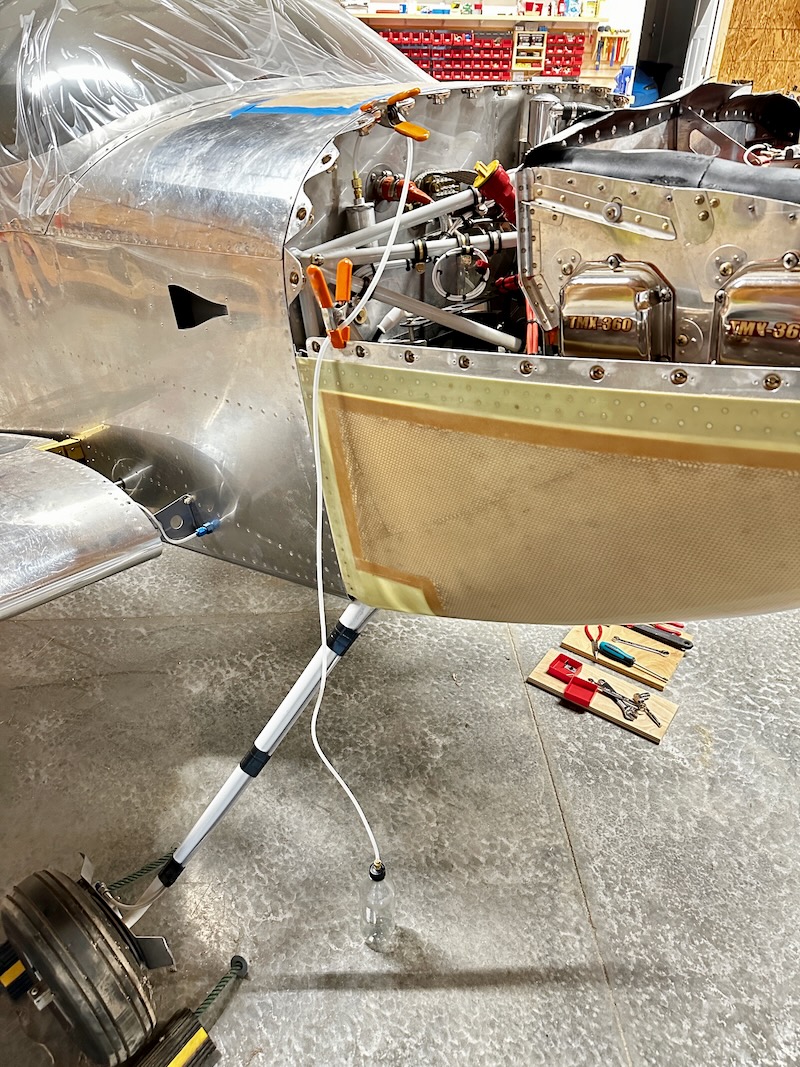
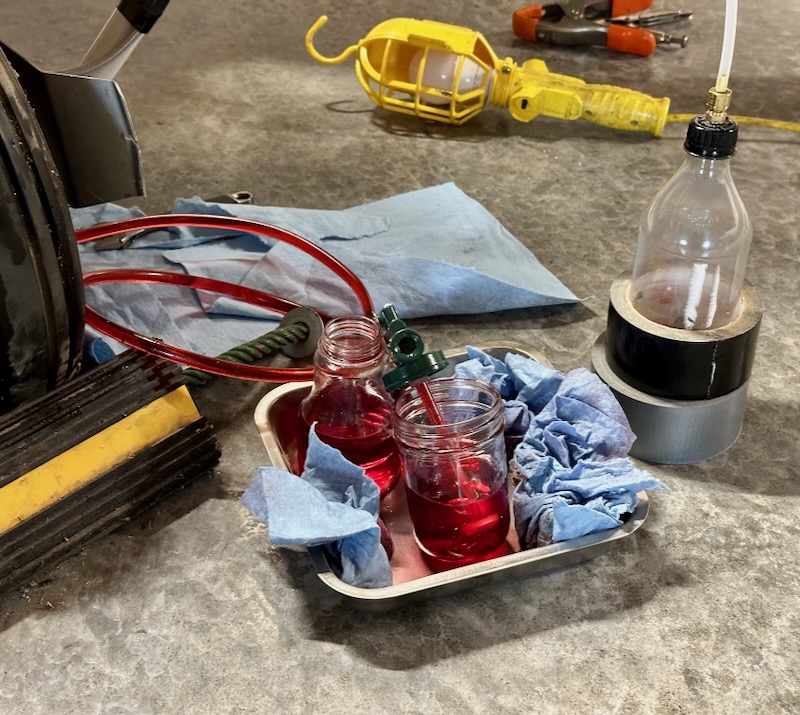
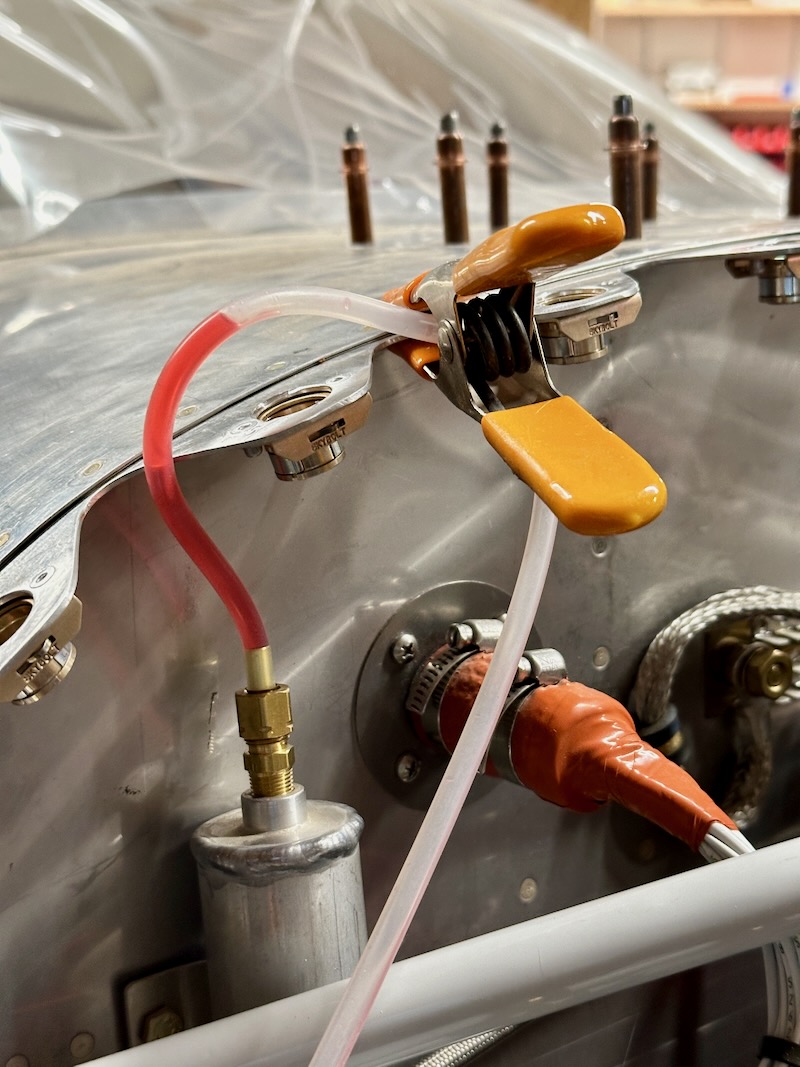
To catch the overflow from the brake reservoir, I plumbed a catch can using a coke bottle and some brass fittings. Additional details of how this works can be seen in the photos below:

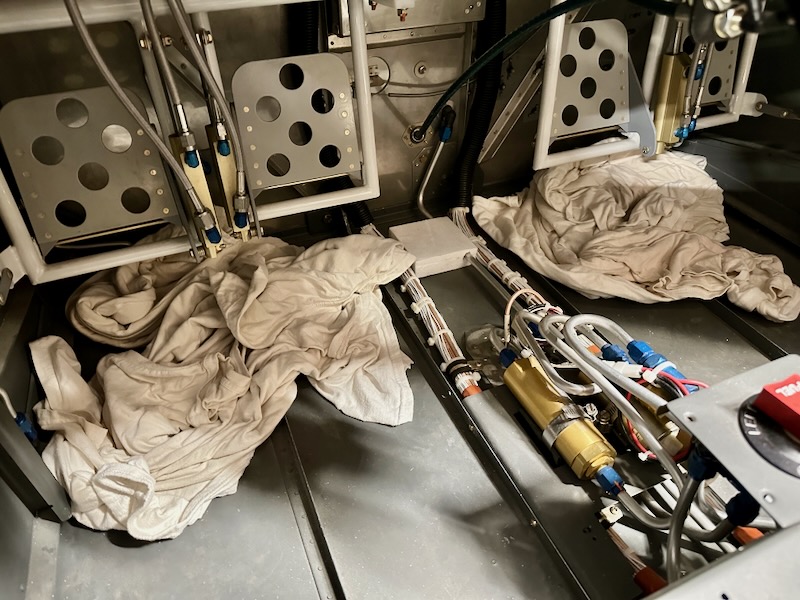
Before starting, I put down some old t-shirts under all the potential leak spots, to hopefully keep the floor clean:

I recruited a friend to help pump brake fluid while I crawled inside checking for leaks and tapping on things to clear out air bubbles. Happily we had no leaks and – I think – ended up with a solid result. We went through a lot of paper towels and rubber gloves, and didn't take any pictures during the process, but you may assume it was messy despite our best efforts to be sanitary about it.

Clear tubing at the top of the reservoir allows air bubbles to be pumped out. We kept pumping fluid until the brakes were solid and bubbles stopped appearing in the tube:

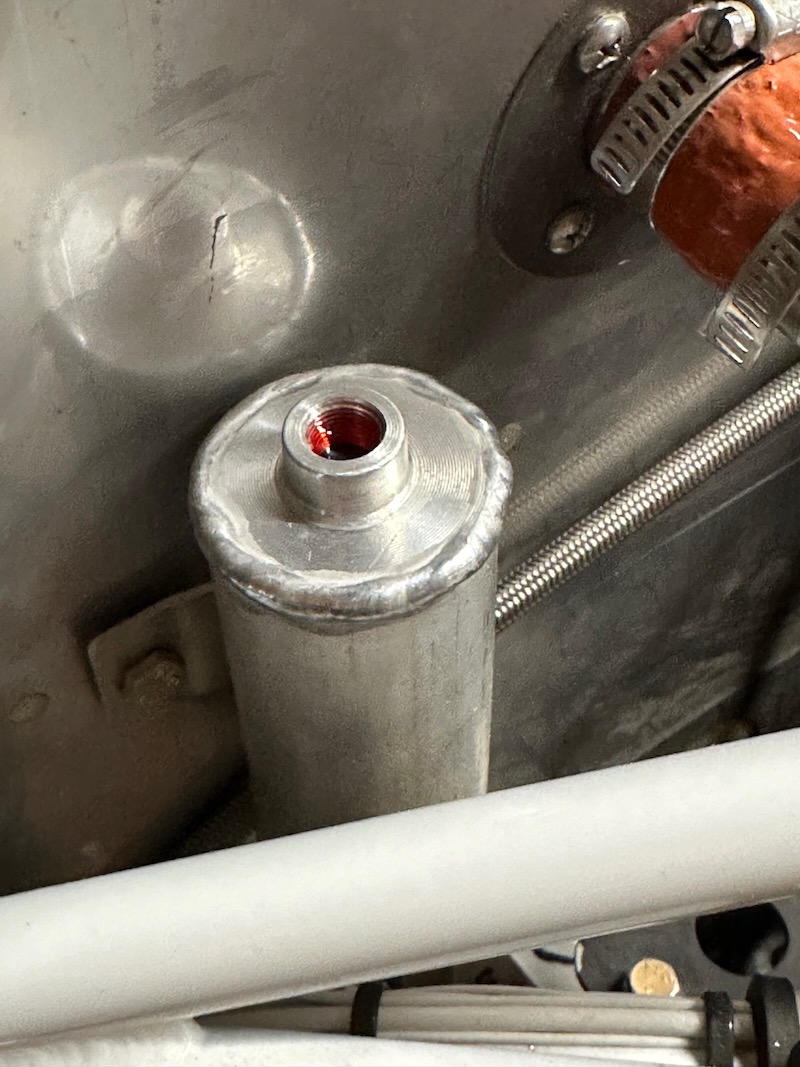
The end result was a reservoir totally filled to the top, which is fuller than it needs to be. I used a syringe to siphon out about an inch of fluid before installing the vent cap.

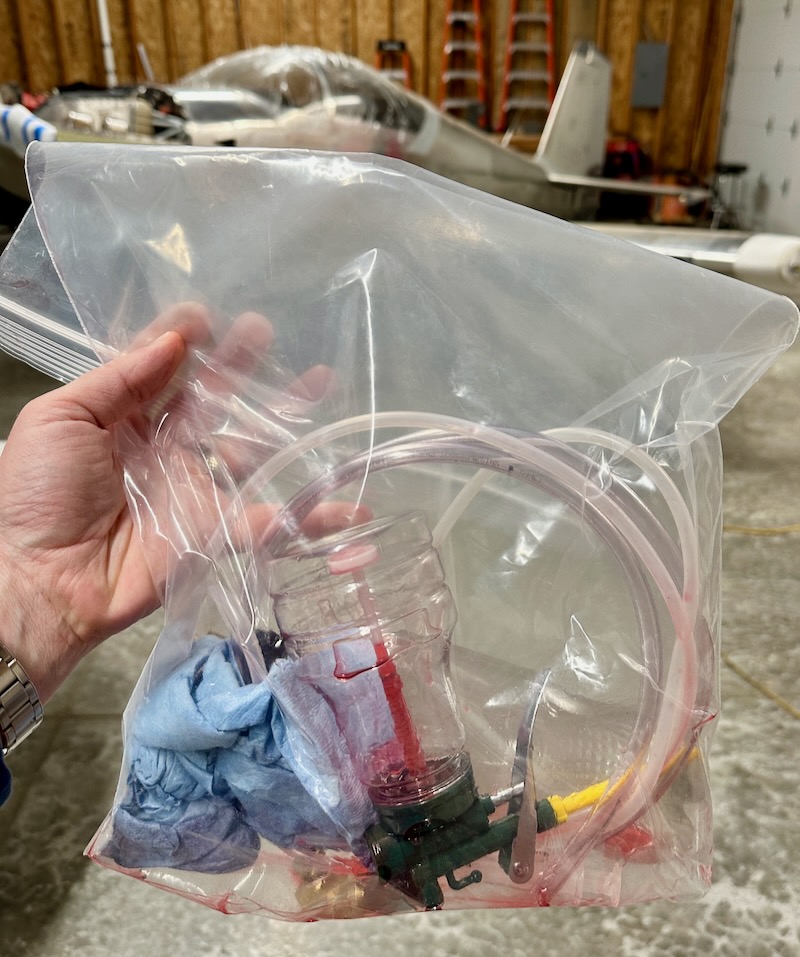
All the accessories are stored inside a messy plastic bag for future brake work. From the quart can of brake fluid I opened, I ended up with about a pint left over, which is stored in a mason jar I stole from my wife's canning supplies.

Tailwheel upgrades & rigging

Wednesday, February 8th, 2023

I noticed the steel tailwheel spring was looking a bit ragged, so I pulled it off the fuselage for reconditioning prior to hooking up the tailwheel controls. With the wheel removed, I propped up the fuselage on a small work table with plenty of cushioning:

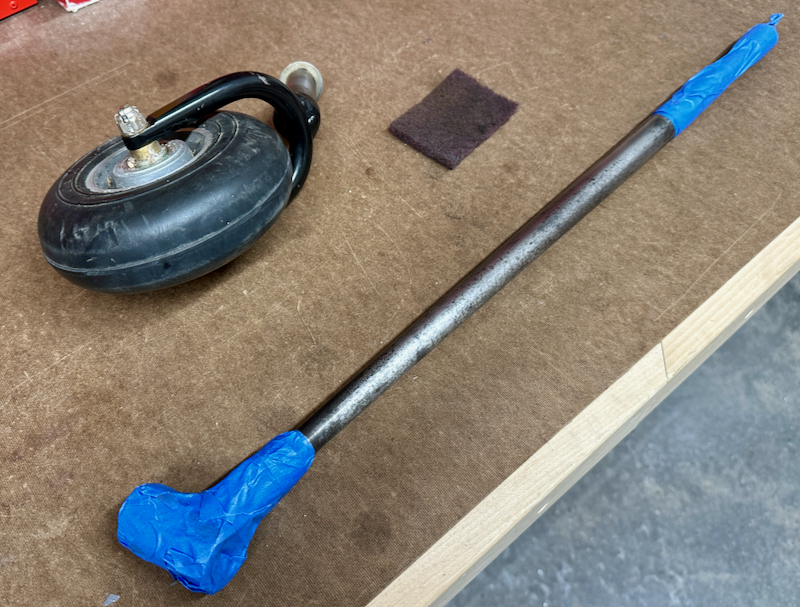
I scoured off the rust and old paint with a scotchbrite pad, and masked off the ends where necessary:

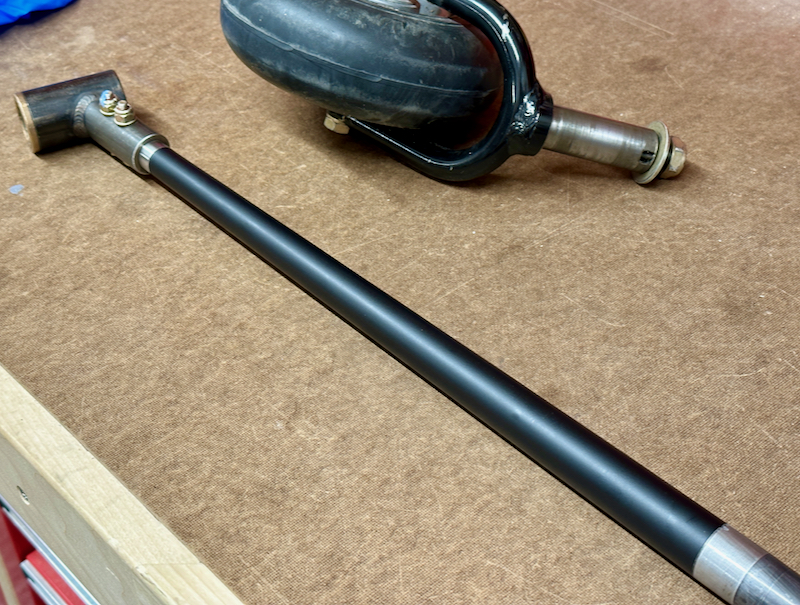
After a coat of primer and two coats of Rustoleum matte black, it's ready to go back to work:

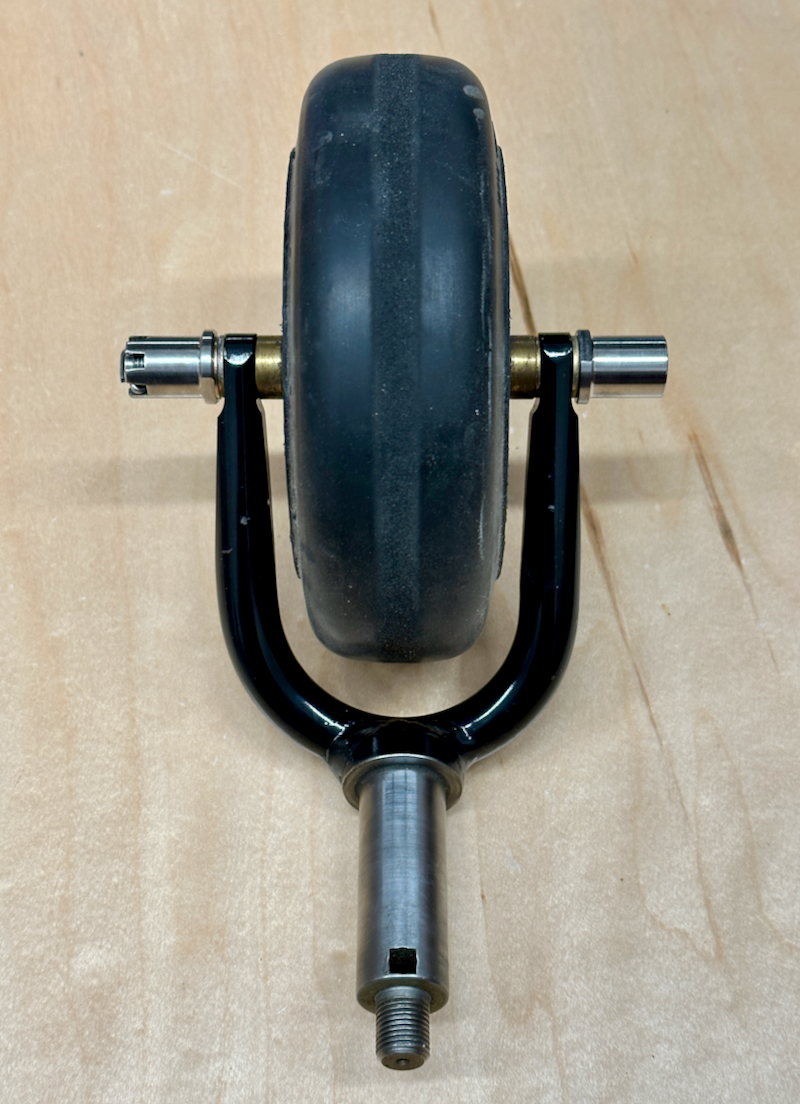
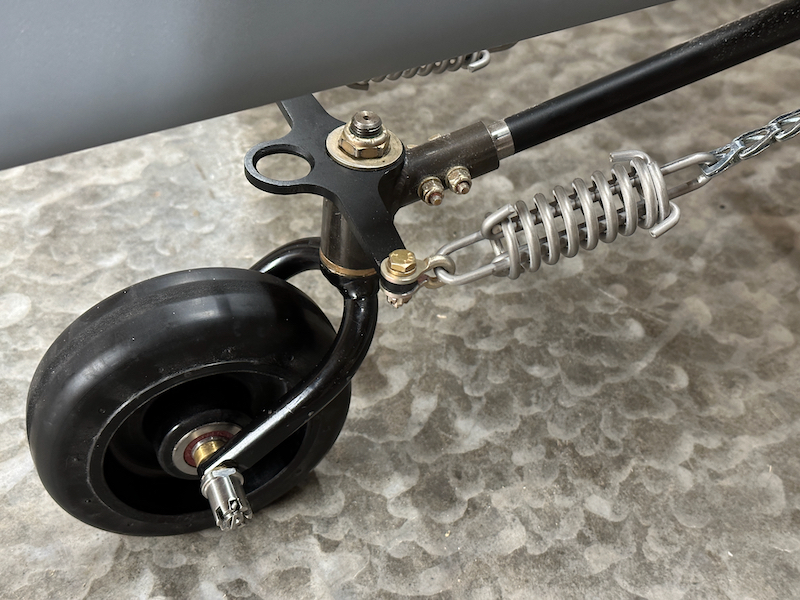
While I had it all pulled apart, I decided to upgrade the wheel itself to a Flyboy Accessories unit with sealed ball bearings, so no more greasing will be required. I also picked up one of their extended axle kits, to give the towbar something more substantial to grab onto. Everything here is very nicely made:

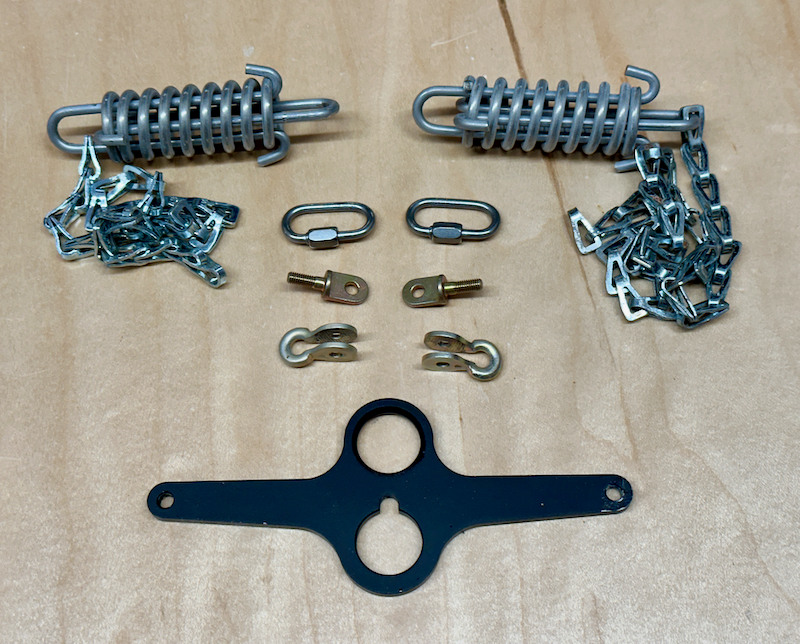
With the help of a helpful forum thread, I put together a collection of hardware for the tailwheel steering controls that will allow me to omit the terrible wire clips, which tend to break and are generally a pain. I retained the stock steering chains and compression springs, but substituted better hardware in place of the clips.

In the center of this picture are some Maillon Rapide Links (part number 7350SF-1/8), a pair of AN42B-4A eye bolts, and some AN115-21 cable shackles. And at the bottom, another upgraded Flyboy Accessories part – a tailwheel steering arm with a lug for a tiedown rope.

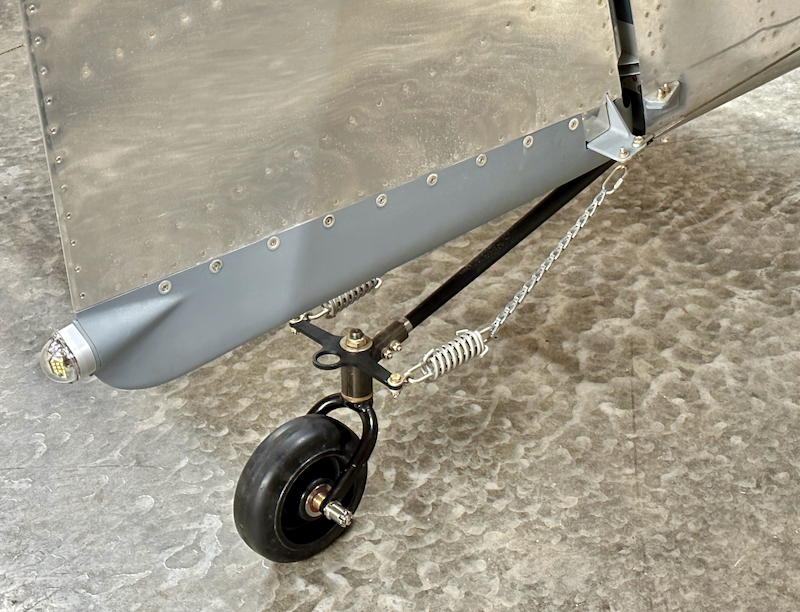
Here's how it all looks when installed:

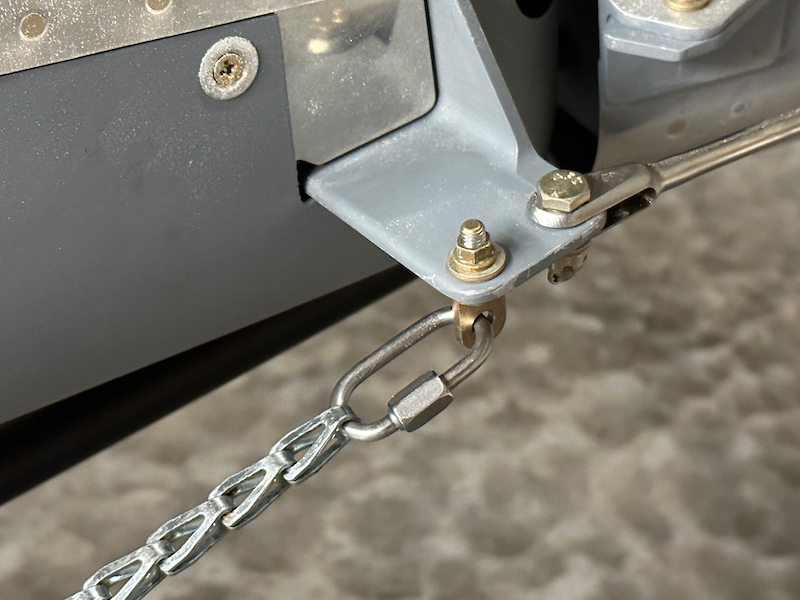
At the forward end, eye bolts and removable links replace the chain clips. These links are rated for a working load of 440 pounds, well in excess of what the chain itself will bear, and are Loctited closed.

At the back, the cable shackles connect the springs to the steering arm. I had to expand the inner dimension of the shackles slightly to fit over the arm, but they are malleable enough that this wasn't difficult.

I may need to adjust the tightness of the chains in the future – right now they are slightly slack when the weight is off the wheel – but this should be good enough for now.

Brake hoses

Sunday, December 27th, 2020

To complete the plumbing of the brake system I bought a set of teflon-lined, steel-braided brake hoses from TS Flightlines. Tom was great to work with, and I'd recommend his services to anyone in need of aircraft plumbing.
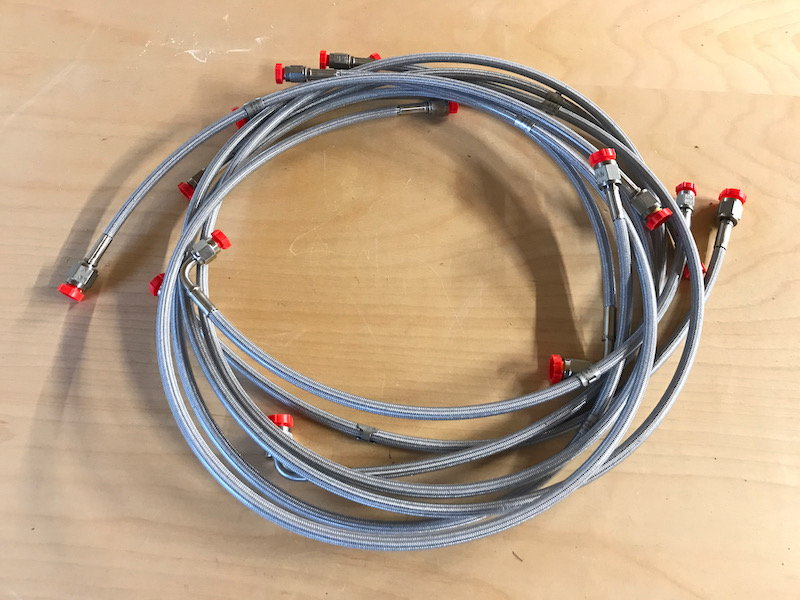
I really only needed the two hoses that go between the firewall and the brake calipers, but I decided to go ahead and replace all the interior hoses with this new non-life-limited teflon stuff too. As a bonus, the new hoses are thinner and lighter than the old ones they're replacing.
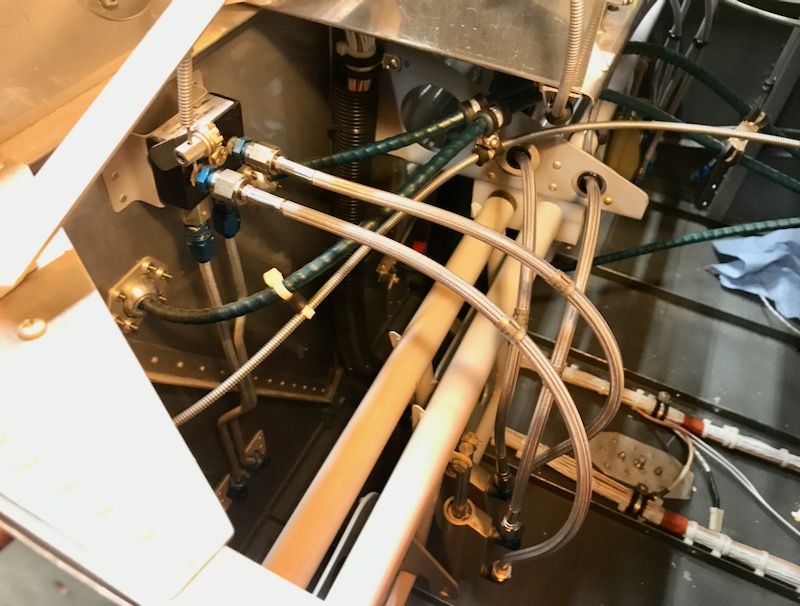
A few strategic tie wraps keep the hoses from binding on each other:
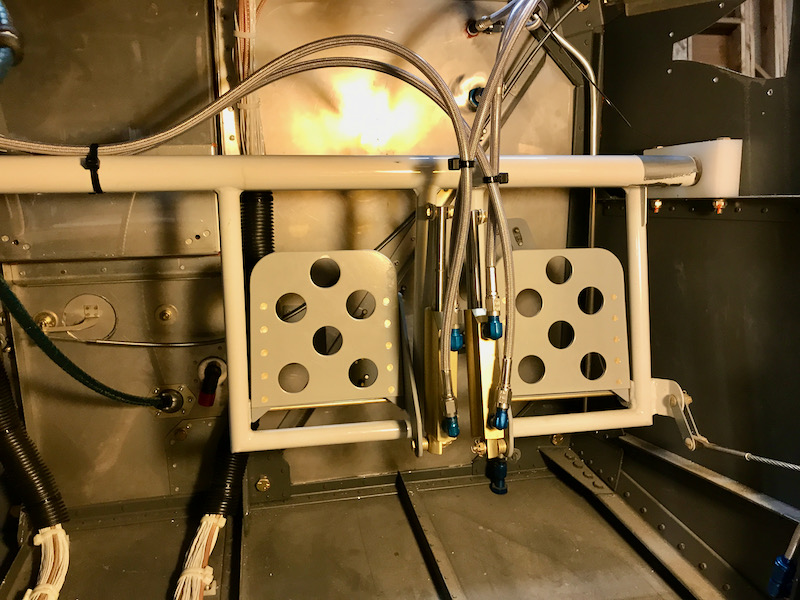
I also replaced the plastic "ice maker" tubing from the brake reservoir to the passenger pedals. I had to experiment with hose routing and fitting angles to make sure these hoses remain well clear of the avionics and wiring mounted above.
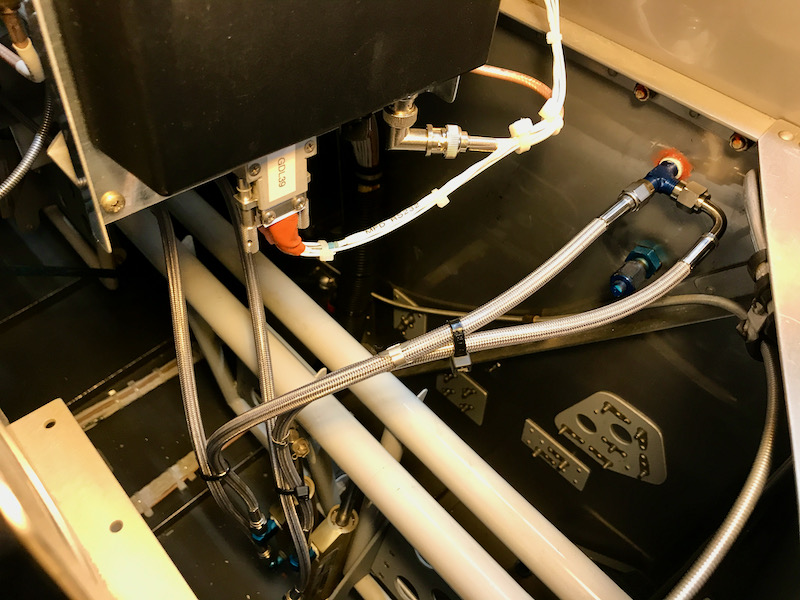
Forward of the firewall, one hose splits off towards each brake caliper:
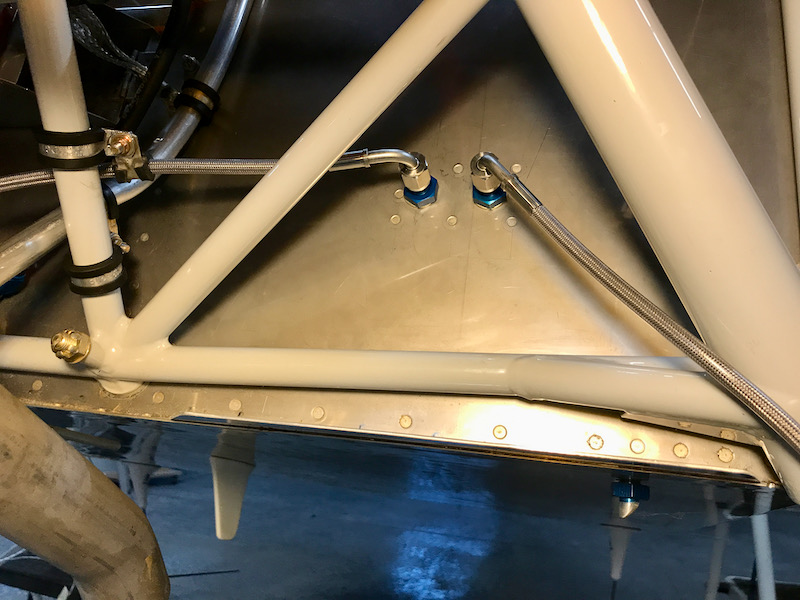
In this overview shot you can see that the left side brake hose has a straight shot down the gear leg to the left brake caliper. The right side brake hose, on the other hand, takes a circuitous route across the engine compartment to reach the right gear leg:
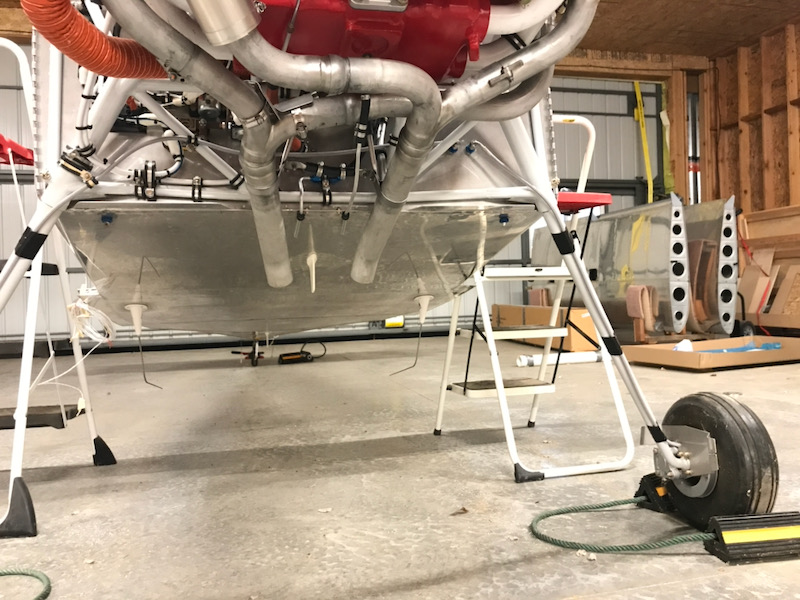
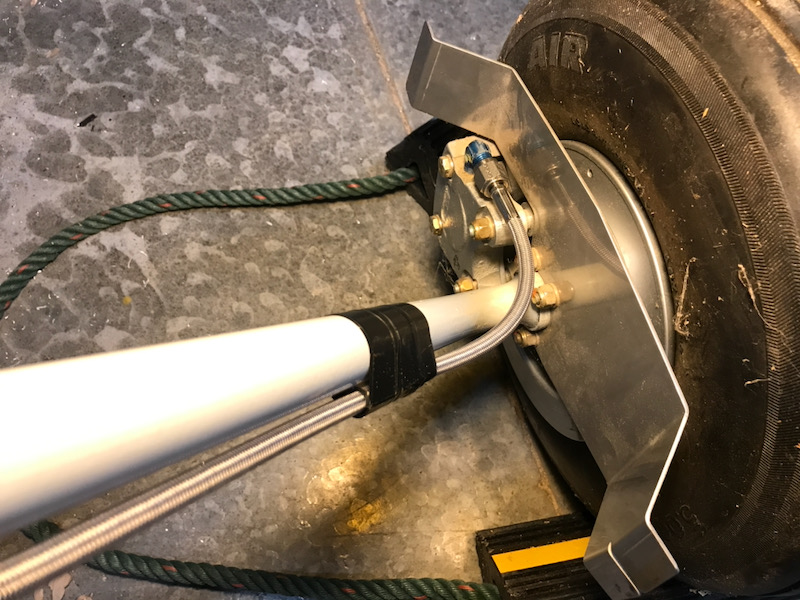
The hoses are affixed with small lengths of split plastic tubing that are stuck to the gear leg with plain old black electrical tape. This seems a little cheesy until you realize that an adel clamp would be heavier, bulkier, and wouldn't properly clamp onto the tapered gear leg anyway.
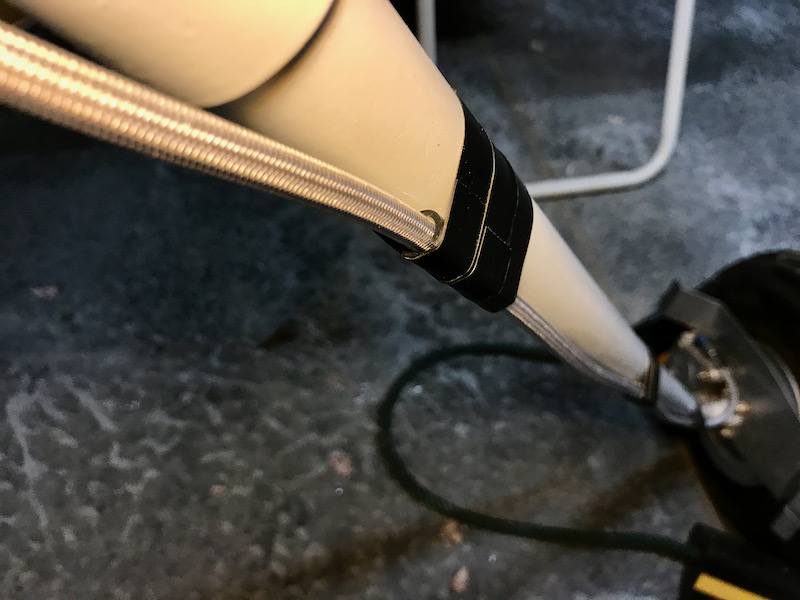
Down at the caliper there's plenty of slack to allow the brakes to work. The use of flexible hoses instead of rigid aluminum tubing along the gear legs is more expensive but almost trivially simple compared to the plans method.
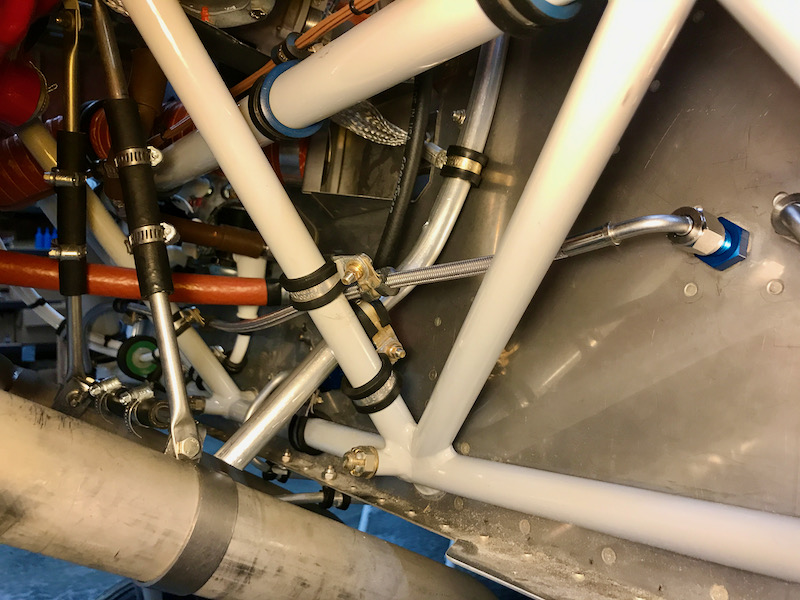
Here are some detail shots of the right side brake hose… first it crosses behind the diagonal engine mount tubes, with adel clamps to affix it near the breather hose:
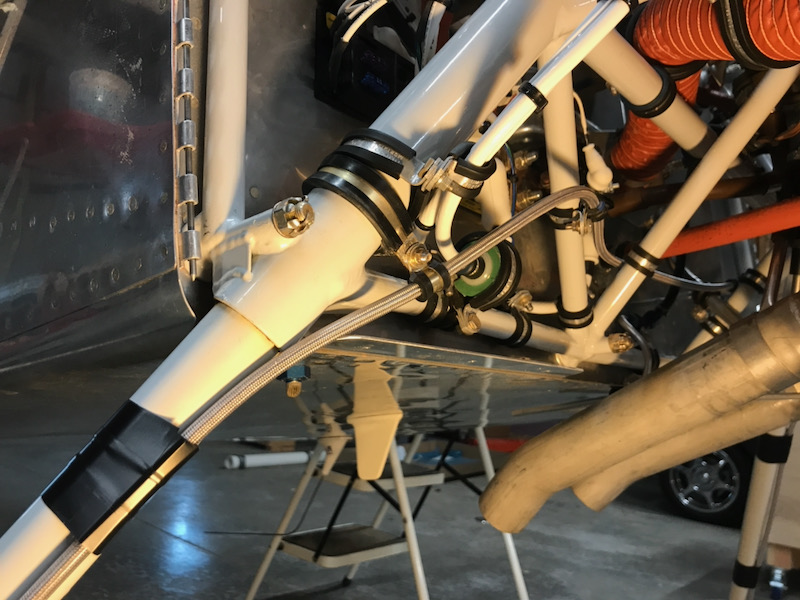
Then it dips down and under the prop governor cable, curves around in front of some electrical components, and then finally proceeds down the right gear leg. Altogether this hose is affixed to the engine mount in four places, which was a fun exercise in adel clampery.
Then from there it's another straight shot to the right side brake caliper, again with the same tape treatment to fix it to the gear leg:
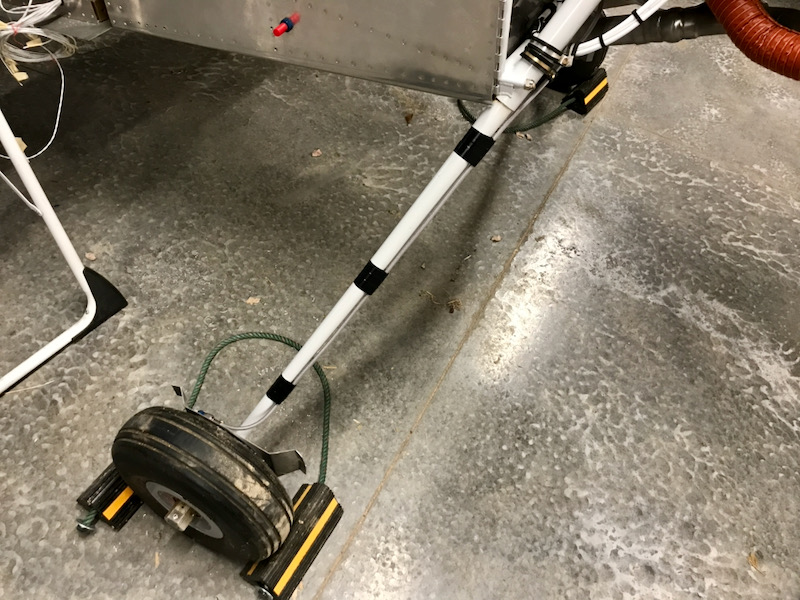
There's no brake fluid in these lines yet, but at least all the plumbing is there now.
Gearleg nuts

Tuesday, February 5th, 2008

In this week's Aircraft Spruce shipment I received the proper nuts to go on the bolts that secure the gearlegs to the engine mount, so on they went:

The plans call for regular AN365 nyloc nuts here, but I've already decided to use only all-metal locknuts forward of the firewall, no exceptions. AC43.13 only forbids nylon nuts where temperatures exceed 250°F, but since I'm not in a position to measure peak temperatures in various locations forward of the firewall, I'd rather just outlaw nylocs entirely.