Final flap install

August 6th, 2023

I installed the flap channel and backrest brace in the fuselage, and connected and tidied all the wires for the flap motor, positioning system, and cabin speaker:

The travel allowed by flap positioning system is well-matched to the actual stroke of the actuator. After some adjustment, I was able to get essentially the maximum amount of travel the motor can achieve, but now it's under quasi-automatic control.

I hung the flaps on the wings once again:

This time I safetied the hinge pins:

Installed the flap pushrods and torqued/marked all the fasteners. Here you can see the rudder cable guards paying dividends – they allow the bolts to be inserted like they appear in the picture, instead of from the opposite direction which would be a whole new level of difficulty:

I temporarily installed the flap covers to keep stuff from falling down there and disappearing forever:

I will triple-check the rigging in a future work session, but I should now be able to use the flaps as a neutral reference for the ailerons, which will be useful when I go to install the wingtips:

And finally, here's a video showing how the flaps move automatically to the next position with each click of the "down" switch, followed by full retraction when the switch is moved to the "up" position:

Tailcone stiffeners

July 27th, 2023

The factory published a service letter detailing the installation of optional stiffeners to prevent the tailcone skin from buckling. At some point I picked up the required parts – nothing more than a couple pieces of prepunched angle – and decided to install them today.

The service letter details how to measure and mark the initial hole locations, by drawing radius marks at specific distances from certain preexisting rivets:

To lay out the required rivet locations I found it easiest to use a couple of precise and expensive Starrett tools to draw lines with a Sharpie… what's the difference between accuracy and precision again?

Match-drilled the stiffeners from the outside:

Deburred, dimpled, primed, and riveted in place. I was able to squeeze the first three rivets on each side, but I used MK-319's for the bottom two because I have places to be and things to do. Also I didn't relish the idea of bucking rivets inside the crowded, narrow tailcone.

Canopy skirt seal block

July 27th, 2023

Probably the last deferred task related to the canopy is the installation of the C-679 seal block. This is supposed to plug the hole in the aft canopy skirt where the center track goes through, to keep cold air from blowing on your neck.

Per the plans, I simply tied the seal block to the canopy frame with a length of monofilament fishing line. It took quite a few tries to get the length just right, and there isn't a lot of room below the canopy skirt in which to tie knots, but at least you can do the whole job without crawling into the fuselage.

Once adjusted properly, the seal block is automatically pulled into the recess in the canopy skirt when the canopy is closed. When the canopy is opened, the C-661 slider block simply pushes the seal block out of the way. It actually works surprisingly well, and seems like it will block a lot of air. I'm sure it helps that I molded the fiberglass canopy skirt around the block; the stock aluminum skirt design might not seal as well.

Like many of Van's "unique" design features, this is design is highly mickey mouse, but also very lightweight. We'll see how well it works.

Pneumatic plumbing

July 20th, 2023

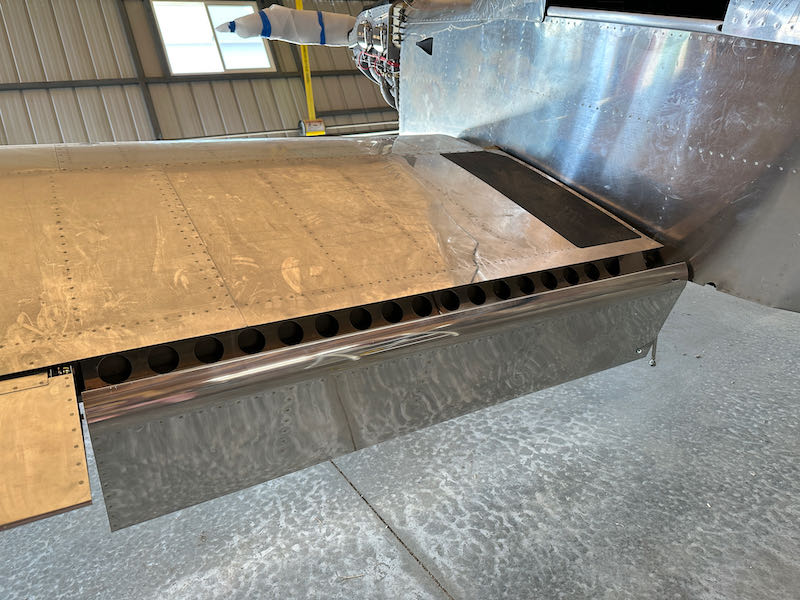
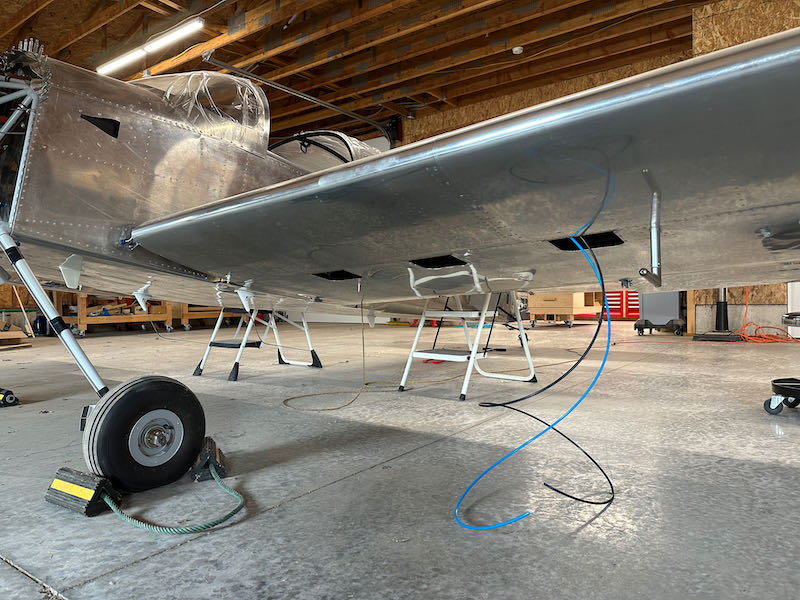
The pitot tube, to be useful, has to be plumbed all the way to the panel… a long journey through a lot of unhelpful structure. I used 1/4" black nylon tubing for pitot pressure and blue for AOA:

Looking up through the access panel at the plumbing:

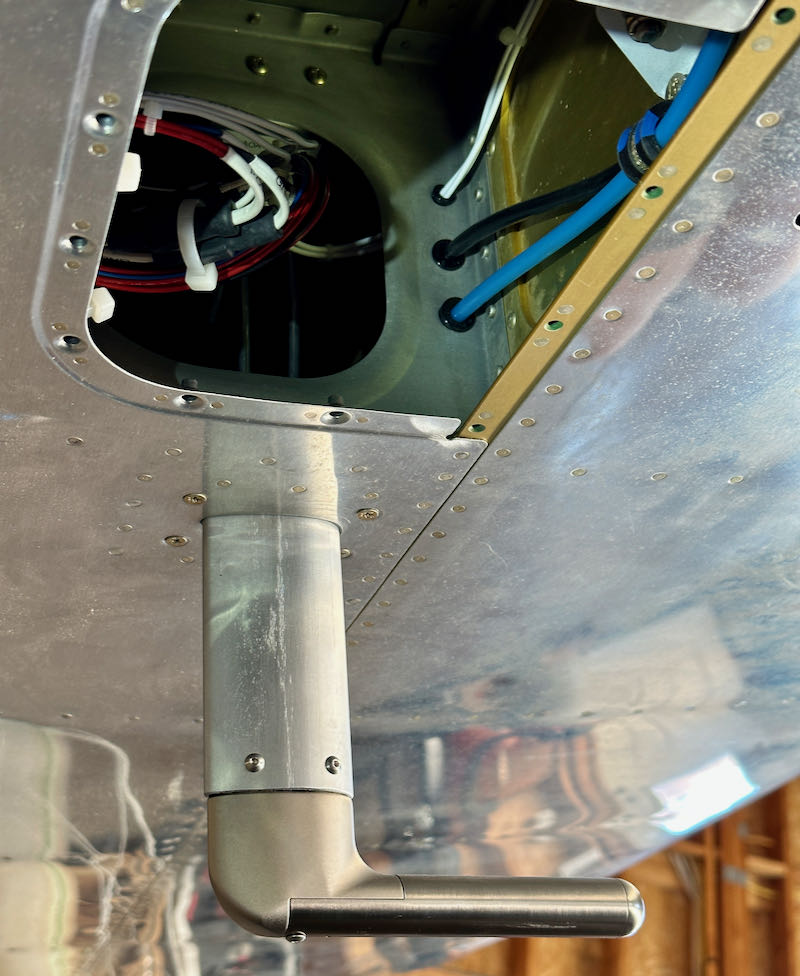
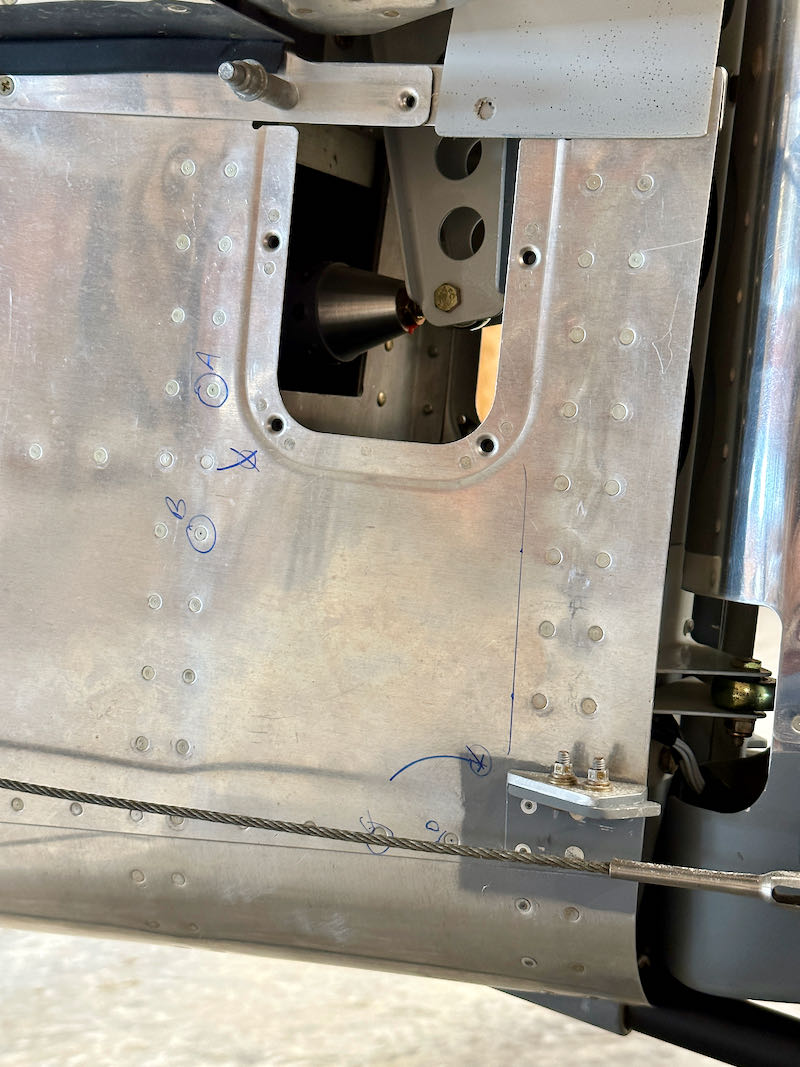
This area is difficult to see or photograph, but the tubes loop around to connect to the previously installed fittings:

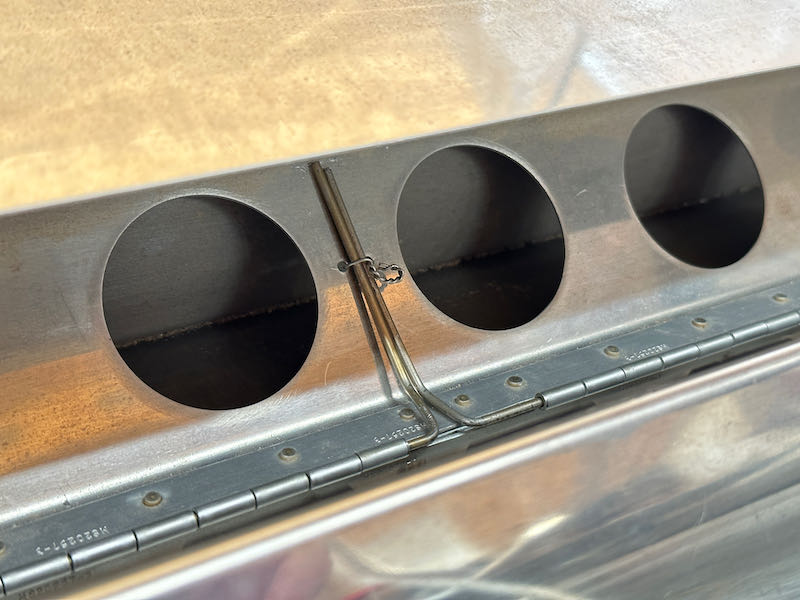
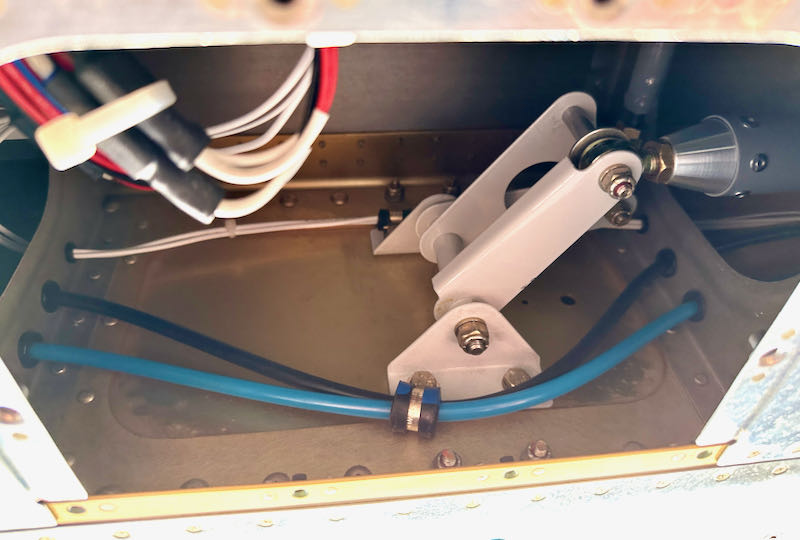
I used a longer bolt and an adel clamp to keep the tubes from fouling the aileron bellcrank:

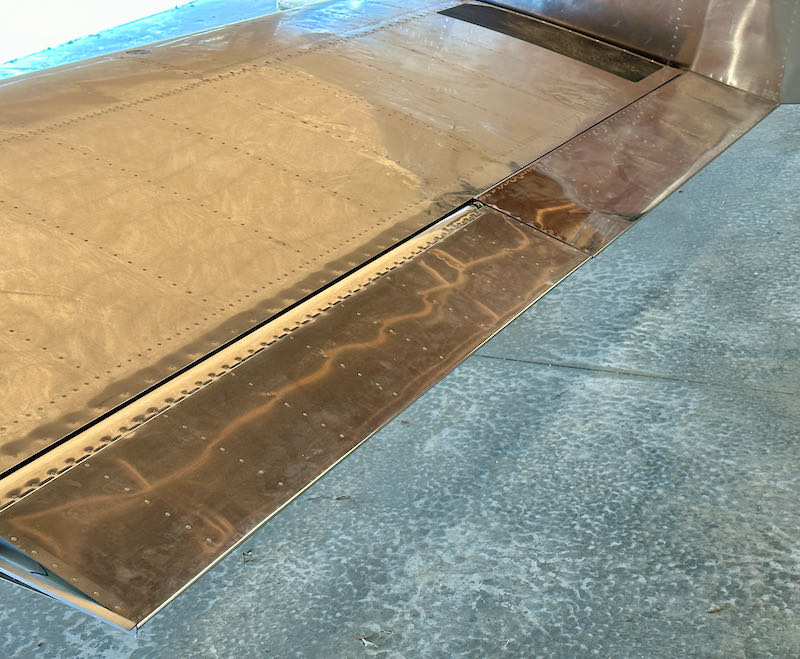
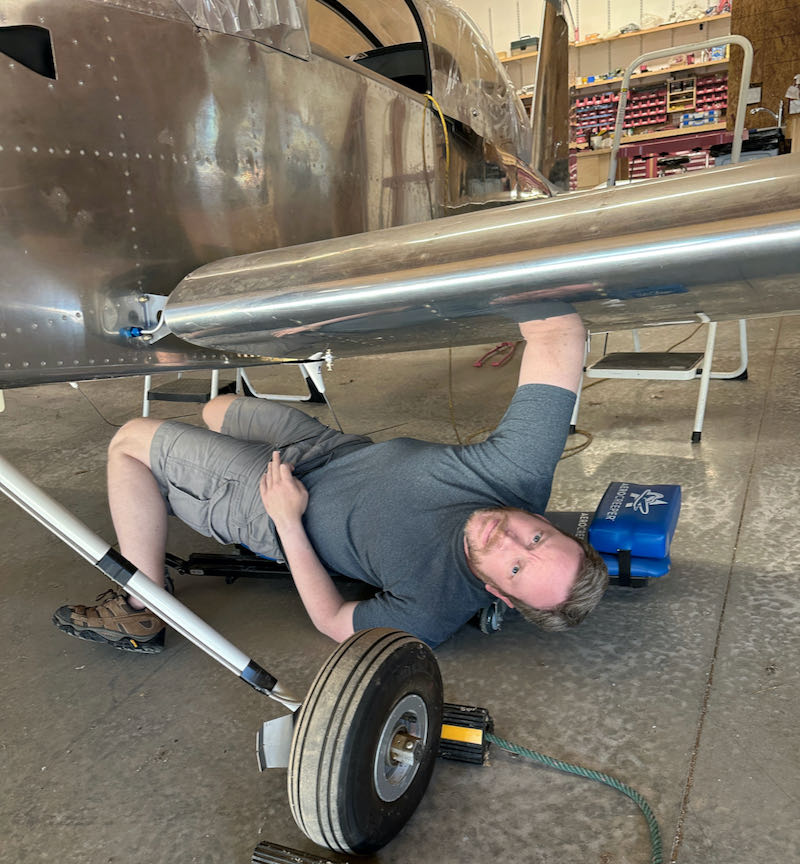
Running the tubing all the way through the wing and into the fuselage was only barely doable! I need a skilled helper with both flexible availability and flexible arms:

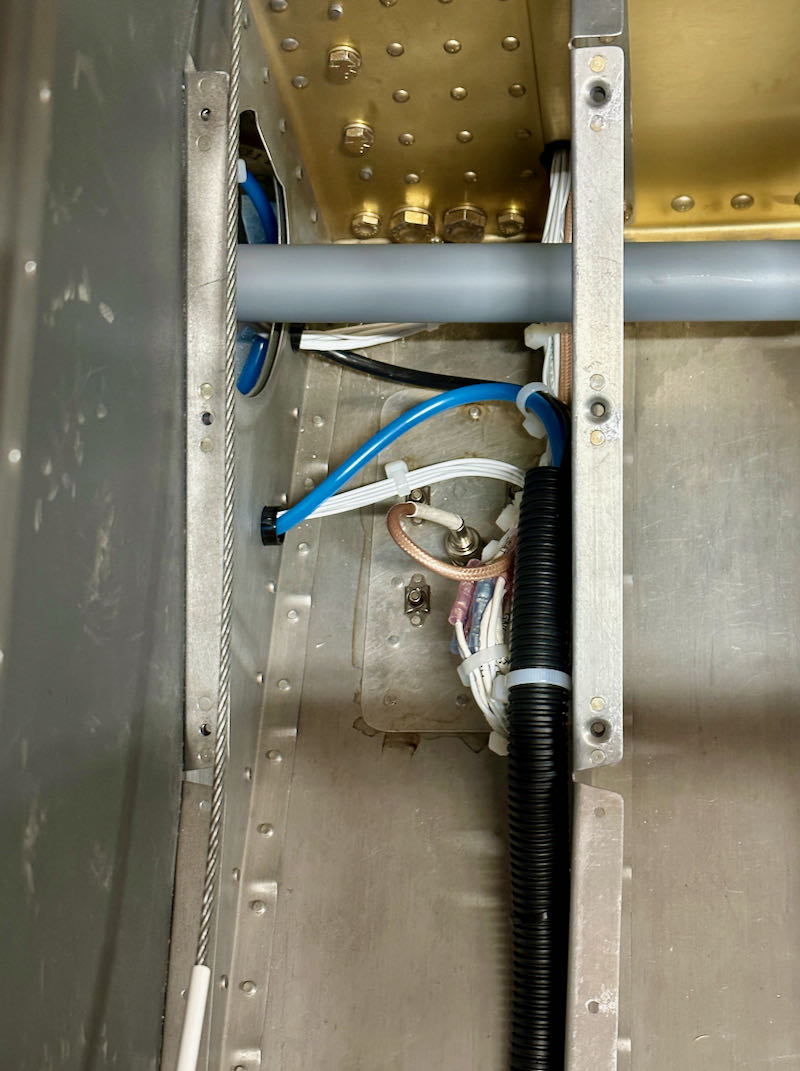
The tubes take an S-turn that's impossible to photograph, then enter the fuselage through the same bushings that allow the wire bundles to pass:

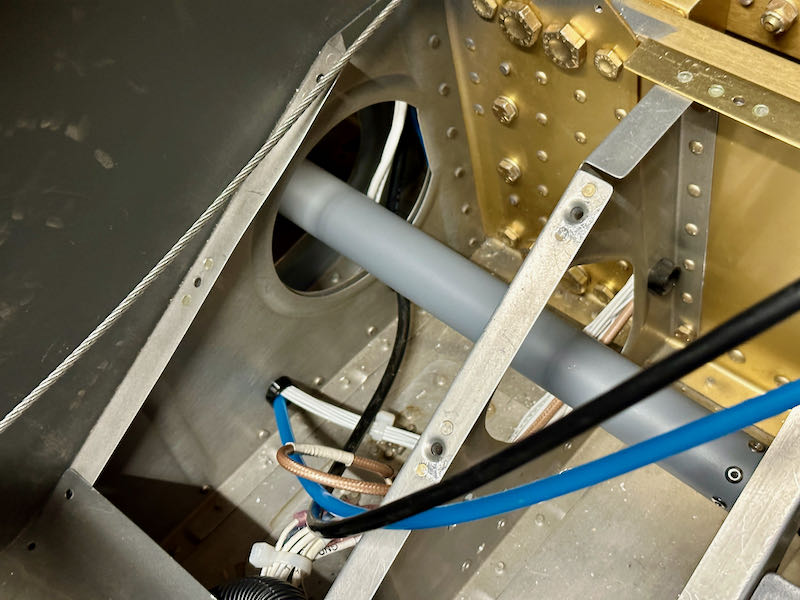
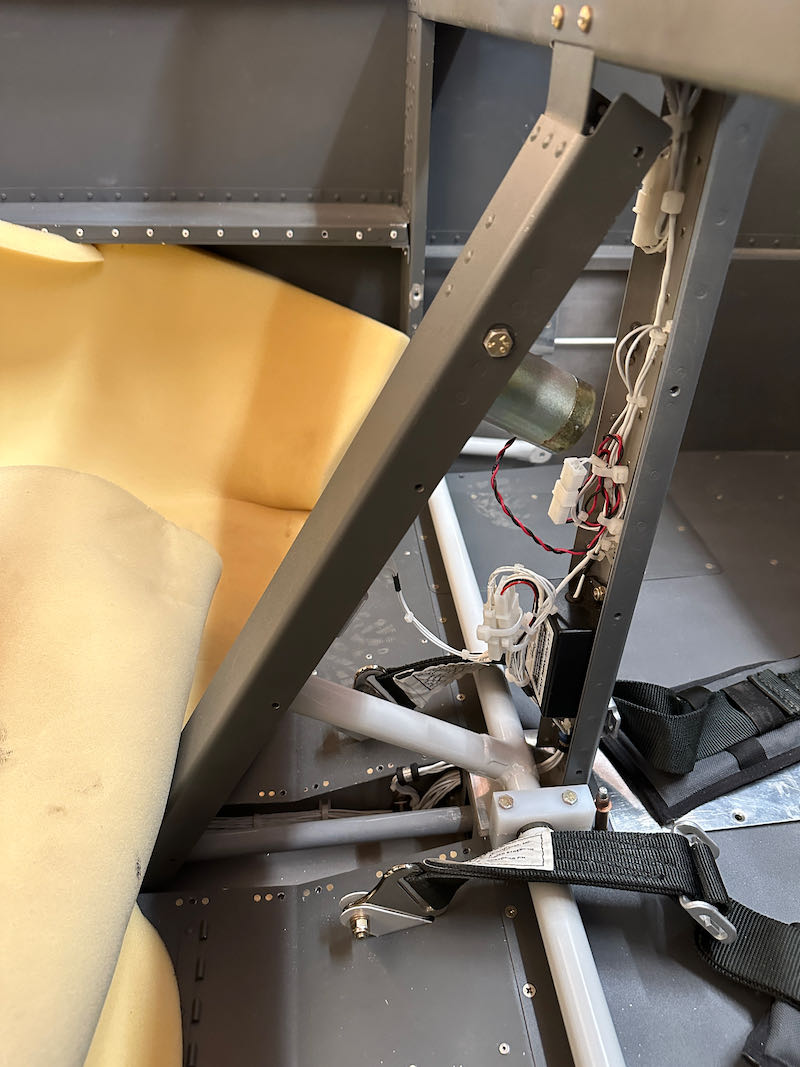
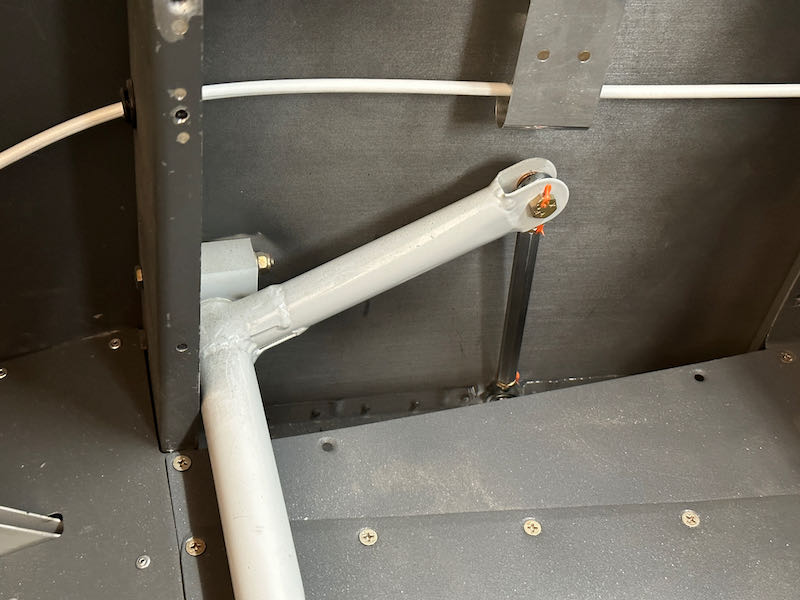
I secured the tubes out of the way of the aileron pushrod, and ran them aft through a protective 3/4" plastic conduit:

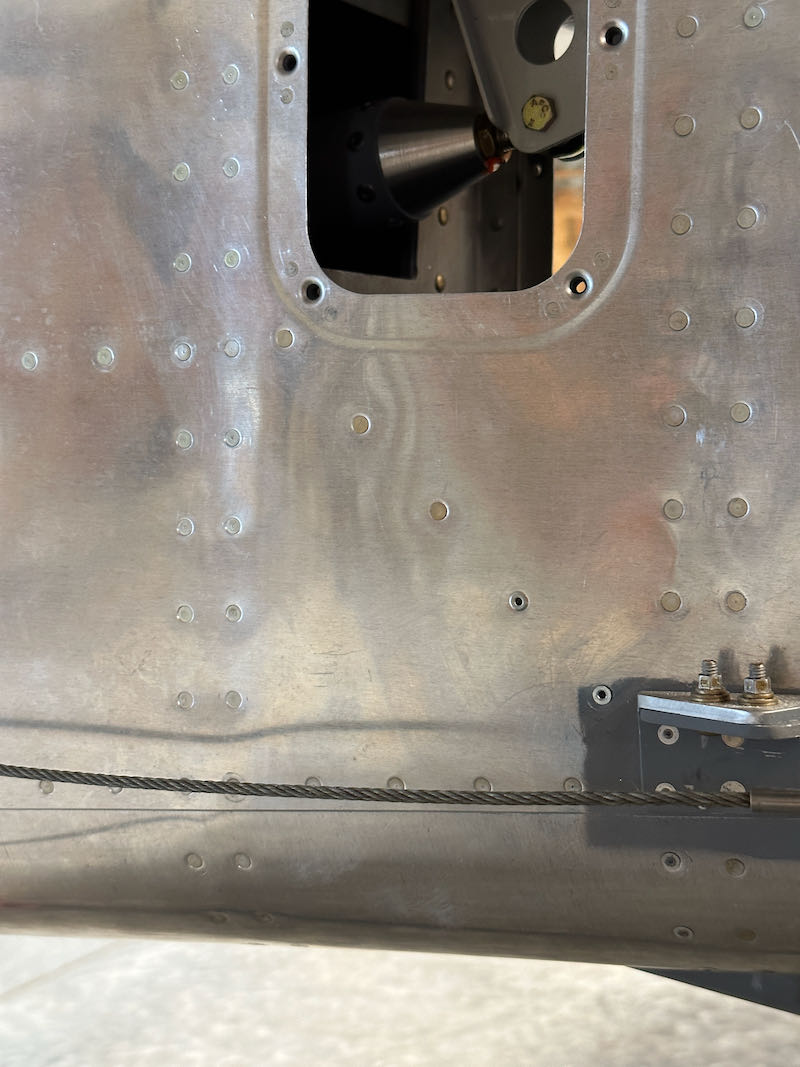
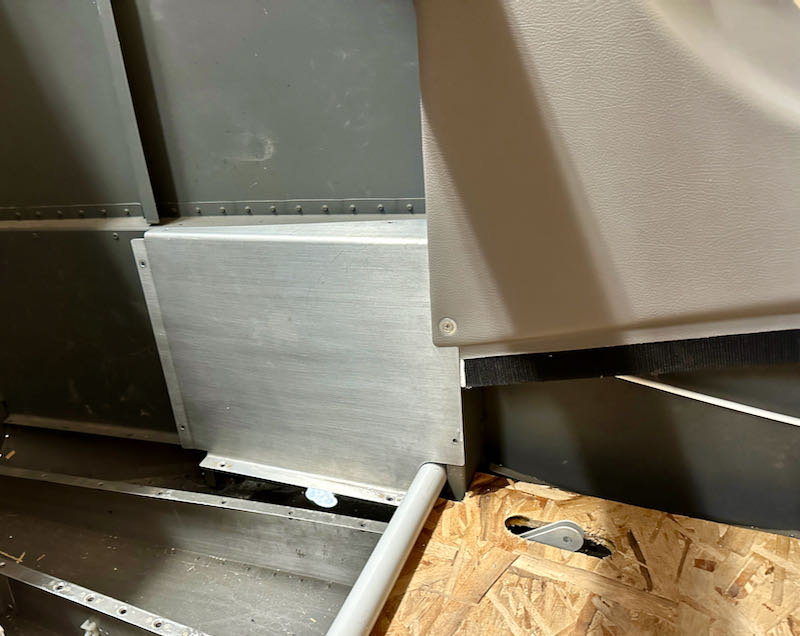
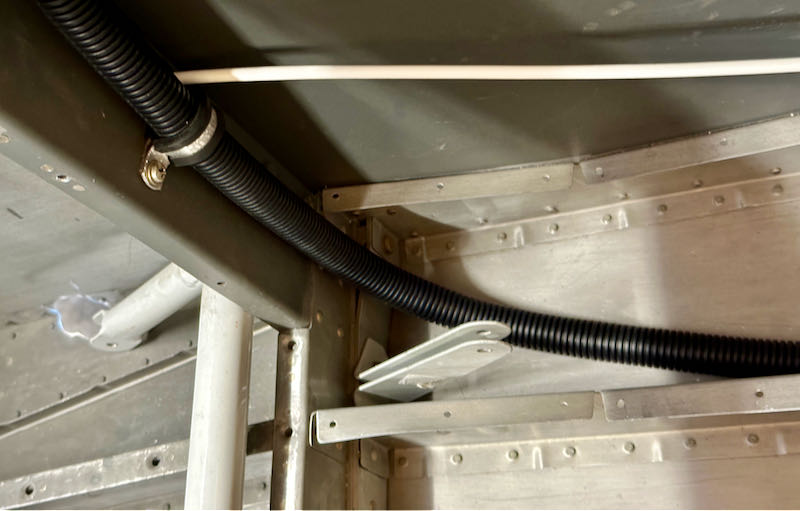
The conduit runs aft under the seat floor, then up the forward face of the F-705 bulkhead:

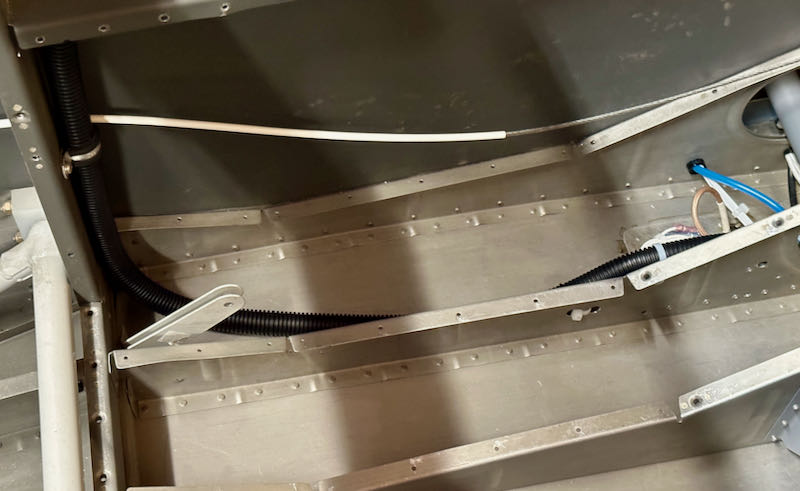
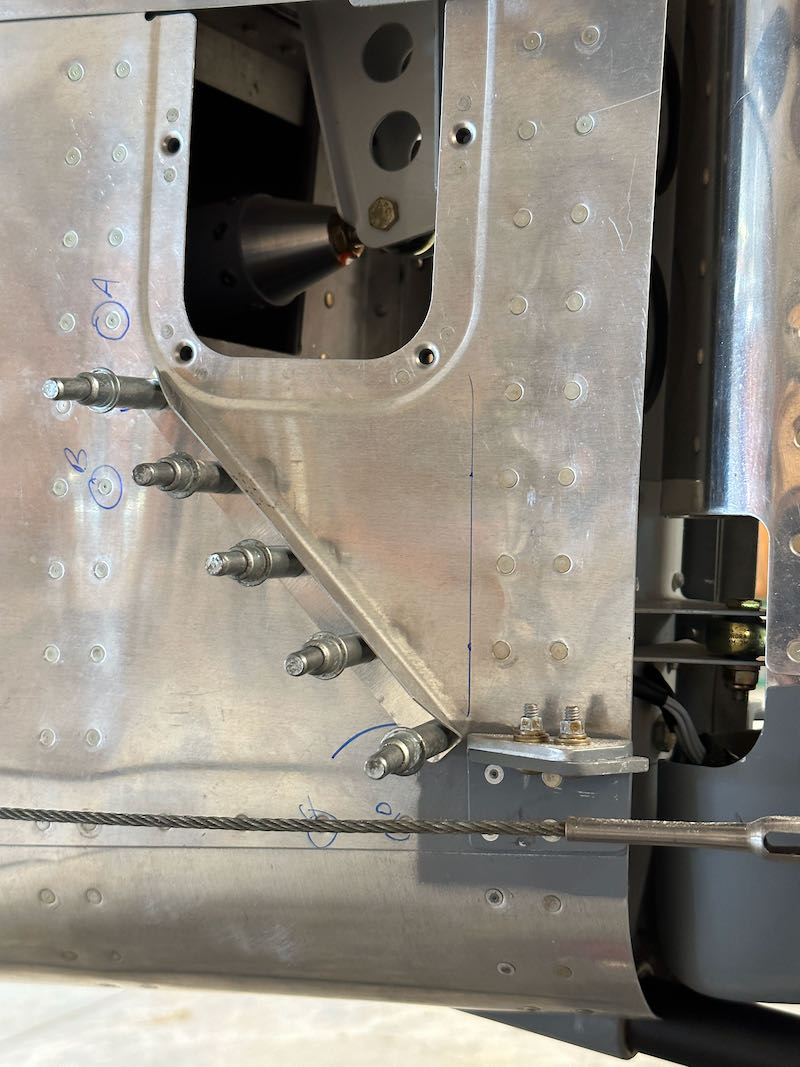
Another adel clamp keeps the conduit out of the way of the rudder cable:

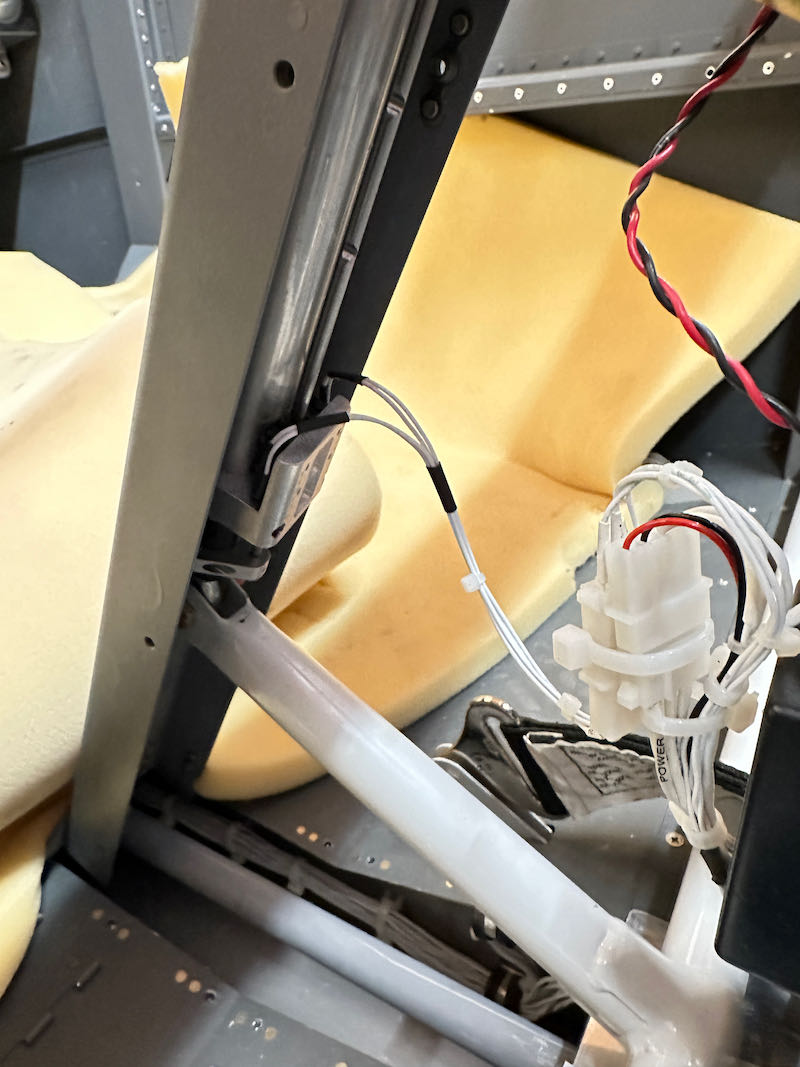
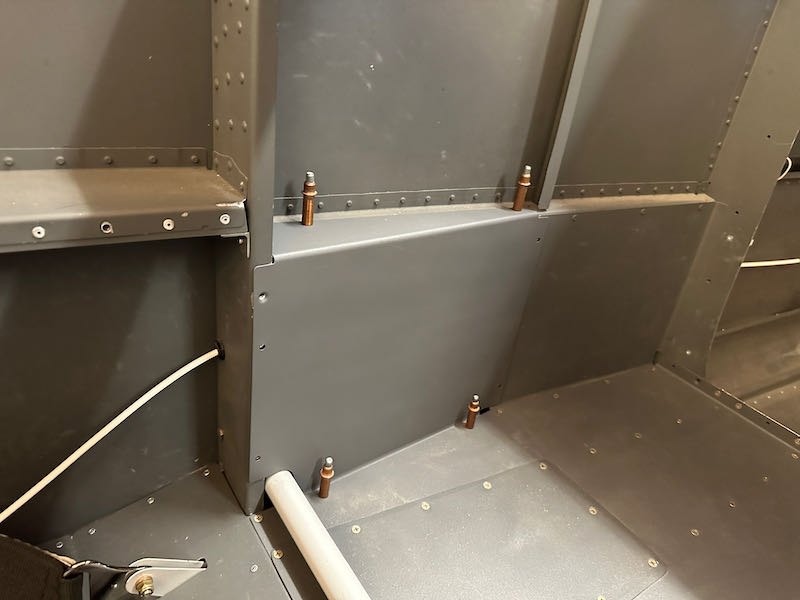
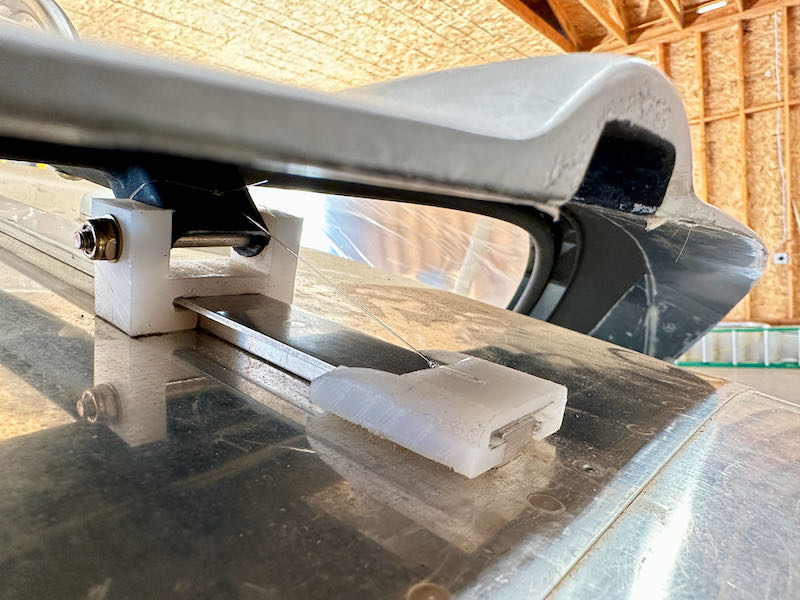
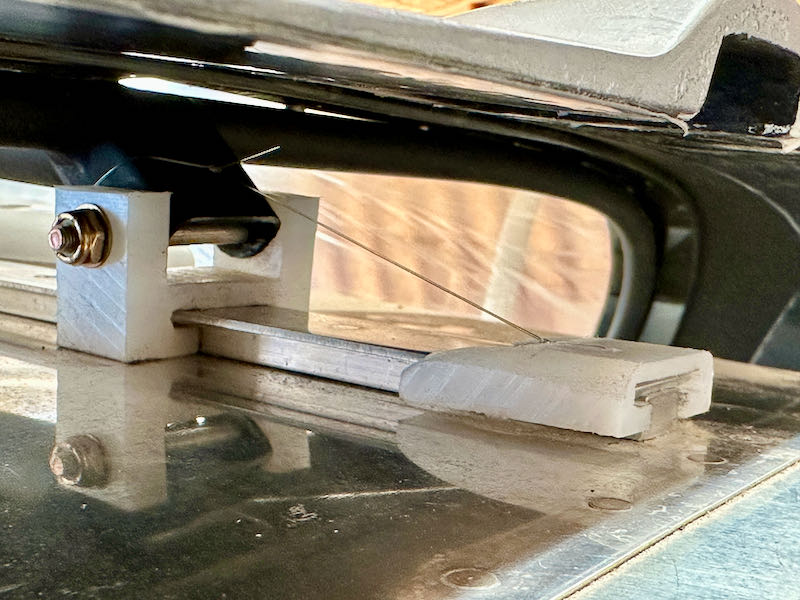
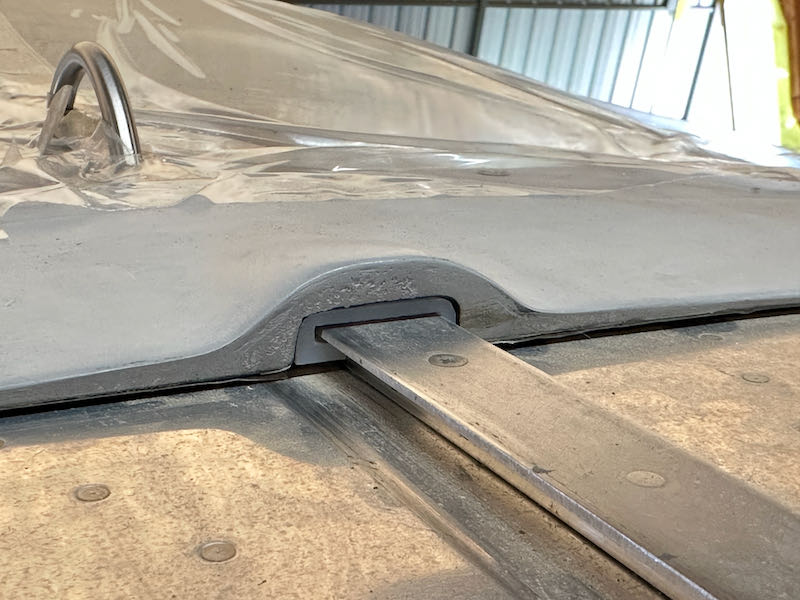
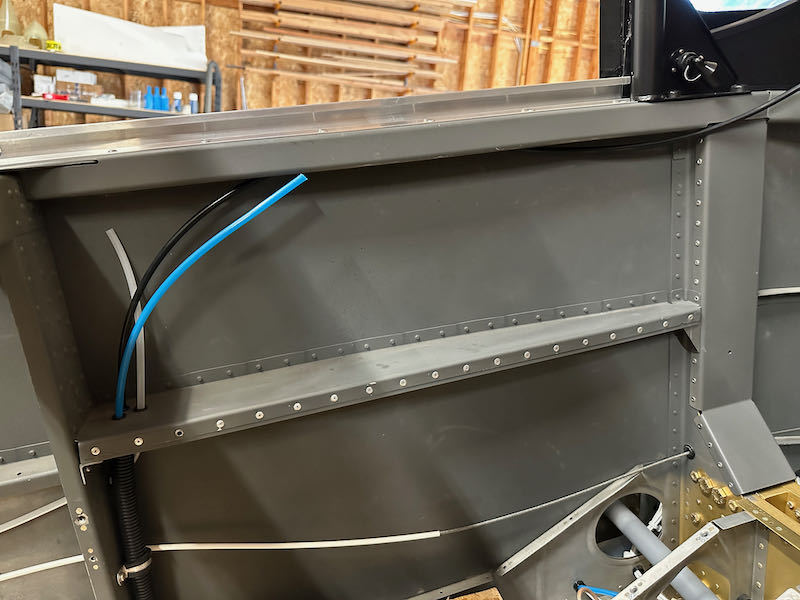
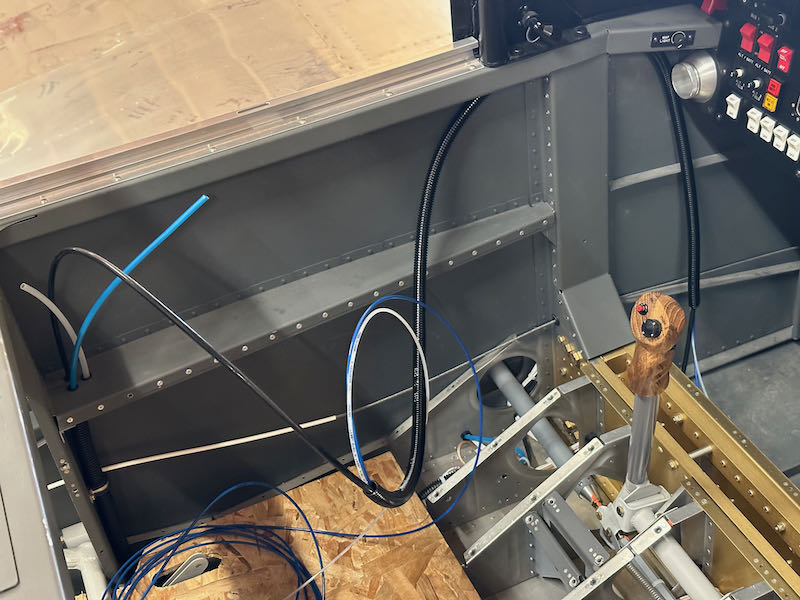
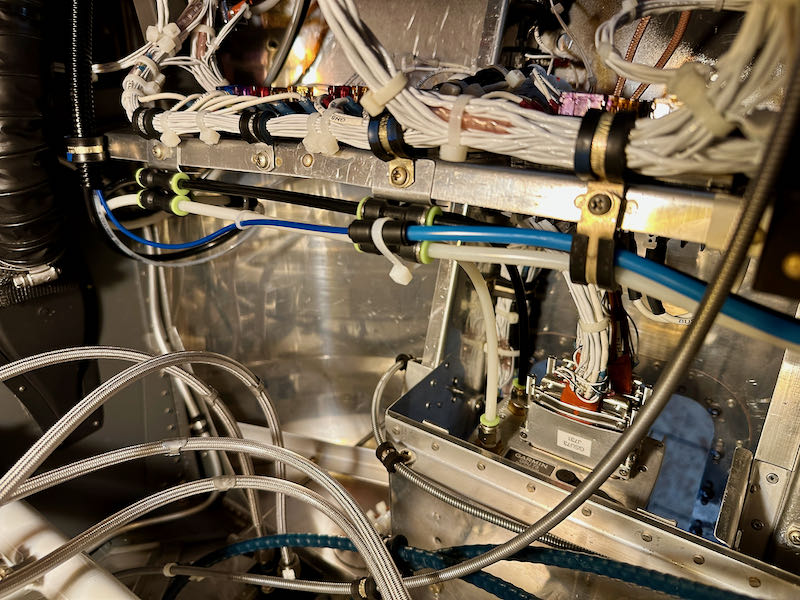
The pitot and AOA tubes, along with the white static tube, pass up through the armrest through a set of plastic bushings. Don't ask me why I chose to use three separate 1/4" bushings here rather than one single larger one. The pitot line (black) goes all the way to the panel, while the static and AOA tubes are cut short here:

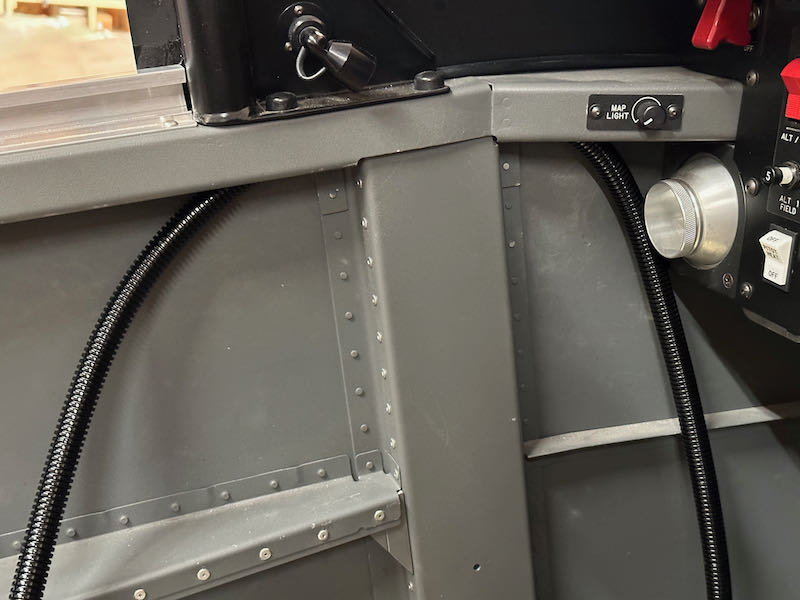
I wrangled the pitot line through a piece of 3/8" conduit, along with two 1/8" tubes for static and AOA. I didn't really want to have to use this tiny tubing size, but due to the space available to run the conduit I had no choice but to use small-diameter plumbing here:

In retrospect I wish I had finished the pneumatic plumbing prior to riveting the center section cap strips. Snaking this conduit over the top of the center section and around the rollbar bolts, without being able to get my fingers on it, was very tough:

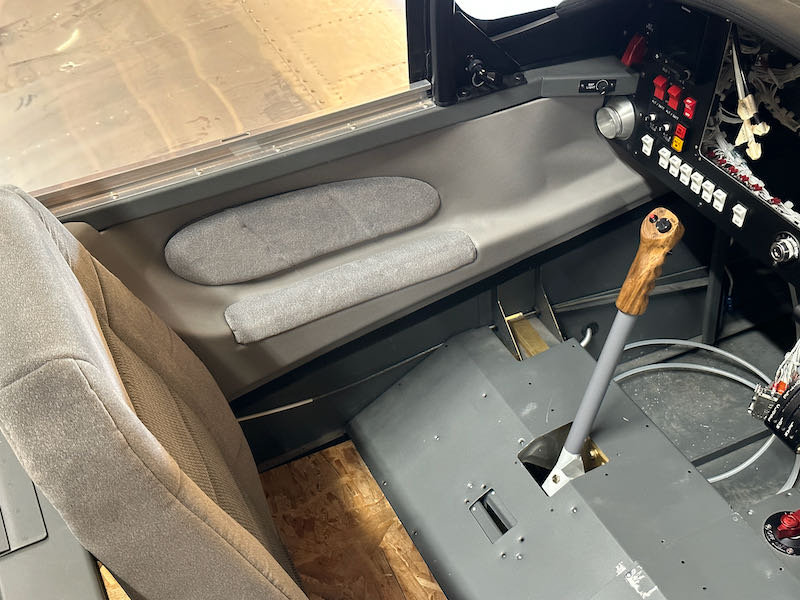
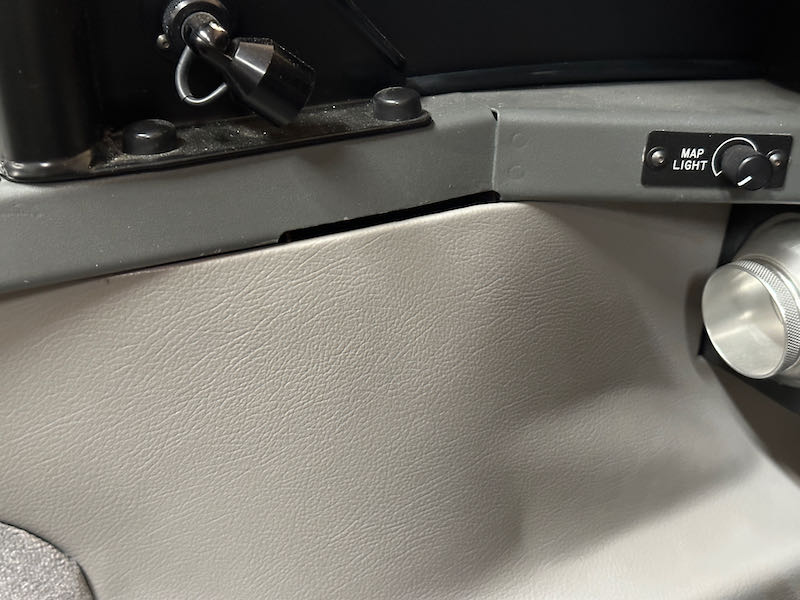
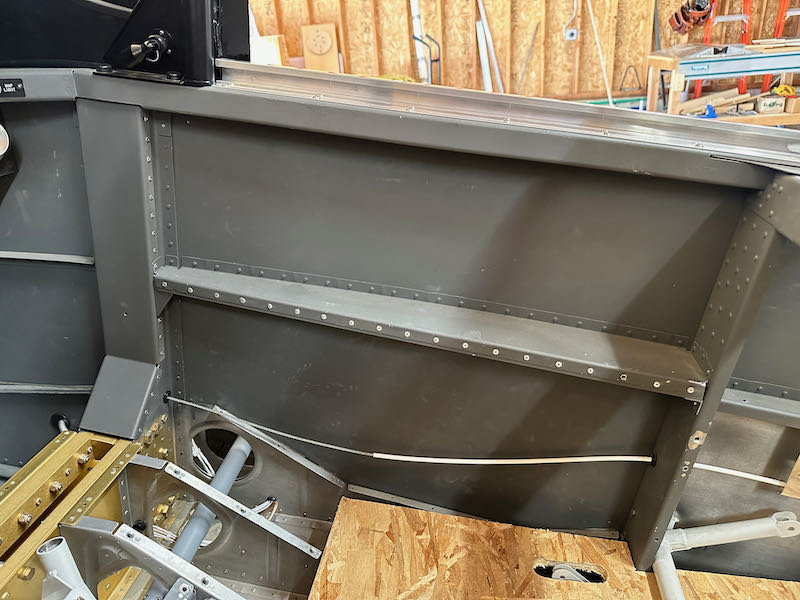
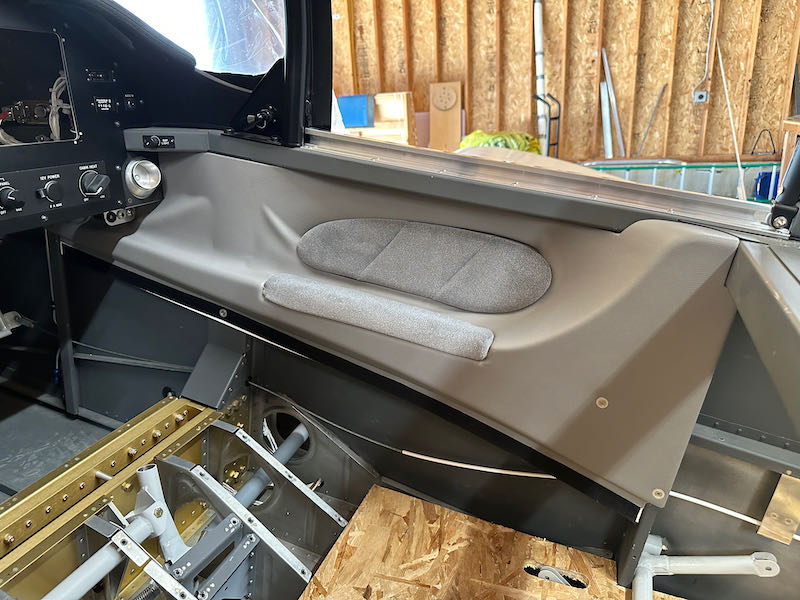
The reducer fittings that convert the static and AOA tubing from 1/4" to 1/8" will be hidden behind the interior panels, aft of the pilot's elbow:

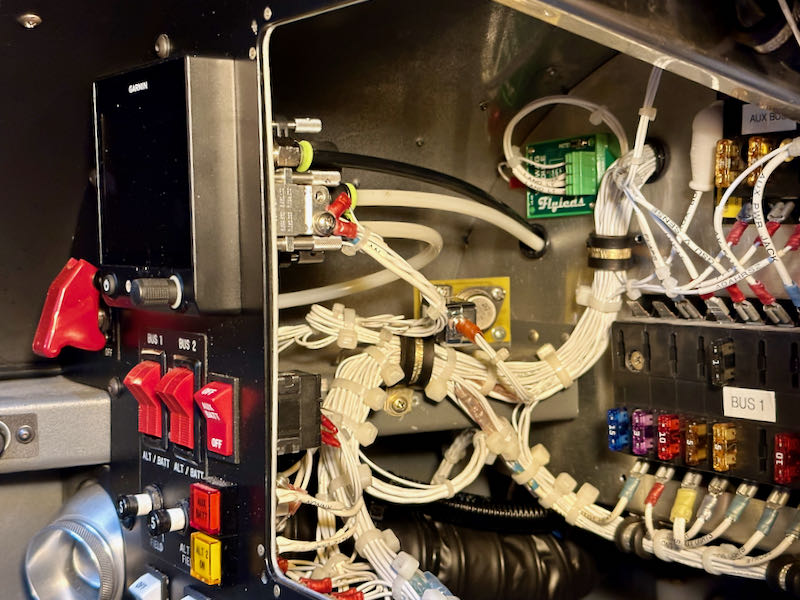
Forward of the panel, the plumbing conduit terminates at an adel clamp screwed to the bottom of the subpanel, and the various tubes branch out from there:

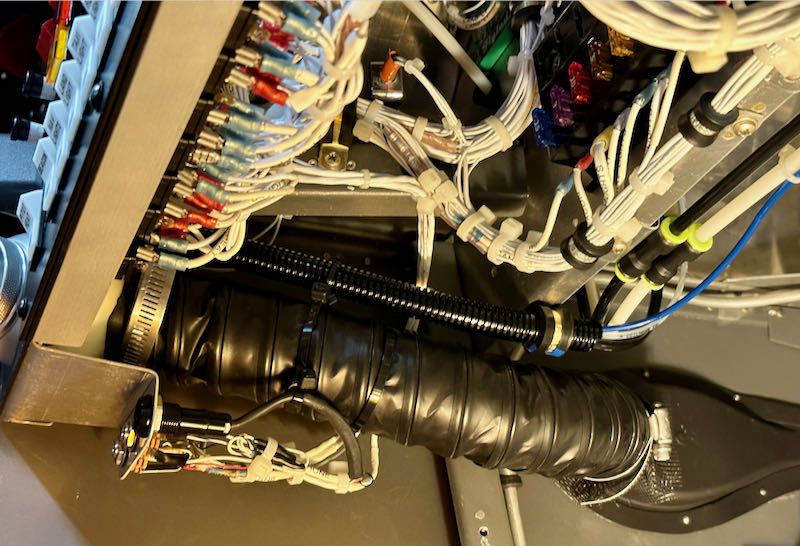
This photo is looking up at the bottom of the subpanel, with the nose of the airplane towards the bottom of the picture. I had previously done most of the under-panel plumbing prior to riveting on the forward top skin, but in my haste neglected to document it. Tee fittings are screwed to the subpanel flange with little brackets I made from scrap, and an adel clamp or two keeps everything constrained. To this I zip-tied the AOA tube, adapter-ed back up to 1/4" interface with the #2 ADAHRS:

One branch of the plumbing brings pitot and static to the G5 backup instrument, as well as connecting to the alternate static port:

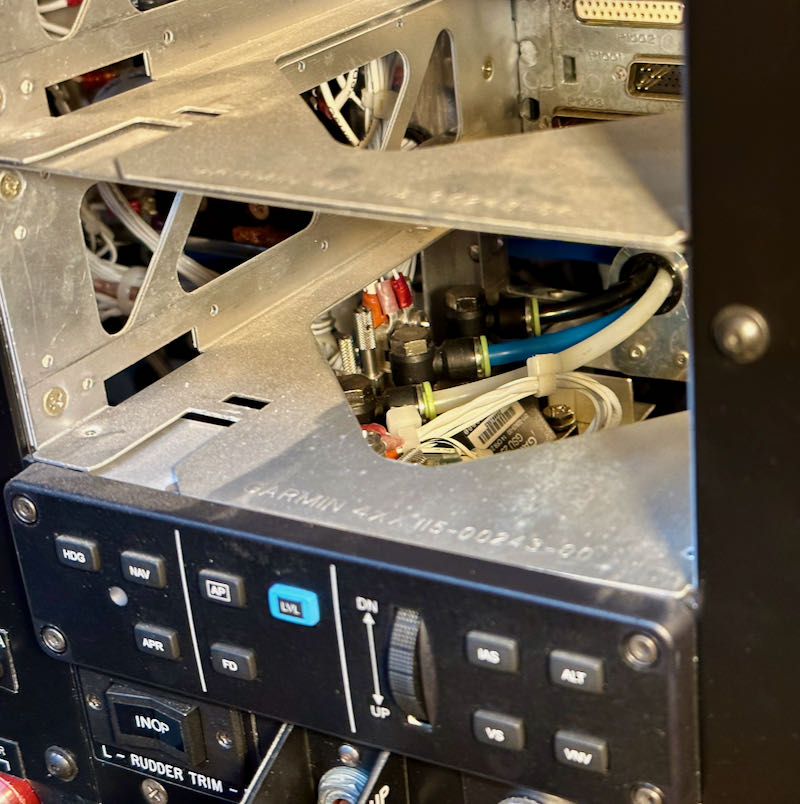
The #2 ADAHRS lives underneath the radio stack, and is difficult to photograph, but it now has all three of its pneumatic ports plumbed:

I have no good way to leak-check any of this plumbing, but I did apply lung pressure to the pitot tube and suction to the static ports, and confirmed the expected results on the cockpit displays. So that's good enough for me to call the instrumentation air plumbing complete.

Interior fitting

July 20th, 2023

I got the Classic Aero interior panels out of storage so I could finish fitting them to the fuselage. Even just sitting loosely in place, they look pretty good:

I don't love this gap at the top of the center section, but I don't currently have any good ideas for how to address it. I just minimized the gaps as best I could, then drilled and installed the nutplates that hold the forward end of each interior panel to the F-902 bulkheads:

I installed nutplates in the F-705D channels to secure the aft bottom corners of the interior panels. This also involved changing the upper screw and nutplate holding each F-749 flap cover to a flush fastener to fit underneath:

I picked up some more Rustoleum textured paint and sprayed a bunch of interior pieces:

Long ago I fabricated some improved stiffener angle pieces to reinforce the armrests, a known weak spot in the design of the interior of these airplanes. Somehow I forgot to document this, but here's everything painted and riveted together. There's a piece of 0.062" angle tucked under the armrest flange, which attaches to the center section and F-705 bulkhead with a pair of little brackets. You still wouldn't want to jump up and down on them, but the armrests are now much stronger than stock. Naturally I also riveted the F-704K center section cap strips at the same time:

It's hard to see in the above photo, but there is a nutplate in the F-704K and another one near the aft end of the armrest. Into these I drilled screw holes for two more screws, one into F-704K in an area that will be hidden by the lower side panel, and one into the armrest that will be hidden by the seats when they are installed. Of course, getting these located correctly took some advance planning. With four screws installed, the upper interior panels are pretty secure:

I've had these interior parts so long that the faux-leather material has started to separate from the plastic panels, and the foam tape attaching the elbow pads has more or less given up the ghost. I'll have to do something about all this eventually, but for now it's good enough just to have the fasteners that hold the panels finalized: