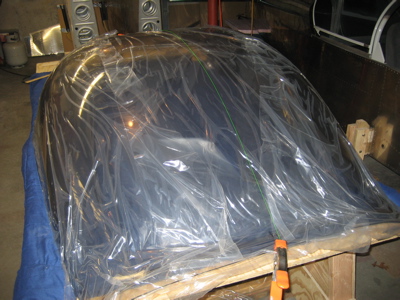
You're supposed to draw a centerline on the canopy before you start fitting the plexiglass and slider frame together. I measured and marked center points on the front and rear canopy edges and stretched a piece of fishing line between them.
However, I didn't have a great way to make sure the string was centered as it went up and over the hump in the middle of the canopy. So, as is my way, I totally overengineered the problem by deploying a laser. I made this lashed up rig and duct taped my shiny new laser level to it in such a way that it projected a beam across the entire top of the canopy.
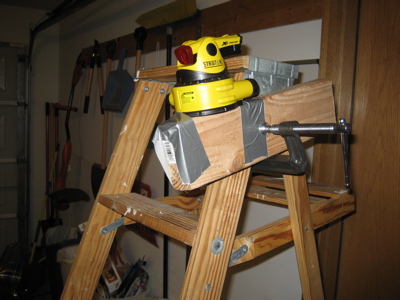
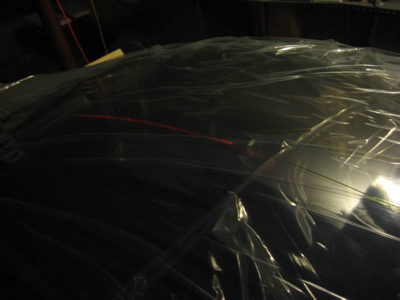
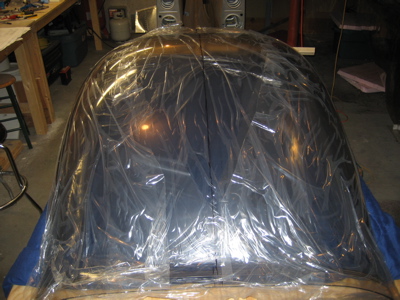
Here is the laser in action. For twenty-five bucks how can you go wrong? I love new tools. It took a bit of fiddling to get the beam straight and normal to the canopy surface – actually the reflection of the beam off the canopy and onto the wall made it pretty easy to figure out which way to go in order to hit it straight on.
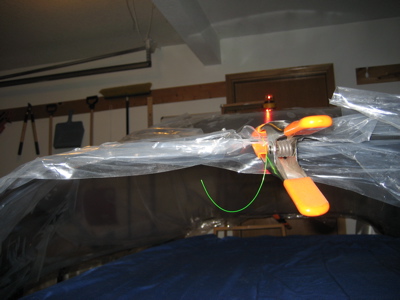
It was hard to get a good picture, but basically all I did was nudge the string until it sat right under the beam, then drew a sharpie line along the string. Simple.
The finished product. The line is actually pretty wavy because I was freehanding it and it's drawn on the wrinkly protective film, but all that matters is that it's located on the real centerline of the canopy.
I also spent some more time bending and tweaking the canopy frame. I talked to Van's on the phone this morning and was told that as long as the frame is at least 1/16" in from the fuselage sides, you can shim the canopy skirts however you need. I'm 1/16"-1/8" everywhere except the rear corners, where I can't come in anymore without fouling the frame on the aft top skin when the canopy opens. It seems like I should be able to make the aft skirts bridge that gap, though.