The plans tell you to attach the canopy directly to the forward bow of the frame with pop rivets, with no aluminum in between the fasteners and the plexiglass. This is the only place on the canopy where they show rivet heads bearing directly on the plexiglass, and it makes me worry to think about what will happen to those fastener holes when the glass starts to expand and contract with changing temperature. I decided I wanted to have the plexiglass securely sandwiched beneath an outer layer of aluminum everywhere it's fastened to the frame, in order to better spread the load and allow for thermal expansion. For lack of a better term I'll call this piece the forward canopy trim strip.
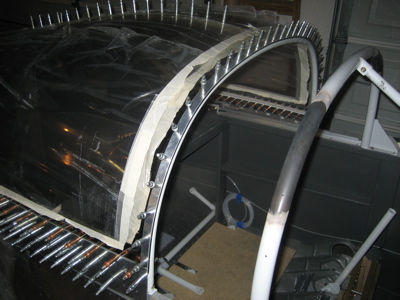
First I taped the canopy to the forward bow, so it would maintain the correct shape without clecoes:
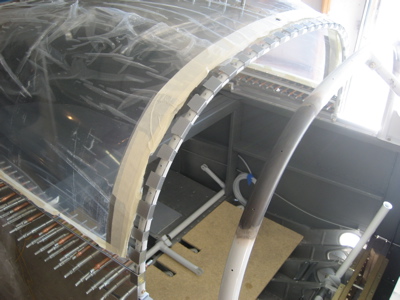
Then I taped down a strip of posterboard so I could trace the outline of a template. (Side note: Notice how bright it is in these photos? That's what it's always like in my east-facing garage in the morning. It gets hot early, and the reflections from aluminum airplane parts are often intense.)
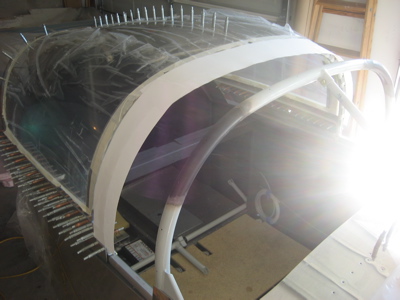
I cut out the paper template and taped it to a six-foot section of 0.032" I bought from Airparts last week.
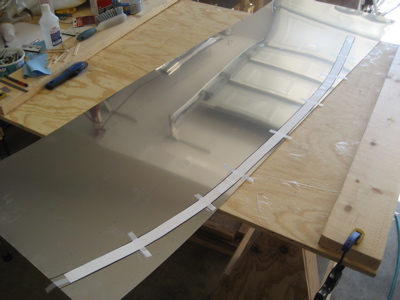
After a few minutes of using snips, I had a rough and oversized blank cut out.
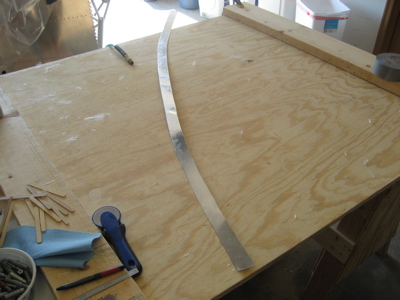
I clamped it to the canopy to test the fit…
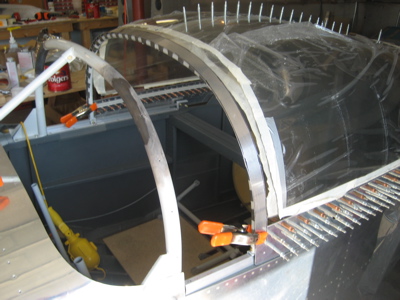
…then drilled the rivet holes using the same technique I used to drill the ill-conceived metal aft skirts.
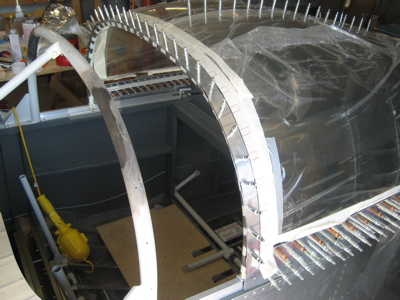
I scribed a line on the bottom of the aluminum hanging over the forward edge of plexiglass, then cut and filed the strip to just beyond the scribe line. That gave me an attractive front edge that was nice and flush with no metal sticking out to cut/pinch your fingers. Then once I had the front edge the way I wanted it, I marked the trimmed the aft edge to give the strip a uniform width across its entire length.
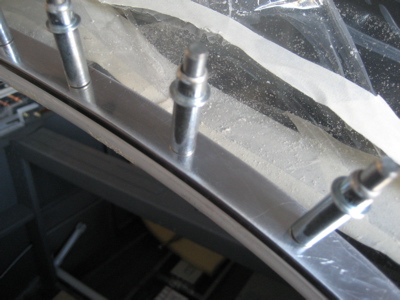
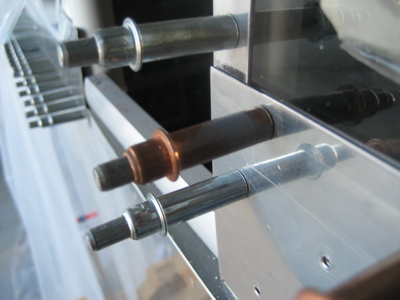
Right now I have the ends of the strip tucked underneath the canopy side skirts. There is a small ear on the lower end of the strip that picks up the forwardmost skirt-to-frame rivet (the lower silver cleco in this photo). I may also need to shim under the forwardmost screw hole (copper cleco) or otherwise put a bend in the front corner of the skirt to keep it from bowing out.
Here's the finished product, ready for final drilling and dimpling. When the canopy is closed, this will be hidden under the fairing that goes over the top of the rollbar, so you'll only be able to see it when the canopy is open.
Ahh, nothing like scratch-building something out of metal to get the airplane-building spirits back up.