Since I am feeling professorial tonight, you get an illustrated tutorial showing my techniques for dealing with shielded aircraft wire. I am by no means an expert, but I won't let that stop me from showing you what works for me.
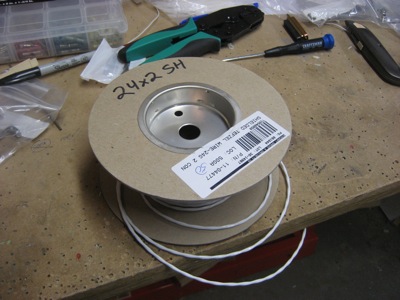
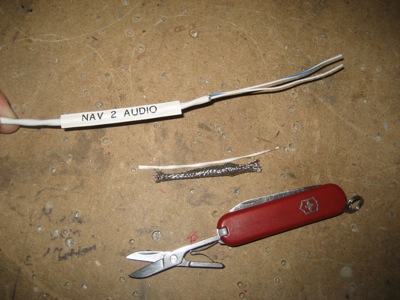
I buy most of my wire from Aircraft Spruce, since they have a volume discount and they'll put your wire on a spool for you without charging an extra fee. I always write the size of the wire right on the spool in big letters, so I can identify the right spool from across the garage. For example, the this photo shows some two-conductor, 24 AWG shielded wire. Trust me, you'll wish you did this once you accumulate a dozen spools of technically distinct but otherwise similar-looking white wire.
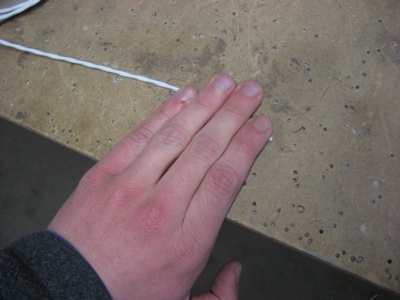
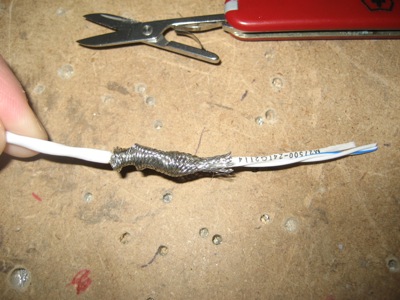
We're going to connect the #2 nav receiver audio output to the audio panel. The shield on this wire will be left floating at the radio end, and at the audio panel end we'll attach the shield to ground via a flying lead we'll be soldering to the shield. For the end where I want to ground the shield, I make a mark about four fingers' worth back from the end:
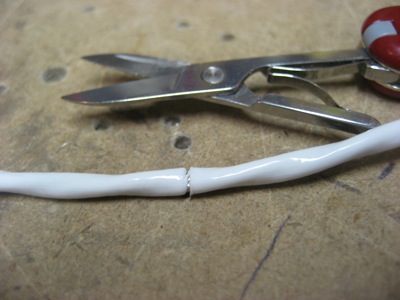
Gently score the outer insulation all the way around, then flex the wire back and forth until the insulation breaks. Don't try to cut all the way through – you only need to create a weak spot and the bending of the wire will finish the job. My favorite tool for this is the nail scissors on my pocket knife – I find I can control the depth of the cut they make better than with a regular wire stripper or pair of dykes.
Pull the insulation off, exposing the braided shield underneath. At this point it doesn't really matter if you nicked the shield or not, although it's a good habit to practice stripping the insulation off without touching the shield.
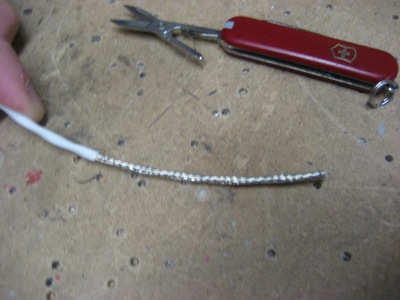
Scrunch up the shield so it expands out from the inner wires. You're going to snip away the shield, being careful not to cut the wires inside.
Trim off any stray pieces of the shield that are left sticking out. If you're obsessive like me about labeling all your wires, now is also a good time to slip on your un-shrunk label tube. By the way, the Wikipedia entry on heatshrink tubing is pretty interesting.
Now strip off an additional quarter-inch of insulation. Be very careful not to damage the shield, since we are going to solder another wire to it.
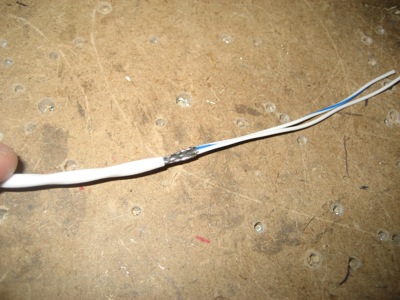
There are two ways to attach a flying lead to the shield. One is to solder it by hand, which works fine and is dirt cheap. The other way is to use solder sleeves, which is my preferred method despite being expensive. I like the kind that comes with a piece of pre-tinned 22 AWG wire already sticking out.
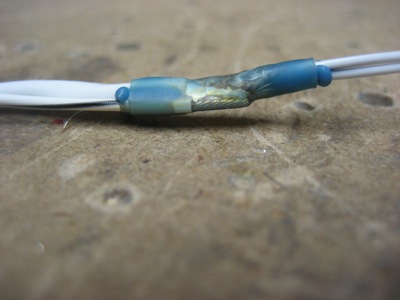
I like to first put the solder sleeve onto the wire and slide it up past where I'll be attaching it to the shield… this lets me smooth out the exposed shield and then slide the sleeve back down over it to keep it laying flat.
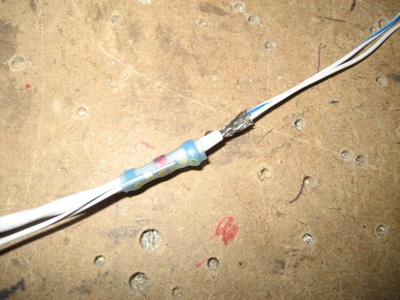
I blast the solder sleeve with a heat gun until the solder is melted all the way around, the red indicator dye is mostly boiled off, and the glue at the ends is smooshed out. You have to be somewhat quick about things so you don't scorch any insulation, but with a little practice the solder sleeve is pretty much foolproof.
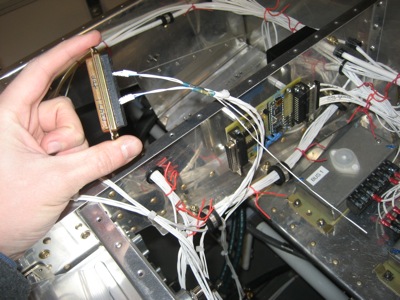
The shielded wires have pins crimped on them in the normal way, and the flying ground lead gets attached either to a ground block or to the connector backshell. In this photo I haven't yet terminated the shield ground wire, since I will be adding more shielded wires to this connector later and I am planning to crimp multiple ground leads into each ring terminal.
The other end of the wire is much simpler, since we don't need to connect the shield to anything. In these cases I like to strip off three fingers' worth of shield and outer insulation instead of four.
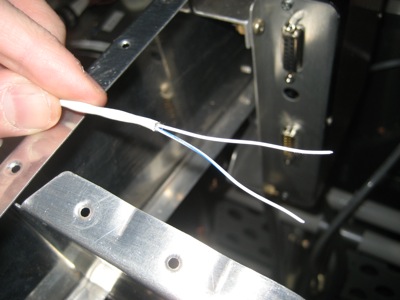
A piece of heatshrink labels the wire and cleans up the cut end of the shield as well.

Done! Now repeat a couple dozen times throughout the whole airplane.