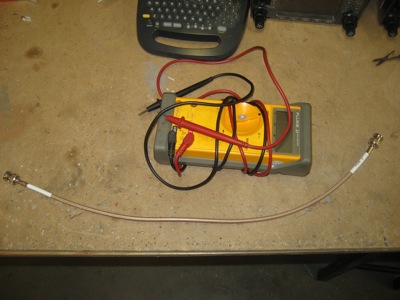
As I was making antenna cables, I thought it would be useful to show my method for crimping BNC connectors. The usual disclaimer applies: I am not an expert, I'm just showing you what I do.
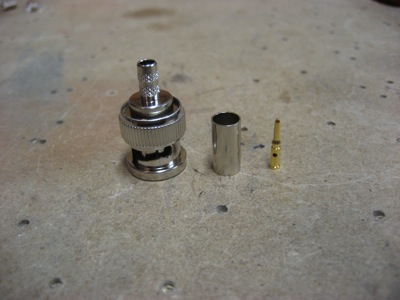
I get my connectors from Aircraft Spruce, although you can find them just about anywhere. These particular ones are made by Amphenol and sell for about three bucks apiece.

Here's what comes in the bag… connector body, ferrule, and center pin:
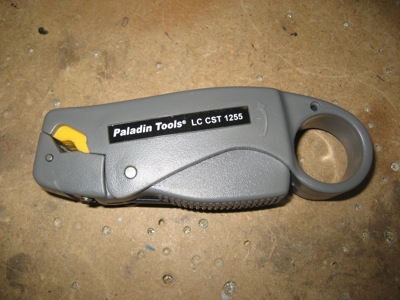
One of the secrets is to use the right kind of coax stripper. The tool I use has three spring-loaded blades in it (kind of like my razor, I suppose). If you see one at your local hardware emporium, be sure to check the model number – all the ones I found in the local stores were configured for television coax cable. For stripping the RG-58/RG-400 coax we use in airplanes, the model 1255 is the one you want. I couldn't find one locally so I had to mail-order it, but it was comparatively cheap.
Since I'm a tool junkie, I experimented with different kinds of crimping tools. On the top is the "economy" racheting crimper sold by B&C for $40. On the bottom is an Eclipse frame with a set of RG-58/RG-400 BNC connector dies in it – cost for this setup is about $25 for the frame and $15 for the die, so it's basically a wash (prices are from Terminal Town where I bought mine). The dies on the economy tool are removable, and might actually be interchangeable with the Eclipse, but I haven't tried.
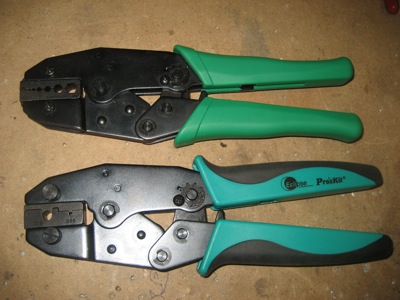
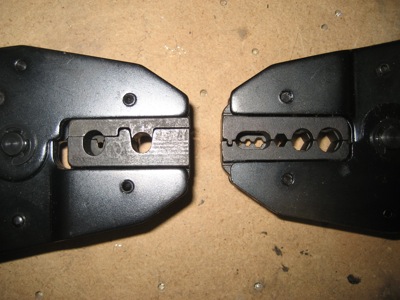
Here's a closeup of the crimp dies on both tools. On the left are the RG-58/RG-400 dies in the Eclipse tool, and you can see that there is just one crimp position for the pin and one for the ferrule. On the right is the economy tool, which can crimp multiple connector sizes. Either one works, although I find myself mostly using the Eclipse tool since I'm always crimping the same size of connector and it's impossible to get the pin in the wrong hole if you only have one choice. The other reason I prefer the Eclipse is that it makes a cleaner crimp on the pin… with the economy tool, the pin seems to get squashed flat a little more, so it's sometimes harder to get seated.
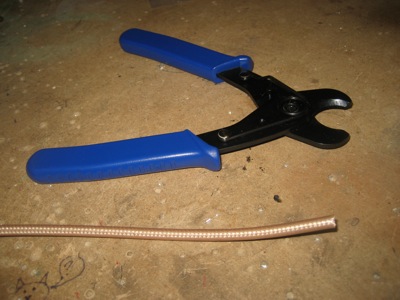
To cut the coax to length, be sure to use a real cable cutter, not a pair of dykes. The cable cutter has curved jaws that won't squash the coax insulation nearly as much, and it's cheap. These should be available wherever electrician's supplies are sold.
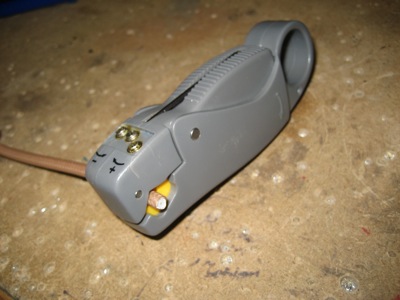
To strip the cable, clamp the stripper on the cut end using the illustration on the tool as a guide. It takes several practice runs to get the height-changing setscrews adjusted to give the proper depth of cut, so don't be afraid to use up a foot or two of coax getting your tool configured. To use the tool, use your finger to twirl it clockwise around the end of the cable (if oriented as it is in this picture) four times, then one turn counterclockwise.
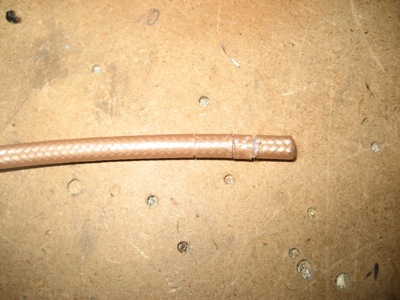
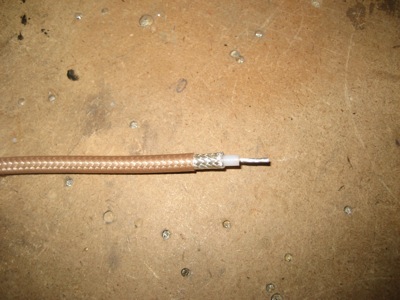
If the blades are set correctly, you'll end up with (from left to right) a shallow cut through the outer insulation, a deeper cut through the braided shield, and a third cut that goes through the inner insulation.
With gentle persuasion, the cut segments should come right off and leave you looking at the untouched material underneath the cut. Take a minute to closely examine the cable for stray shield strands that might float around and bridge your two conductors together. You can leave the center conductor slightly long, since you'll probably be trimming it a bit anyway.
Slide the pin over the exposed center conductor. You want the base of the pin to be almost, but not quite, touching the white insulation. Trim the center conductor a bit at a time until it's the right length.
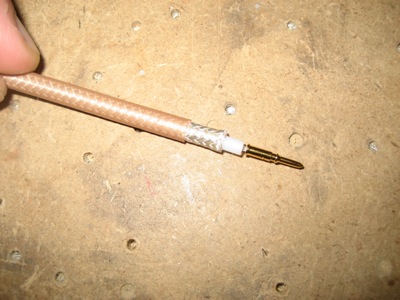
Squash the base of the pin with your crimper, and give it a tug to make sure it's secure.

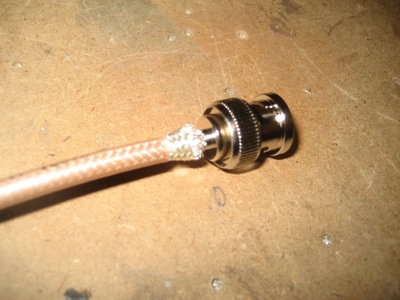
Now slide the ferrule over the cable. If you're going to label it, now is also the time to slide on your heatshrink label.

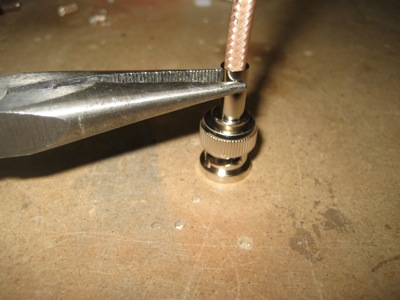
Push the connector body down over the end of the cable until you feel a click as the pin is seated. The knurled bit on the back will dig under the braided shield. If you encounter strong resistance, can't get the pin all the way in, or don't feel the click, the most likely problem is that the crimper has deformed your pin enough to make it hang up in the connector body (see above).
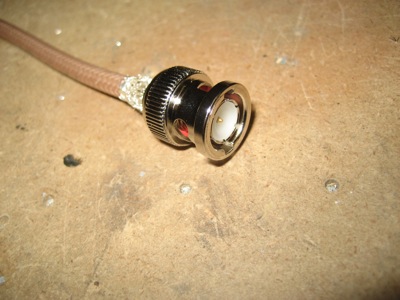
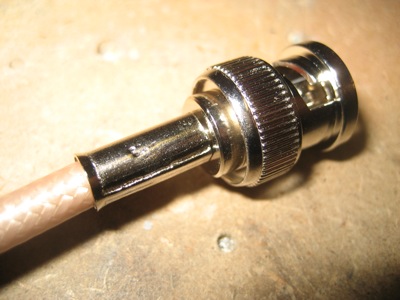
When properly seated, the end of the pin should be flush with the end of the plastic insert inside the connector:
Without unseating the center pin, slide the ferrule down over the exposed shield. With the neato coax stripper I use, you should find that the shield has been trimmed to the perfect length and you don't have any stray shield strands poking out.
Now crimp the ferrule, and you're done.
I like to do a quick continuity check just to make sure the center pin isn't shorted to the shield anywhere. Antennas don't work very well with a shorted cable.