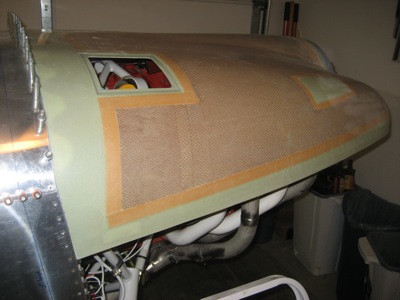
No more putting it off… time to start fitting the top cowl. Much like with the canopy, the instructions are frustratingly vague (although at least with fiberglass, if you take off too much there is usually a way to put more back on). I have been reading everything I can find on the usual RV sites, soliciting advice from friends near and far, and generally just trying to get an idea of where to begin.
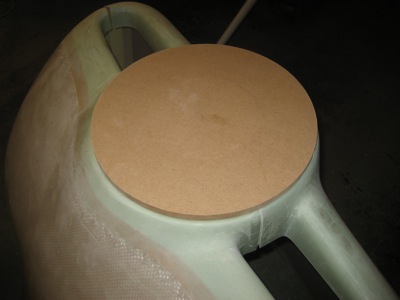
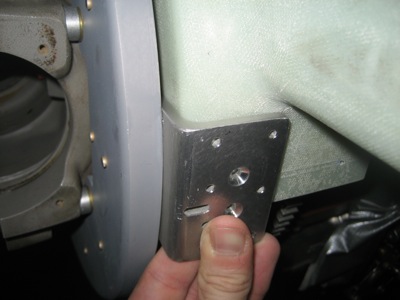
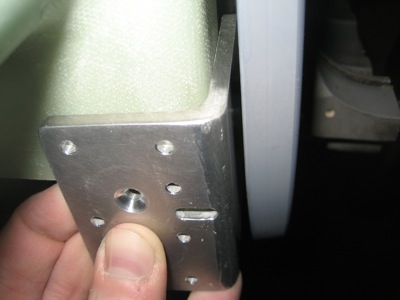
One trick I discovered during my research was the use of a book as a spacer to set the height of the front of the cowl. I thought that was so clever I stole it for myself. As a rule I generally hate defacing books, but in this case an old outdated copy of the FAR/AIM had to give its life for the greater good.
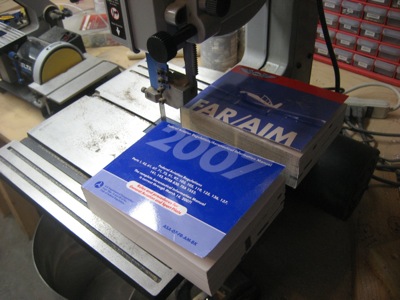
I duct taped half the book to the top of the engine case between the spinner and the fuel injection distributor, and added and subtracted pages until I had the thickness I needed.
![]()
Here you can see why this works… the book-chunks on top of the engine naturally assume a shape that's helpful for centering and positioning the cowl, which has a similar contour.
![]()
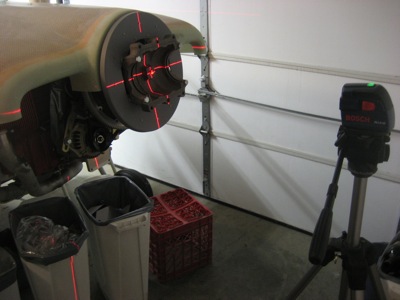
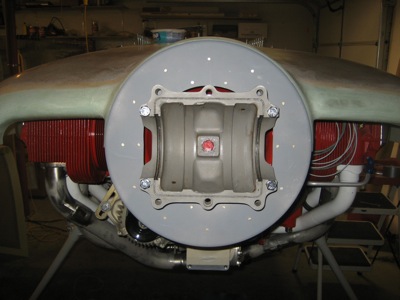
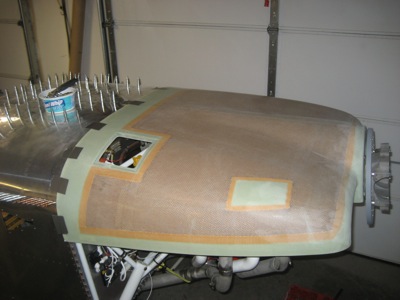
There are no trim lines molded into the cowl, so it's hard to tell if you have it level, or if it's even symmetrical as-delivered. I leveled the fuselage and then used my super cool new self-leveling laser to find the centerline of the cowl and check the relative lengths of the sides. It turned out that one side is about 3/8" taller than the other. I'll use this tool again when I'm finalizing the top/bottom cowl split line.
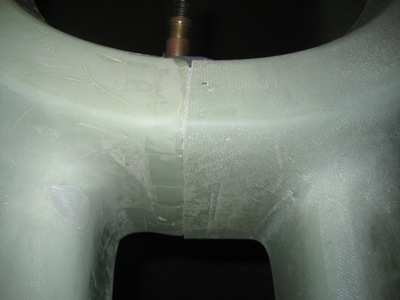
Before you fit the top cowl to the fuselage, you have to make the top and bottom cowls fit each other at the forward end. On my cowl, I had to cut about a quarter inch off the lower cowl at the outboard corners in order to get the two halves to mate around the spinner opening. This is one of those frustrating problems where you don't quite know where to start removing material, and you get paranoid about cutting off something you shouldn't. I stewed about this for quite some time, and eventually just decided to start cutting and hope for the best. It turned out fine… just go slow and it will be okay.

The fit gets progressively better as you sand off more material…
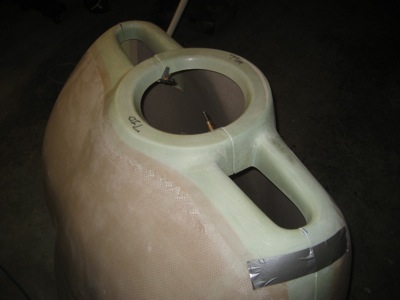
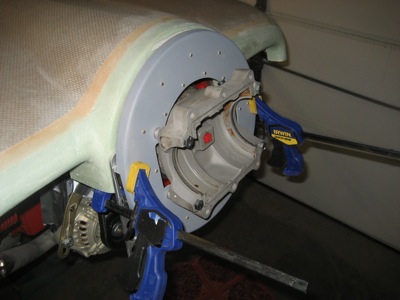
Turns out I do have a use for that wooden copy of the spinner backplate I made – measuring the circularity of the spinner opening on the cowl. I ended up making the opening about an eighth of an inch taller than it is wide… the extra space will be at the "chin" of the spinner opening. This will hopefully give the spinner some room to sag downward as the engine mounts break in, without making the spinner-to-cowl transition look ugly.
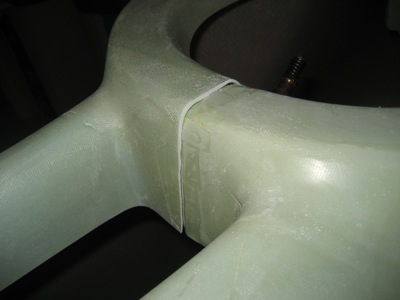
The inboard side of the left inlet turned out pretty well. A little filling and sanding later on will make this practically seamless.
The right side fits okay, but not great. I will have to do some more involved work to get this to match up, but it shouldn't be too bad.
I locked the two halves together with a single cleco on each side. Later on I'll put real screws and nutplates here, but for now it's okay to let things float a bit.
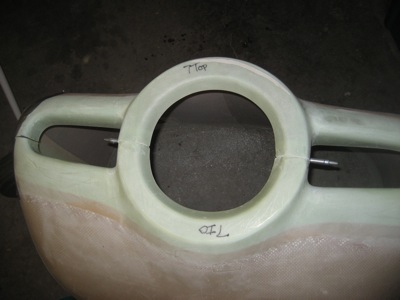
Checking for side-to-side alignment:
The plans call for an idea gap of 1/4" between the forward face of the cowl and the aft edge of the spinner backplate. I'm going to shoot for 3/16" to begin with, then sand the cowl edges until I get closer to 1/4". That should keep me from accidentally making the gap too wide. Here I've positioned the left side of the cowl so a 3/16" spacer just fits through the gap:
The right side is a different story… the gap is more like 5/16" here. I guess that's not a huge amount of variation for such a big piece of fiberglass. I will have to even this up with filler later on, but I have done that before on another airplane and it's no big deal.
I drew a reference line on the fuselage skin exactly two inches back from the forward edge:
…then taped the cowl to the top skin to keep it from walking around:
I clamped the forward face to the spinner backplate, with a 3/16" spacer on the left side and a stack of scrap pieces on the right side as required to fill the wider gap. The key thing here is to keep the cowl from shifting around, not to try to force the gap to be even.
I very carefully marked a line on the cowl, two inches forward of the reference line:

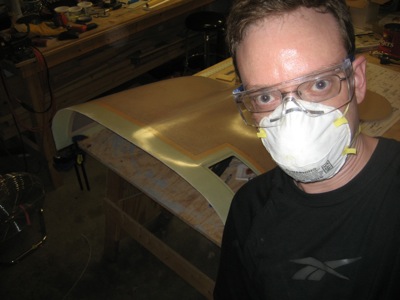
Then I got out my cutoff wheel and trimmed the cowl back to the line. Since I was doing this solo, I didn't get a picture of the process, so you'll have to be happy with this self-portrait.
It doesn't quite fit perfectly all the way around, but it's nothing that hours of tedious trimming and sanding won't fix.