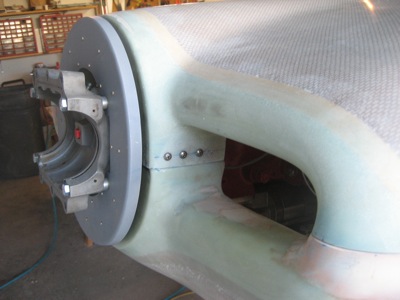
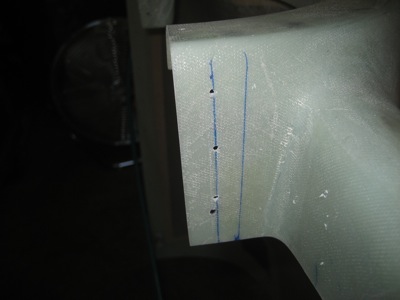
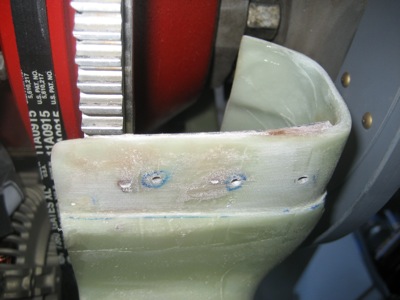
On the inner faces of the air inlets, the cowl halves are joined together by three screws on either side of the spinner. Here I'm marking and drilling pilot holes using the spacing provided in the plans:
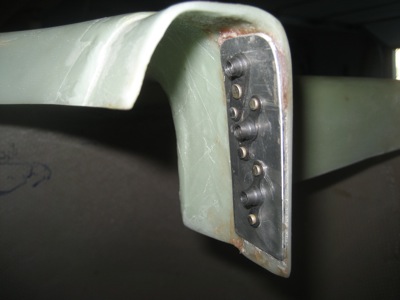
This is an area where you typically see a lot of wear on RV's that have been flying for a while – no surprise, since the screws only have a thin layer of fiberglass to bear on. I decided I wanted some reinforcement here, so I fitted a piece of 0.063" alclad to each side of the upper cowl. This will give the screws something else to wear against, and actually helps in another way by filling some gaps in the area where the top cowl overlaps the bottom cowl flange.
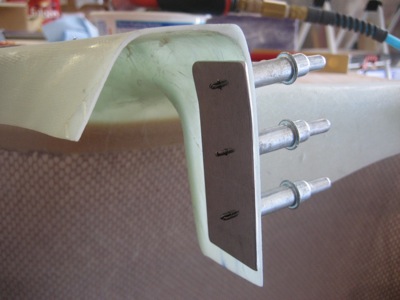
Then I glued each one to the inside of the cowl using an epoxy/flox mixture. After curing, it's now pretty much permanently attached.
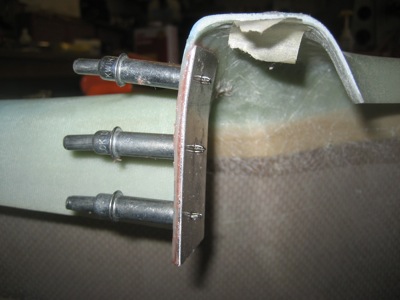
After the doubler plates were affixed, I put the cowl onto the airplane and match-drilled the pilot holes into the lower cowl.
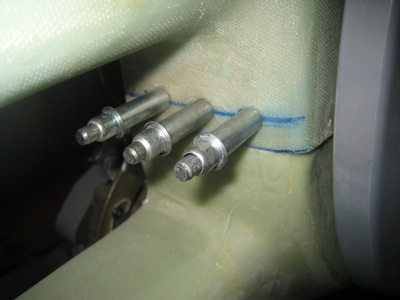
Oops! The dimensions in the plans will cause the aft-most screws to interfere with the engine flywheel and ring gear. No problem, I just filled up the holes with flox and redrilled new holes farther forward.
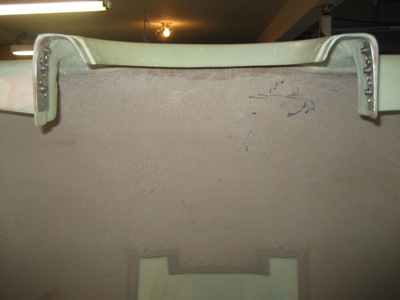
I figured it couldn't hurt to bond some more doublers inside the lower cowl too, so I did that before riveting on the nutplates.
Nutplates and doublers permanently attached to the bottom cowl flanges:
Test-fitting the screws – everything lines up, which is a relief. These screws are only barely threaded into the nutplates, due to all the stack-up of extra material. I'll probably have to use 5/8" screws instead of 1/2", but that's okay.