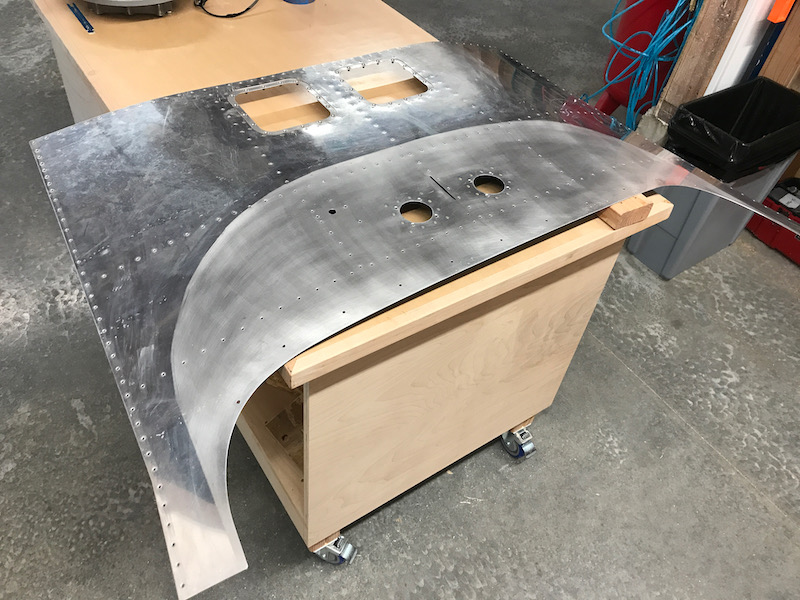
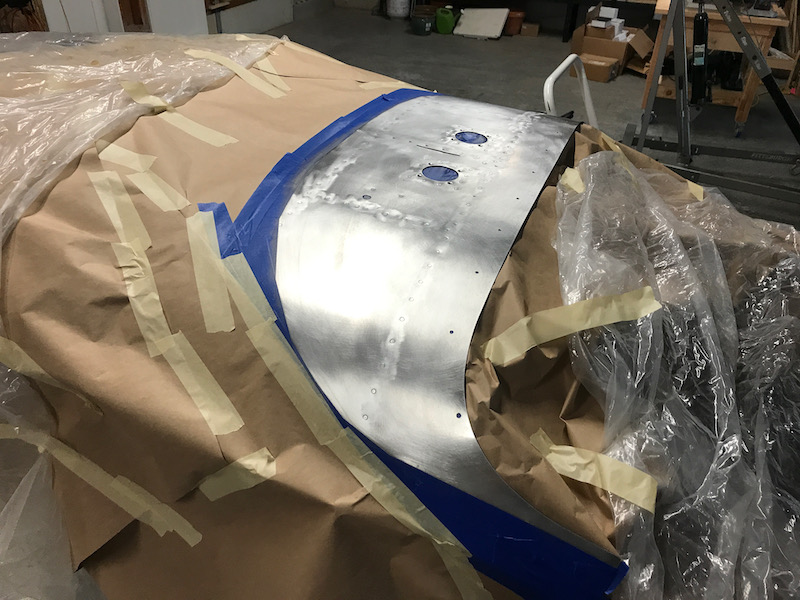
The plans are silent on when to do the final installation of the top front skin (F-7106), but having run out of things to do in the upper-forward fuselage, I figured it was time to finally rivet it on for good. After triple-checking all the wiring and plumbing details that will be much harder to access later, I scuffed and primed the underside of the exposed glareshield area and painted it matte black:
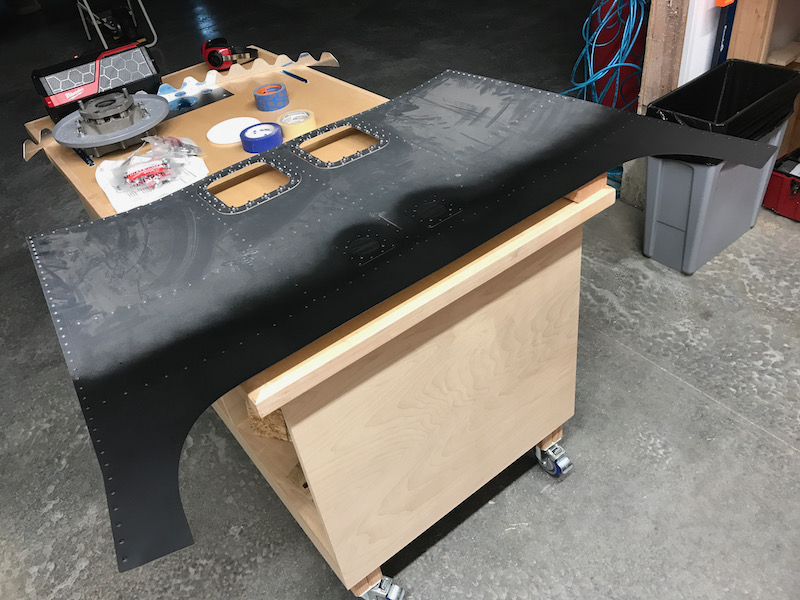
I next took the opportunity to fit and drill the mounting holes for the Classic Aero glareshield trim piece I picked up. In retrospect it would have been better to do this before painting the underside, but it worked out fine.
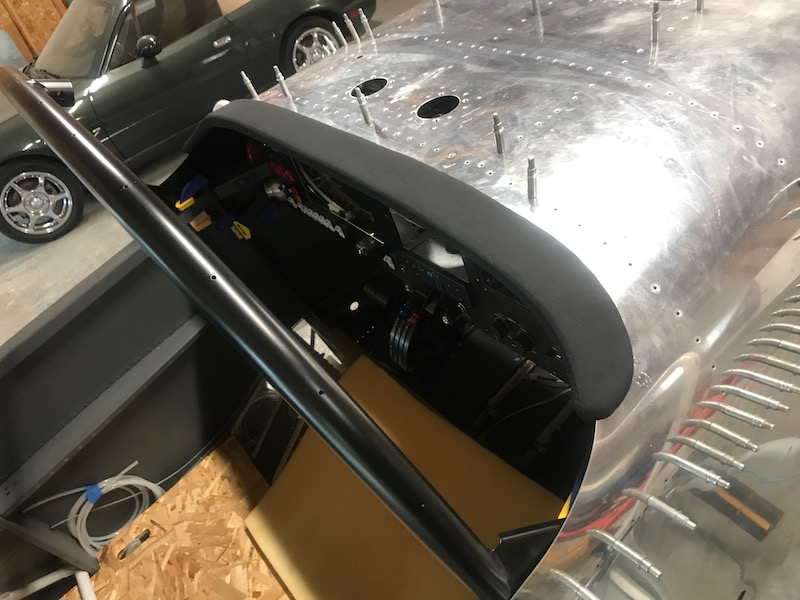
This is going to look dynamite when it's all finished, not to mention potentially protecting my noggin:
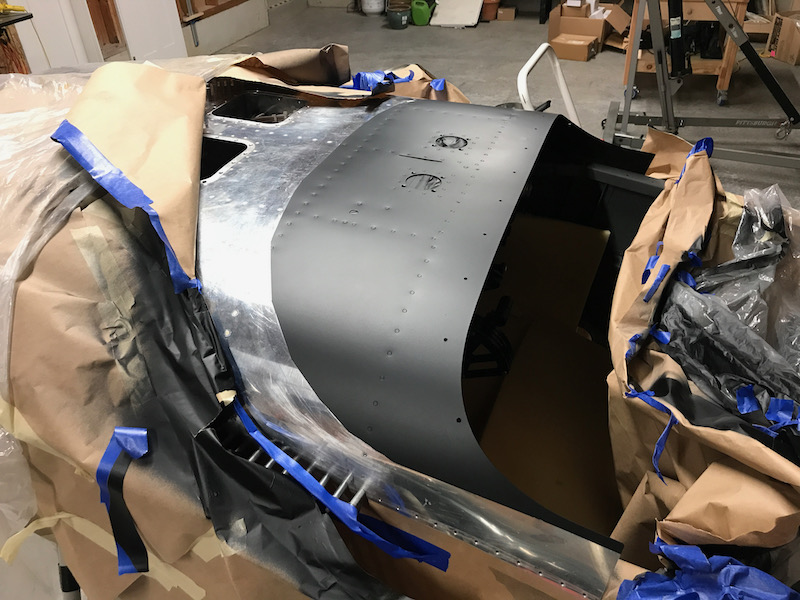
I temporarily installed the roll bar, clecoed the windshield in place, and traced around the base of it with a sharpie:
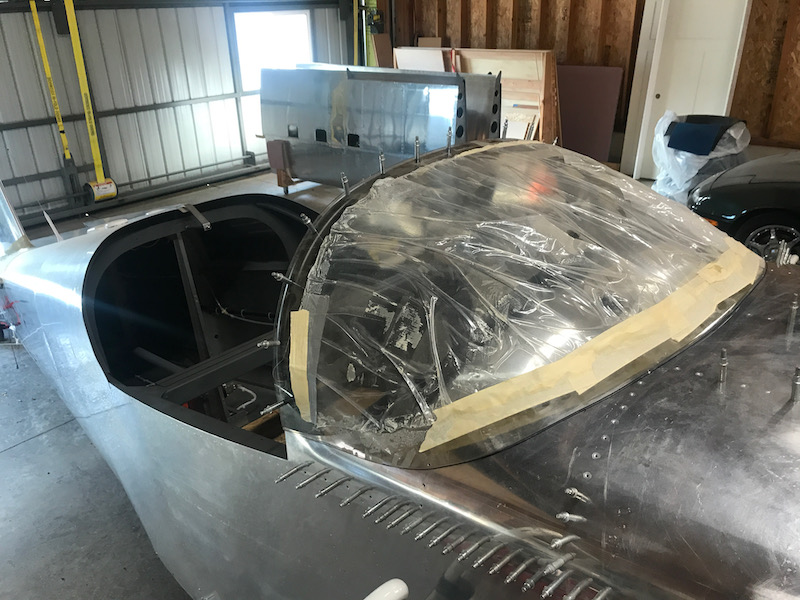
Then I ran masking tape along the marked line, and scuffed the skin:

Result, a pre-scuffed area under where the windshield will eventually go:
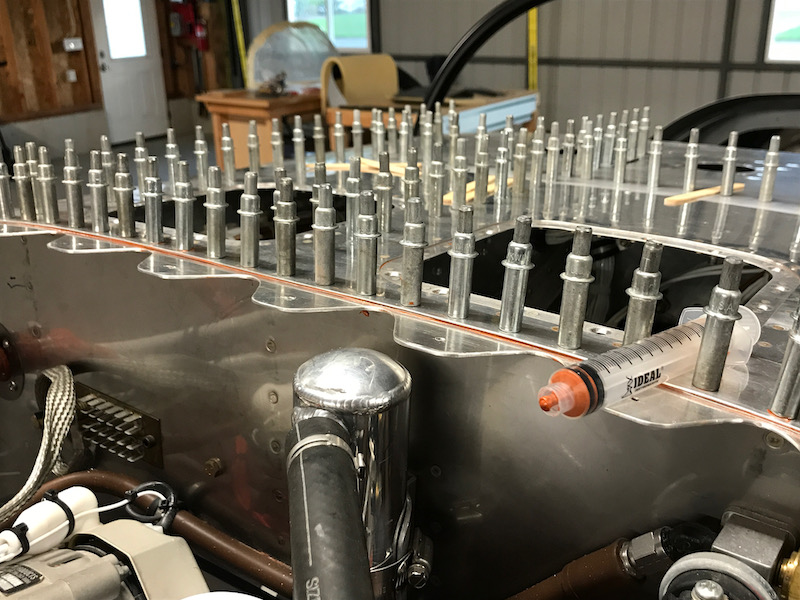
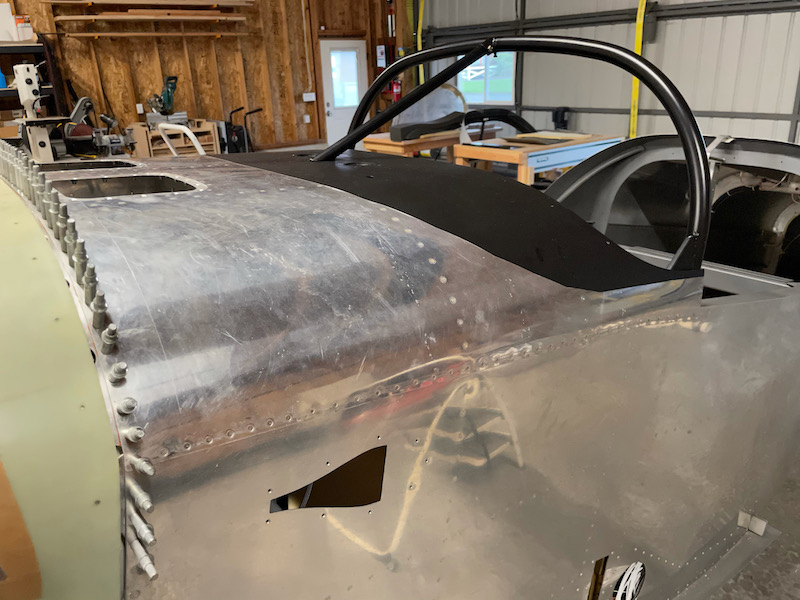
I next clecoed the skin to the fuselage for the final time, sealing in between the skin and firewall with RTV. This step is intended to keep fumes out; I still need to eventually come back and seal the gaps around the relief notches in the curved portion of the firewall. The top skin won't actually be riveted to the firewall at this stage, since I still need to be able to remove the cowl mounting flange to fine-tune the fit and install the cowl fasteners.
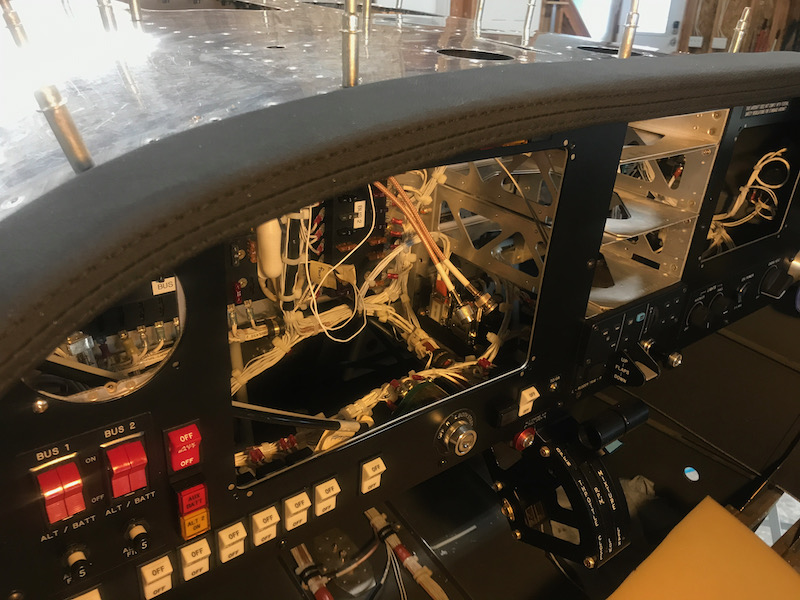
By reaching through the avionics access holes and the various openings in the instrument panel, I was able to solo rivet the skin to the three longitudinal ribs and the top of the panel. I did have to use a handful of MK-319 blind rivets in places where I simply couldn't fit a bucking bar, but for the most part I was able to drive all these rivets myself.
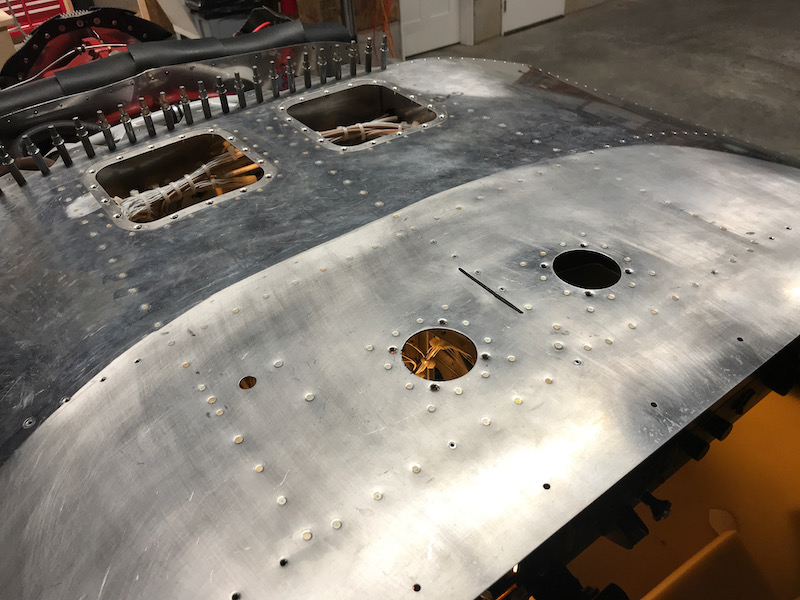
Then I continued riveting down the sides of the panel and subpanel until I reached the longerons. These rivets I was also able to do solo, although it was tough in several spots. Reaching through the triangular air intake holes with a bucking bar is painful but doable.
At this point I stopped riveting and masked off the glareshield area for painting:
I primed and painted the top of the glareshield the same matte black as the underside. This area may or may not get a upholstered cover in the future, but having paint here won't hurt, and doing it now is a no-brainer.
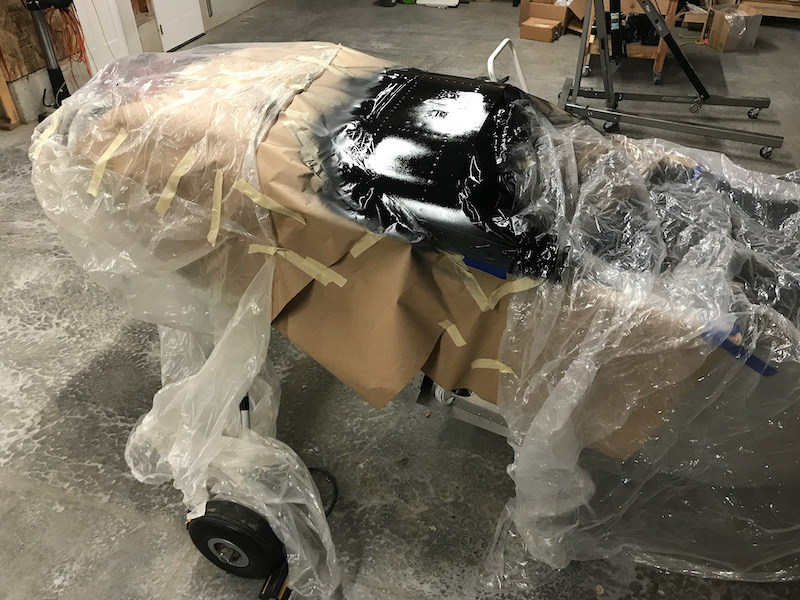
Not bad looking. The contour of the painted edge can be imprecise, since the bottom of the windshield will have a significant fairing that will cover all this.
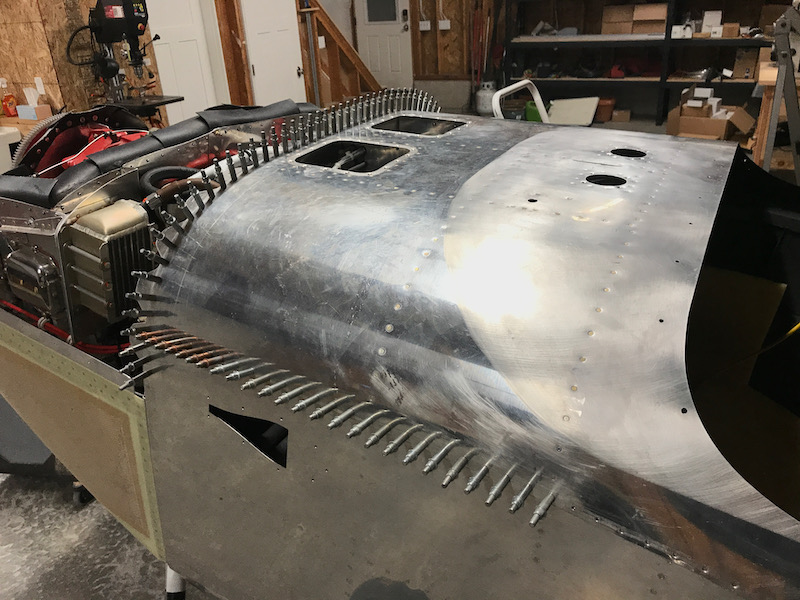
For the final skin-to-longeron joints I recruited a friend to run the rivet gun while I contorted myself painfully into the fuselage to buck the rivets. I pre-marked the correct rivet lengths on the fuselage so there'd be no question about which size rivet to put in each hole.
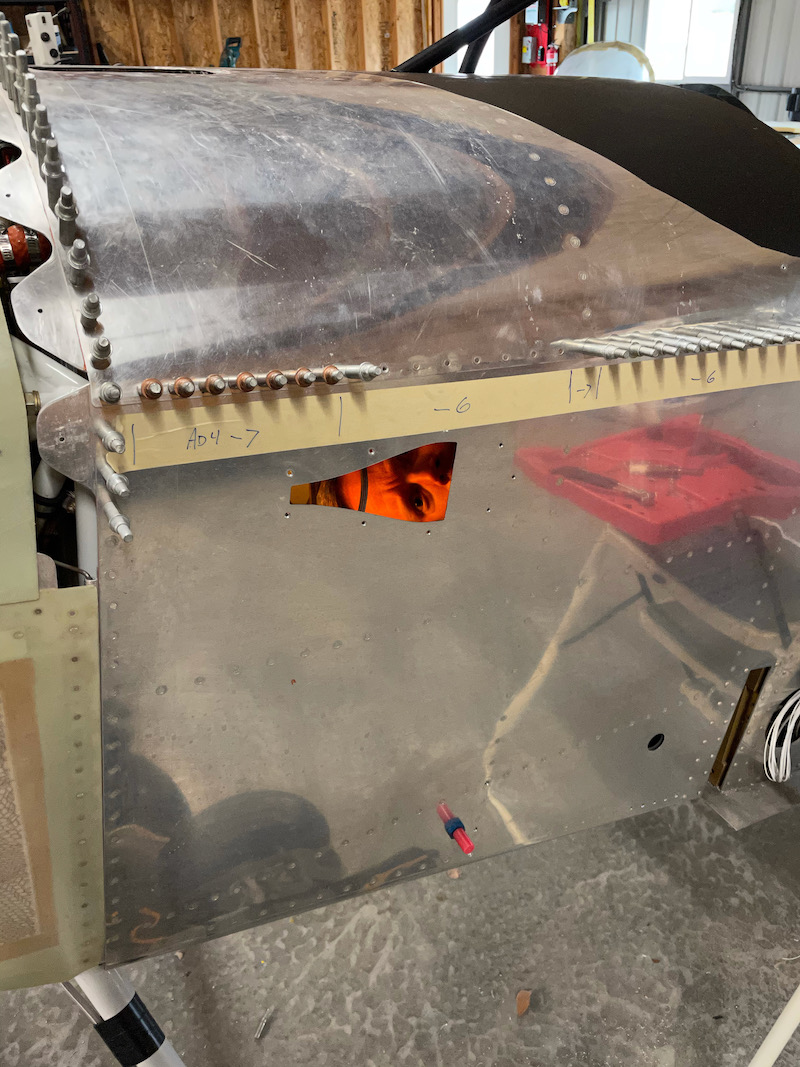
We were able to drive all the longeron rivets with no blind rivets used, although it took some creativity to buck a few of them. I used every one of my different-sized tungsten bars, and even used the end of a crowbar to buck two particular rivets that couldn't be reached any other way.
What a milestone! Having the last major piece of the fuselage riveted permanently feels like a huge accomplishment. Hope I didn't forget to finish anything under there…