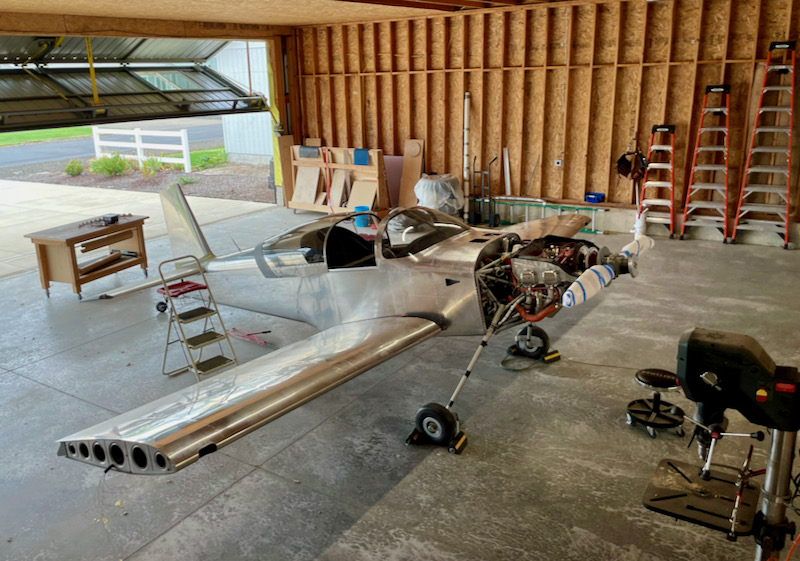
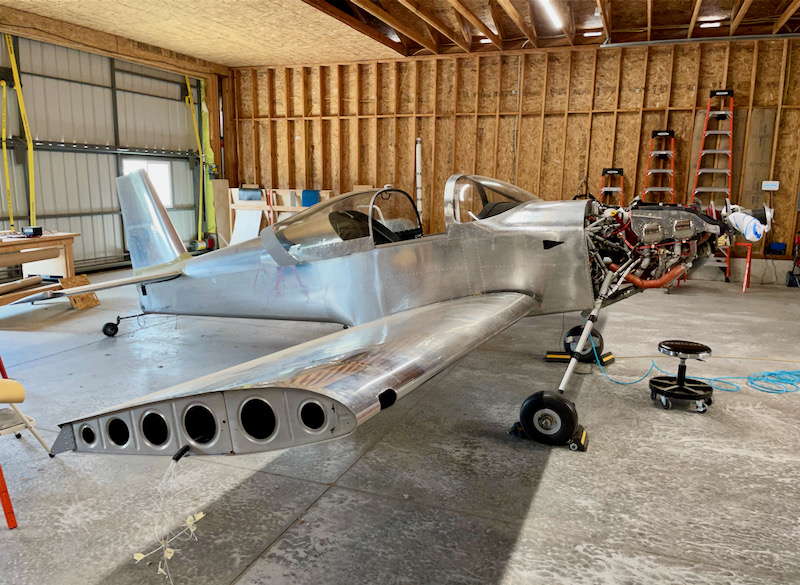
With all the preparation steps completed, I once again recruited my long-suffering friend to spend a day putting the wings back on the plane, this time for good:
This time I installed the close-tolerance NAS bolts, eight per side. Even with a generous application of LPS-2, these were a challenge to install due to the tight fit. All the NAS bolts had to be tapped slowly into place – I used a combination of a plastic-tipped mallet and a brass rivet set with the gun turned down to 20 psi. I also installed the two AN4 bolts per side that were the subject of a service bulletin.
Following the plans to the letter, I put a washer under the head of each of the bottom bolts:
In retrospect, I think the plans are wrong here, at least for the RV-7 taildragger. On the top I ended up with two washers under each nut to keep them from bottoming out on the bolt shanks, and on the bottom there are no washers between the nuts and the F-7114 gussets due to lack of extra threads. It would have been better to put a washer under the heads of the top bolts, not the bottom ones, which would have allowed the use of a single washer under the nuts on both top and bottom. However, the bolts are so tight in the holes I decided it would risk damaging the spar to remove and replace them, so I just made it work and torqued everything down.
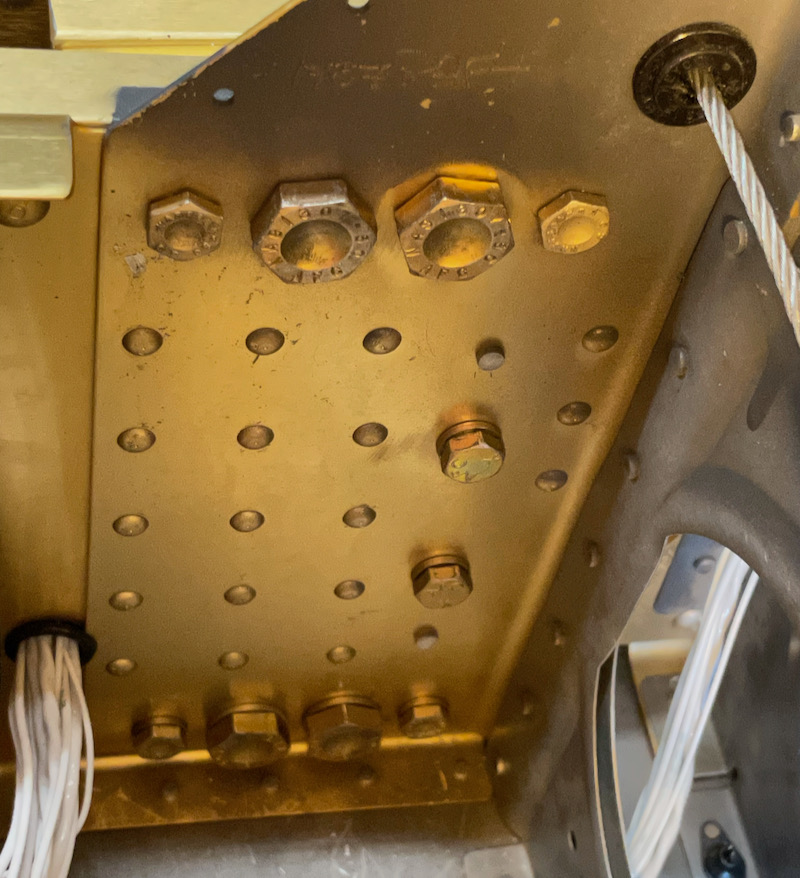
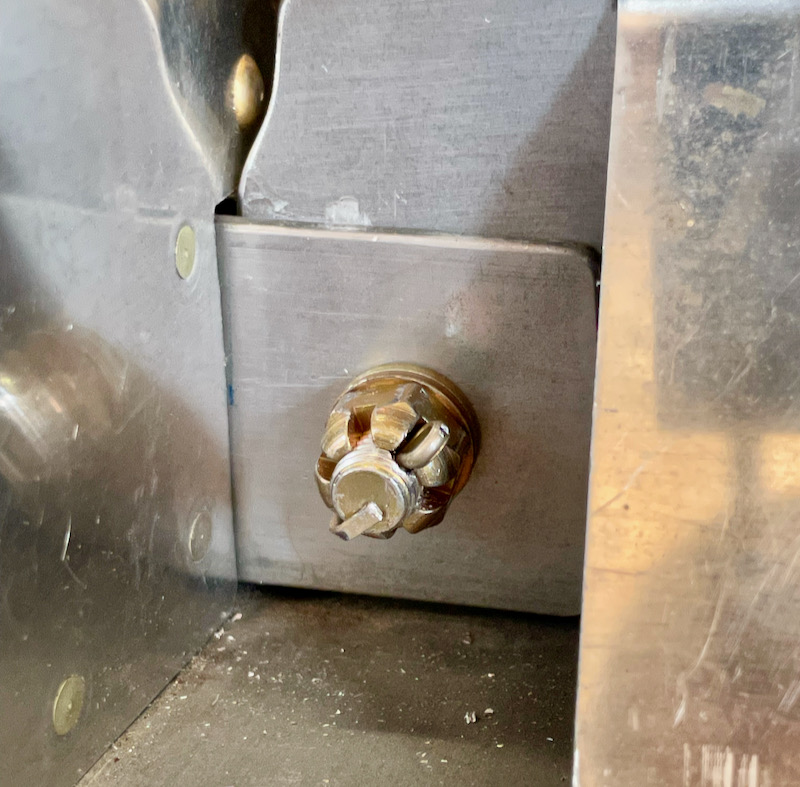
I installed and torqued the six 1/4" bolts in the front side of the center section on either side of the fuselage. For the lower ones I had to torque them from the bolt side since the nuts were way down in the bottom of the center section, where I could barely thread them in place or get a wrench on them.
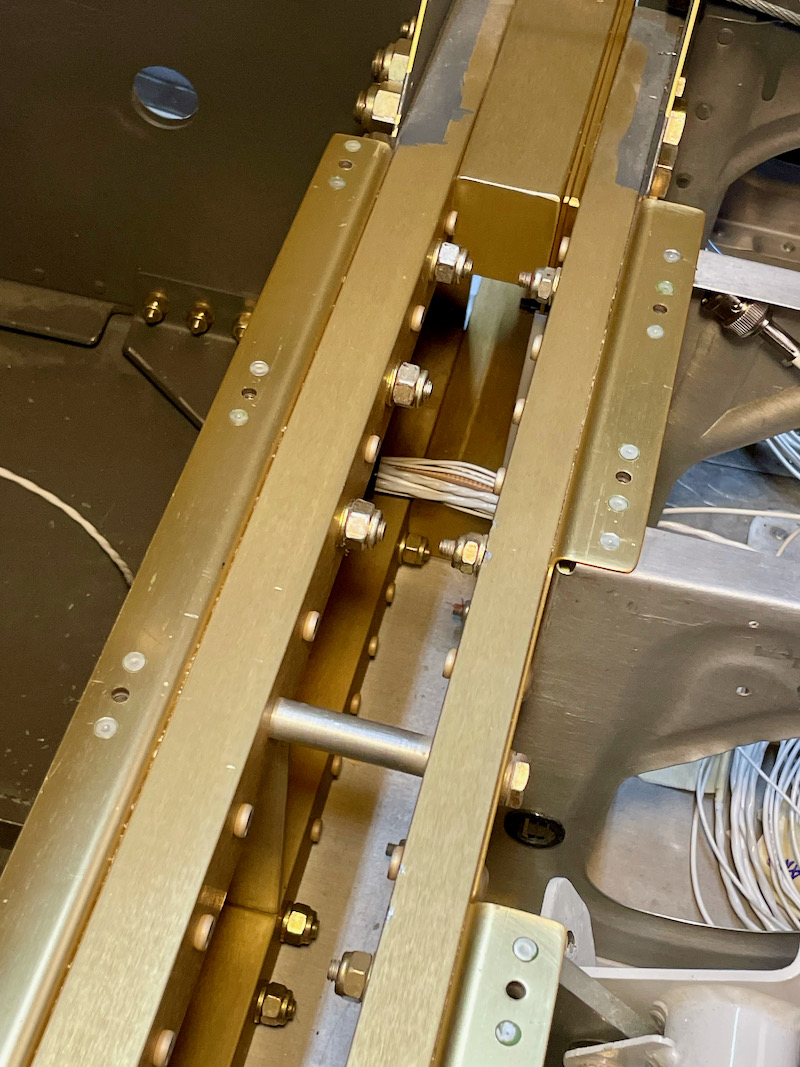
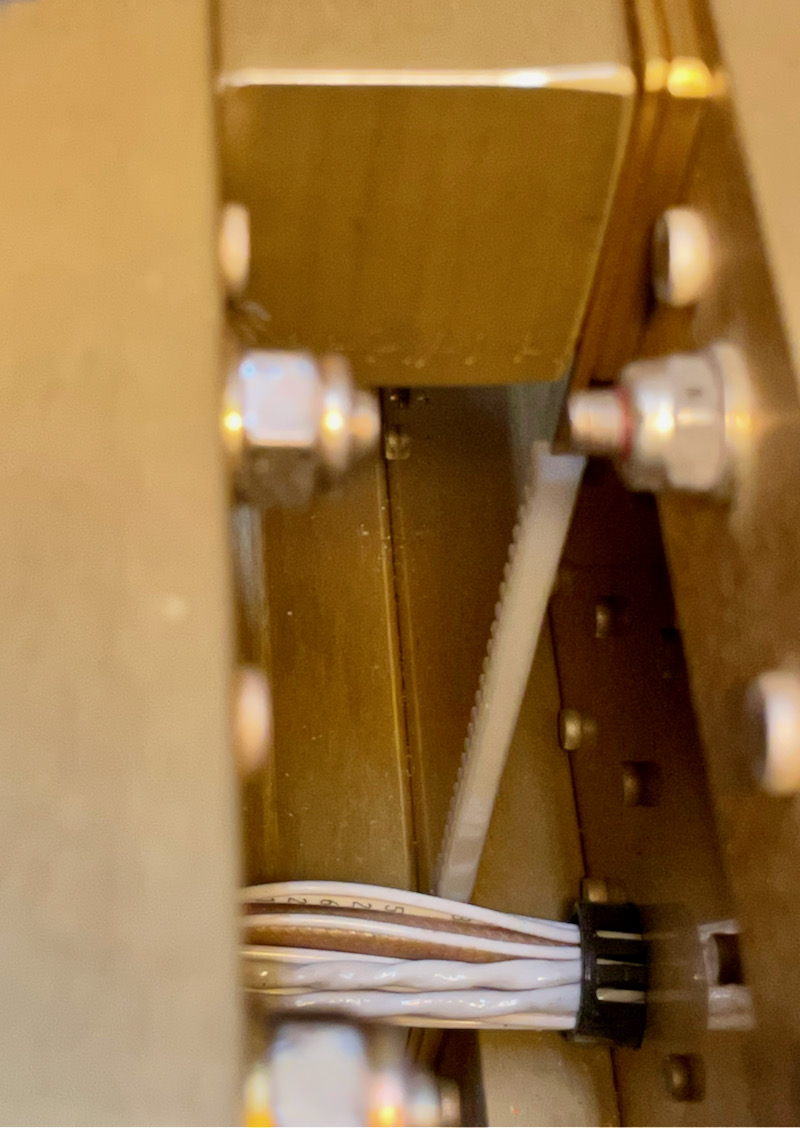
This is a closer view of the area inside the center section. I discovered that the wiring bundle that passes through the center section comes very close to the spar web, which is aggravating. I used the factory-provided holes, which you'd think would be engineered to provide adequate clearance, but apparently not. I put some nylon edge grommet on the sharp edge of the spar web, but I'll have to come back and do something with RTV here to make sure the wires don't chafe through.
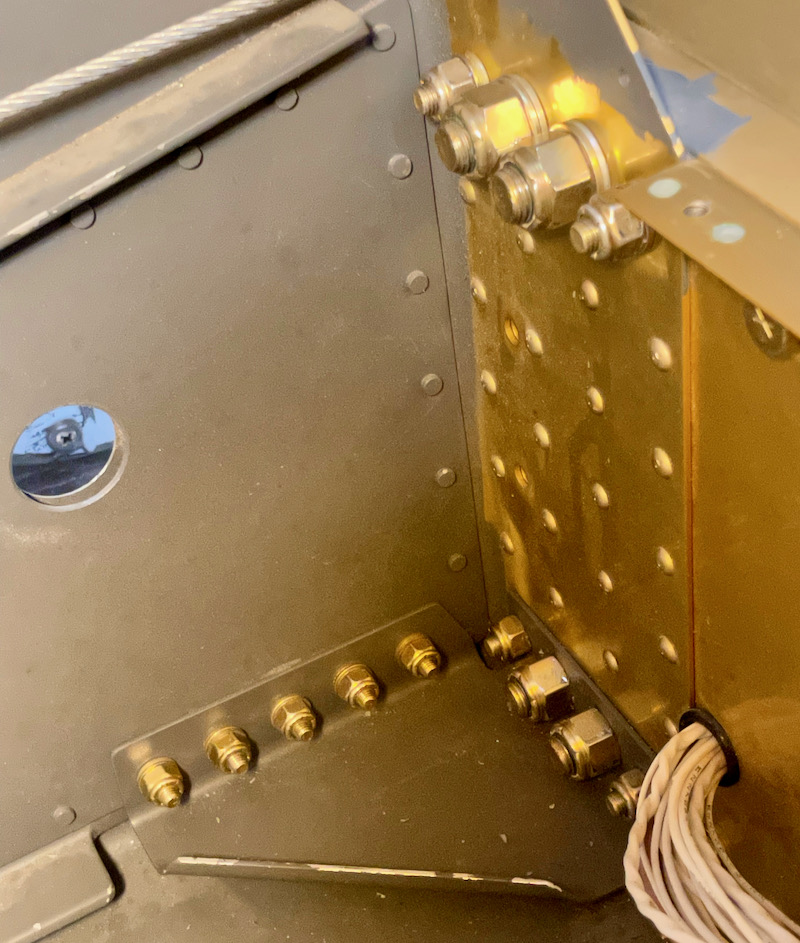
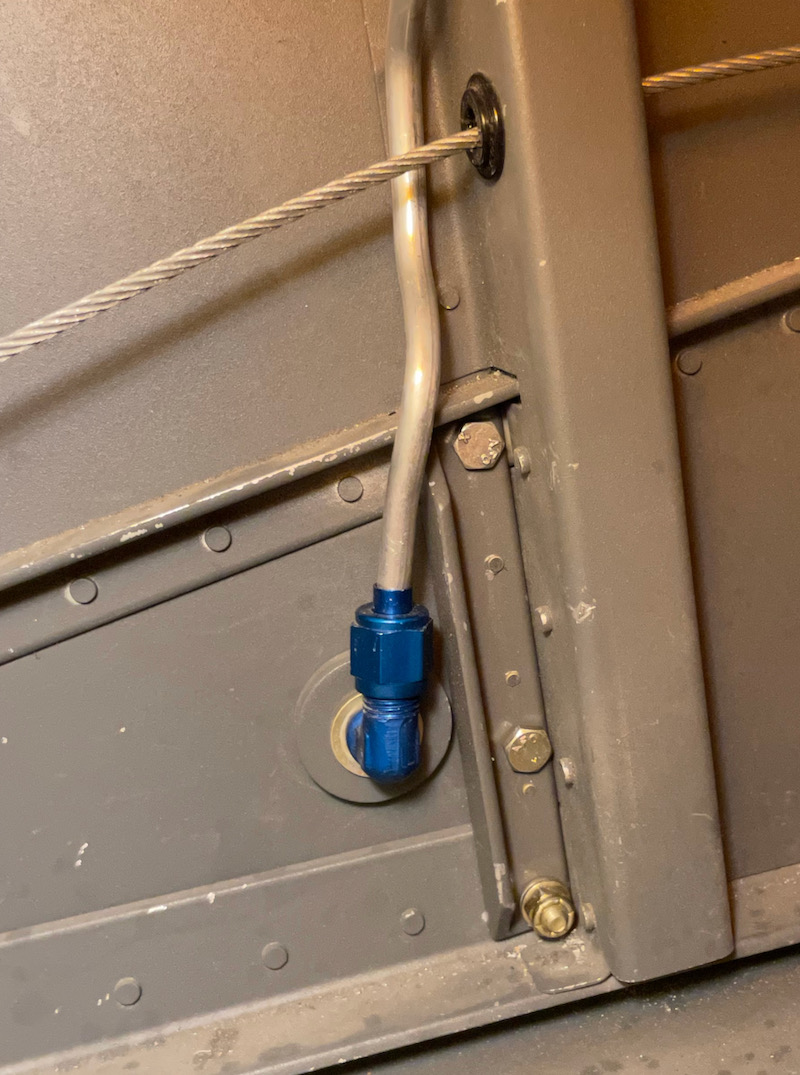
I torqued the nuts at the aft spar, and installed the required cotter pins:
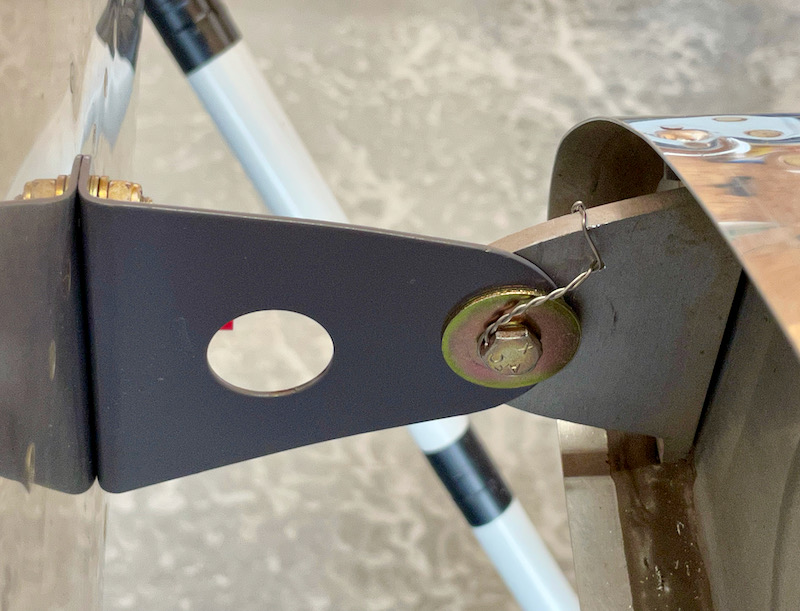
Fuel tank brackets installed and everything torqued:
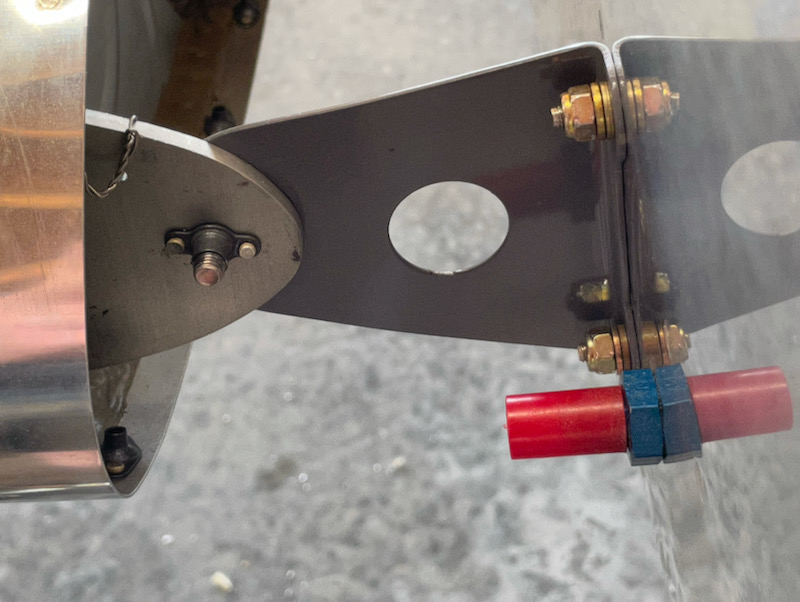
Here's a reverse view showing how the bolt is safety-wired using a small hole I drilled. This bolt is tightened just enough to keep the washer from rotating, so the fuel tank can theoretically pull away from the bracket in the event of a crash. Hopefully not something that will ever be tested.
Inside the fuselage, the fasteners that attach the tank brackets were a real pain to torque, due to the way everything fits (or barely fits). The design of this whole apparatus seems like an afterthought, but at least it's all finished now.
Getting all those fasteners tightened to spec took every torque wrench and most of the socket extensions and adapters that I own:

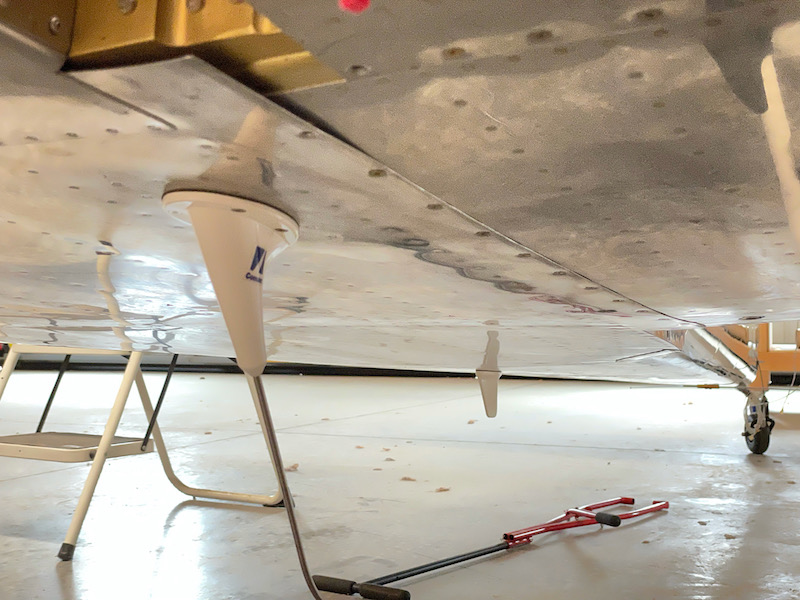
Underneath the fuselage, I installed all the screws that attach the bottom skin to the wing roots.
Happy to have achieved this milestone at last.
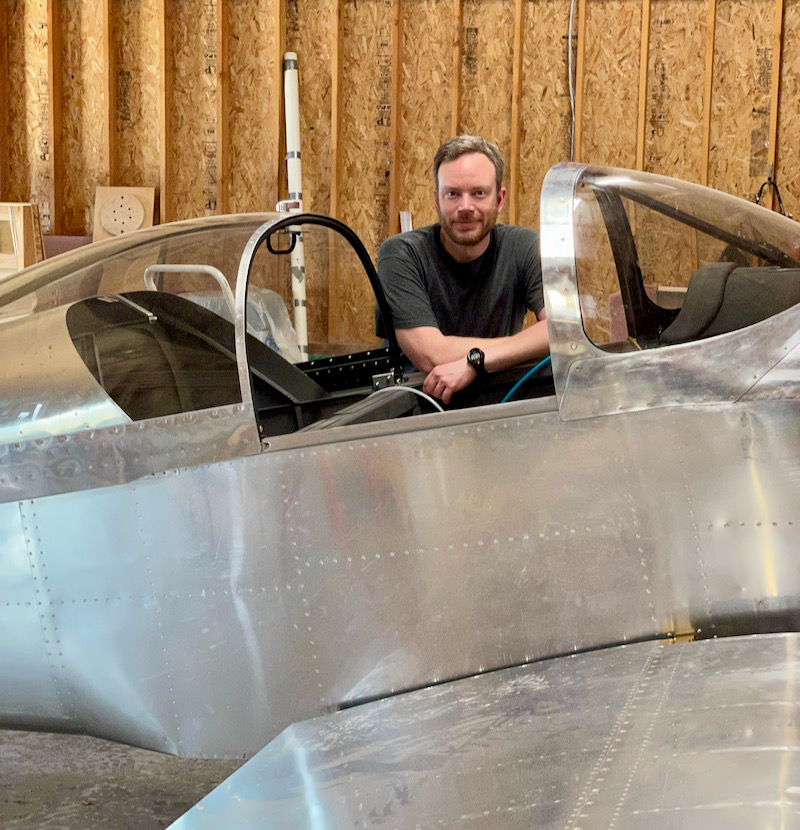
The plane looks great with the wings on it, although I must say it's a lot less convenient to walk around the hangar now. Suddenly this thing takes up about three times the space!