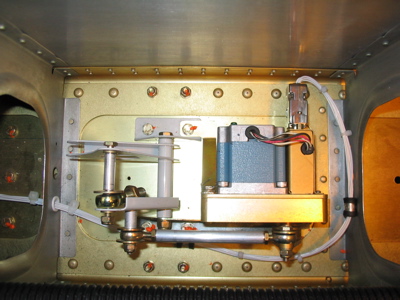
I broke out the TruTrak pitch servo today. Here's a shot of the servo and its bracket, next to the skimpy instruction sheet.
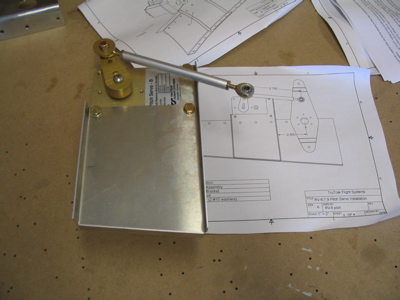
I drilled out four of the rivets in the F-729 bellcrank rib, then back drilled the bracket in place. Once the position was fixed, I marked and drilled three more #30 holes in the upright part of the bracket and four #40 holes through the bottom flange and belly skin. The holes in the skin were dimpled using pop rivet dimple dies.
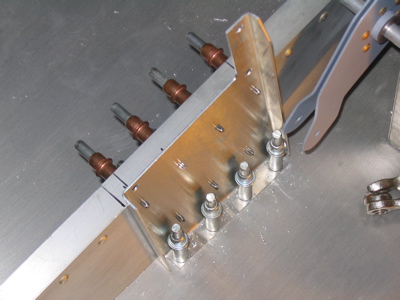
After priming the bracket, I riveted it in place. Four solid rivets to replace the ones I drilled out, three pop rivets below where the squeezer couldn't reach (i.e. I didn't feel like shooting and bucking while leaning into the tailcone). Then Mary helped me back rivet the four rivets through the bottom flange (because she is awesome). The bracket is very secure and sure as heck isn't going anywhere.
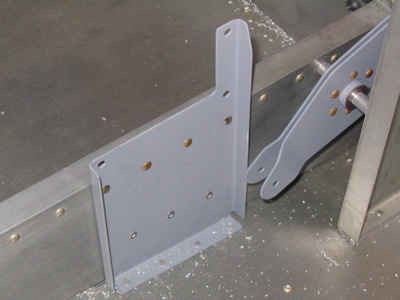
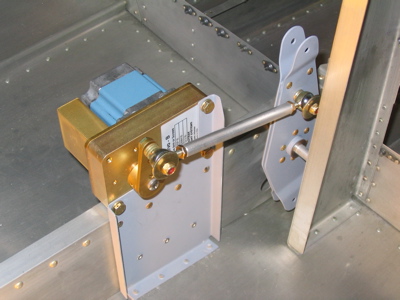
Here's the servo temporarily installed, to test how the linkage works. It looks like it will be fine. Even with a stack of washers for spacing, the short pushrod isn't completely straight, but apparently that's normal.
While I was messing around with autopilot stuff, I removed the roll servo from the wing, tightened the screws that keep the DB9 connector in place, and put everything back in. This would have been easier to do all at once the first time, but of course I wasn't thinking about the wiring when I installed the servo. I played around with some cool slide-lock connectors that I bought from Digi-Key, thinking that I'd be able to use them instead of screws, but they didn't fit. Oh well, there probably won't ever be a need to remove that connector, and if I really have to I can just pull the servo out again through the access hole.
