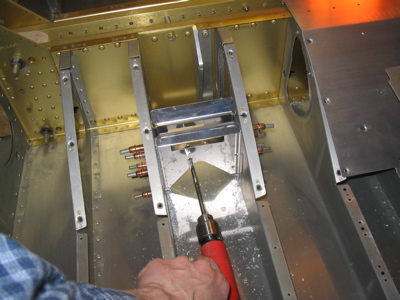
Here's me fitting the center seat harness (aka crotch strap) anchors to the under-floor ribs. I used a 5/16" spacing between the brackets instead of the 1/8" that the plans call for, due to the greater bulk of the Hooker harnesses. This took a lot of tweaking before everything was in its proper place. I used the angle drill to drill the brackets to the ribs.
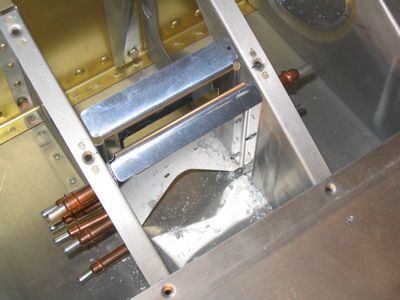
I feel like a genius for deciding not to rivet in the seat pans yet. I don't have a 1/4" threaded bit for the angle drill, but I was able to just yank the floors out and use the regular drill to put the bolt hole through both brackets. Brilliant!
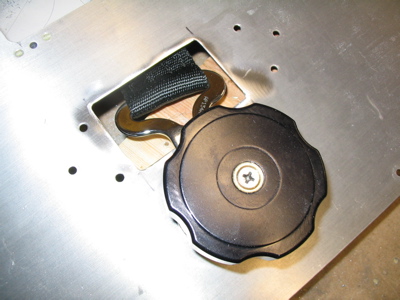
The rotary buckle requires a much larger hole in the forward seat floors than the precut ones:
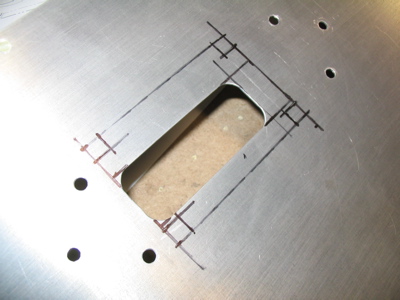
This hole is a little ugly. I could have done a better job rounding the corners; I accidentally filed away a lot of the nice radius I had on them. Oh well. Since the hole is so big, I may fabricate a little cover to put over it when it's installed for real, to keep pens and pencils and so forth from falling down in there and causing unpleasantness with the control system.
After all this I did the same set of operations on the passenger side. As usual, the second time I did the job it went much faster since I didn't have to spend so much time scratching my head and reading the plans.
I shot some primer on the brackets and then followed up on the areas that will be visible from inside the cabin with my official interior paint of choice: Rustoleum Textured in "Dark Pewter". This stuff is nice looking, easy to use, and bulletproof.
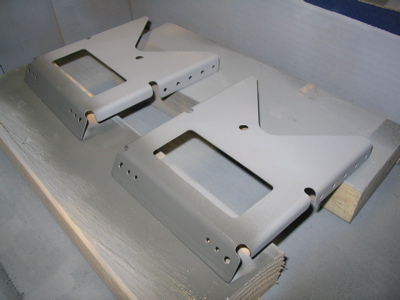
You can also see in the above photo that I moved the bolt hole 1/2" below the standard location, as required by the Hooker harnesses.
Tomorrow when these are fully dry I'll pop rivet them in place. I'm glad I went ahead and did these seatbelt anchors now – if I'd waited until after the control system and pushrods were installed, it would have been a real pain.