Today was a productive day. Let's walk through it. First I riveted together the right elevator tip ribs:
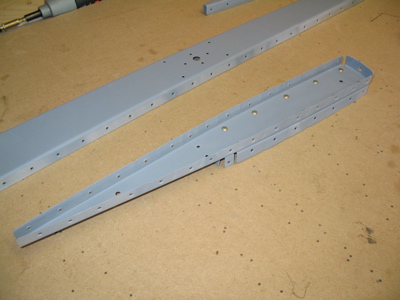
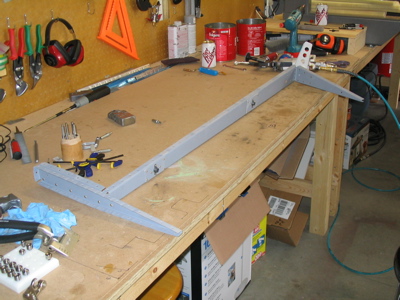
Then I got the elevator skeleton (tip ribs, spar, hinge points, root rib, horn weldment) riveted together:
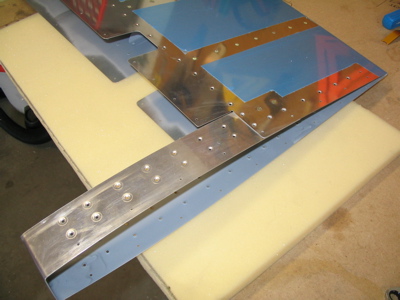
Then the counterweight skin gets riveted to the elevator skin with two rivets on top and two on the bottom. This makes sense if you look at the plans – these rivets would be impossible to squeeze once the spar and ribs are in place, so by putting them in now you get to avoid the use of blind rivets here.
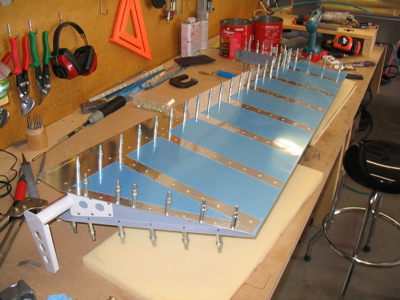
The skeleton is stuffed into the skin, and it starts to look like a control surface:
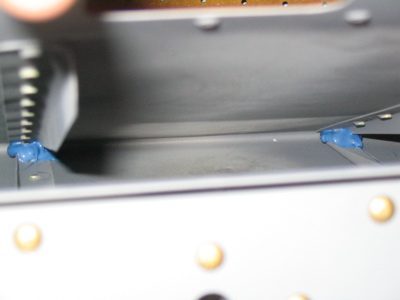
Blobs of RTV (the non-corrosive kind) are put at the trailing edge where each pair of stiffeners comes together. This supposedly helps reduce problems with cracked trailing edges from the skin flexing around the stiffener ends.
Then all the remaining rivets are put in, and the right elevator riveting is complete!

I ended up using two blind rivets at the trailing edge (one on the top side at the tip, and one on the bottom at the root) where the ribs are so narrow that it's impossible to get any kind of squeezer or bucking bar in there. Matthew had previously loaned me a special back rivet set that looked it like it might have helped with those rivets, but I couldn't get it into my rivet gun – the shank was too big. I've seen on various websites where people have made special bucking bars by grinding up axe heads or chisels or whatever else, in a quest to avoid using blind rivets here, but even I'm not that obsessive – put in the poppers and move on, I say.
The last step of the night was to torque the nuts that hold on the counterweight. A dab of torque seal compound marks each nut as being properly torqued, and lets me inspect it later on to see if it's come loose.
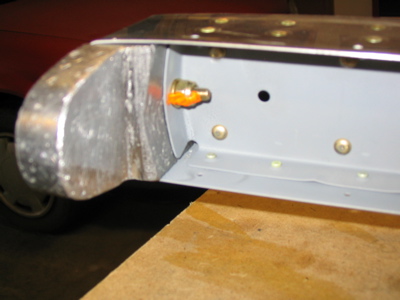
I probably used too much on this nut, but it was an old tube of the stuff and it kind of blew its top when I opened it. Oh well.