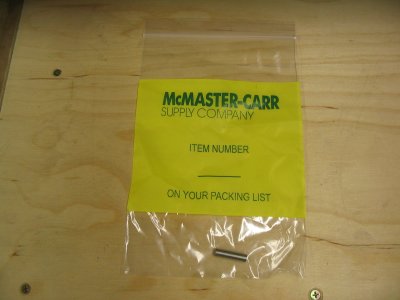
Here's what 12 bucks plus shipping gets you from McMaster-Carr. Actually, their site was a breeze to navigate and their shipping was both prompt and reasonable, so I can't really complain.
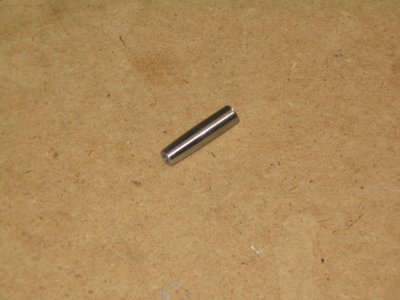
Unfortunately, this drill bushing was just a few thousands too big to fit through the elevator bearing. I was going to schmooze some time on my friend's metal lathe, but then I figured out that hand drill + belt sander = poor man's lathe. I just chucked the bushing in the drill and held it up to the belt sander, and turned it down into a sort of bullet shape that fit snugly and centered-ly in the elevator bearing. Then I chucked it in the drill press and turned it against some emery cloth to smooth out the surface again so it wouldn't get stuck.
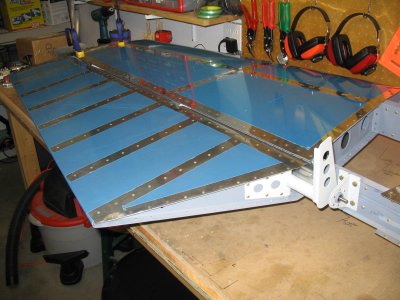
The first elevator gets put on the stabilizer with Avery's temporary pins, and it's held in trail by clamps on the counterweight arm. Then the drill bushing gets inserted in the center bearing, and the pilot hole is drilled right through.
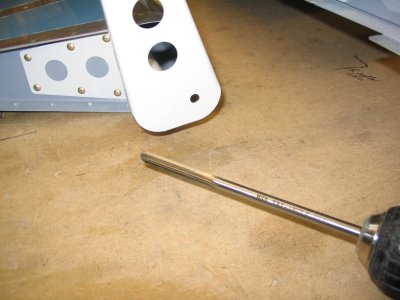
Then the pilot hole is enlarged in steps up to a C size drill, and then reamed to exactly 0.250 inches.
Hooray, a bolt through the bearing fits right through the new hole and the elevator pivots perfectly.
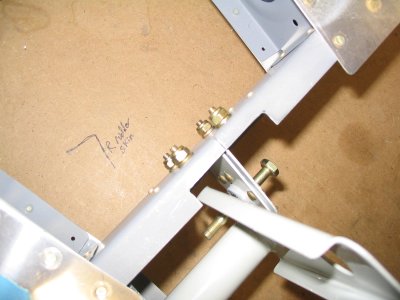
The above process is repeated for the other elevator, and now the center pivot is complete.
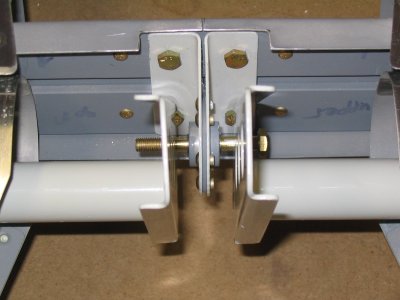
Now all I have left to do on the tail (other than fiberglass, which I've decided to save until later so I can do all the obnoxious itchy stuff at once) is tighten up the rod end bearings on the elevators, install and tighten the corresponding ones on the rudder, and play with the trim tab linkage a bit.