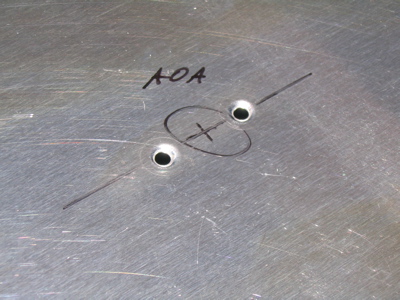
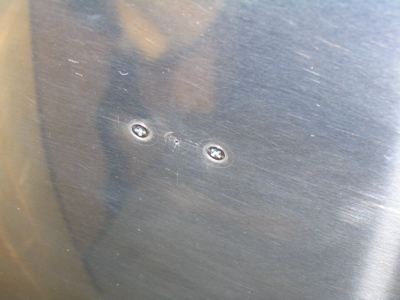
Today I installed the angle of attack ports in the left wing. Click here to read up on what AOA is all about. The first step involved a lot of careful measuring – the AOA plans are very particular about where the ports are located. The photo below is of the lower port, and the marked line is parallel to the spar.

Two #30 holes are dimpled for the 4-40 flush screws that hold each port in place. I used handy my pop-rivet dimple dies for this step.
Here's an identical-looking shot of the upper AOA port. I guess I probably didn't need to document this one too, but oh well. The left wing is now back in the cradle here.

Here are the port assemblies attached to the wing and sealed to the skin with blue (non-corrosive) RTV. The upper port has a drain valve on it so you can get rid of what small amount of water as might work its way in there. You can't tell from this photo, but the lower port is a couple inches further inboard than the upper port, again precisely located according to the plans.
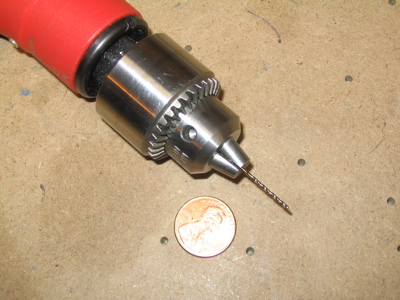
You drill the actual hole for the AOA ports using a #60 drill – that's 0.040". Tiny.
Outside view of the finished product.
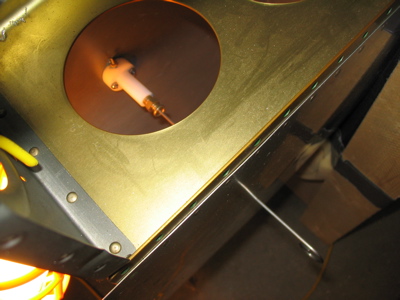
Another hole is drilled in the lower skin to accomodate this drain valve poker, so you can drain the water out before preflight. I have some doubts about how well this will work in practice – I may have to bond some kind of a guide tube in there.
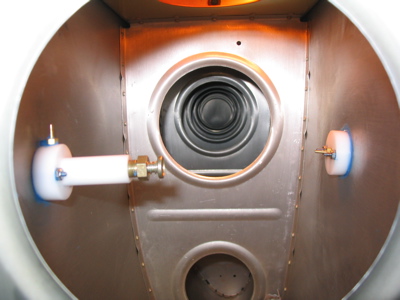
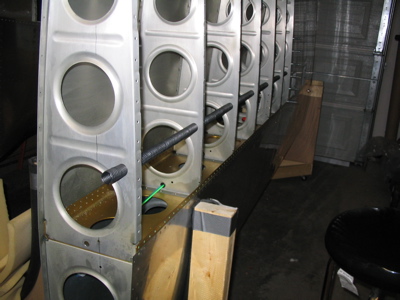
The AOA tubing passes through a spar lightening hole (and is securely tie wrapped in place) then proceeds down the wing through the bushings in the tooling holes just aft of the spar.

AOA tubing and pitot heat wires are secured to the rigid pitot line to keep them from interfering with the bellcrank.

At the root end I left a pitot heat connector and a foot or two of extra AOA line. I've decided to make the wings removable by putting connectors in all the wires and lines – not because I expect to have to take the wings off, but to make the final plumbing/wiring job similar, logistically speaking. Since I won't have to wait until the wings are attached to finish the wiring and plumbing, I'll be able to finish more of the internal systems in the garage instead of at the airport. That's a long time from now though.

I finally received my wiring conduit from Van's, about a month after I ordered it. I got a length of it installed in the left wing, which took way longer than I planned – it's nearly impossible to get it through the wing walk ribs, so I spent several hours on this simple step. It's not going anywhere now that it's in, though.
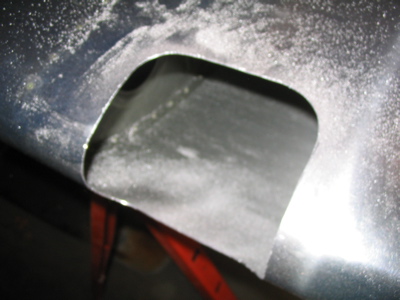
It's too cold to work with the plexiglass landing light lenses, so on to the right wing's landing light cutout. Rough cut with Dremel:
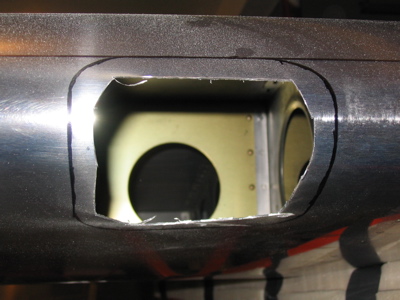
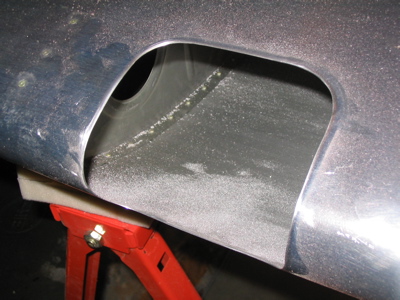
Trimmed with snips and sanding drum:
Smoothed with files and scotchbrite wheel:
I was wearing a dust mask during all of the above metalwork, and I'll share with you a lesson I learned during this process: don't wear a dust mask right after you eat at India Palace unless you like the taste of recirculated curry. I guess it's true what John Lennon said: instant khorma is gonna get you.
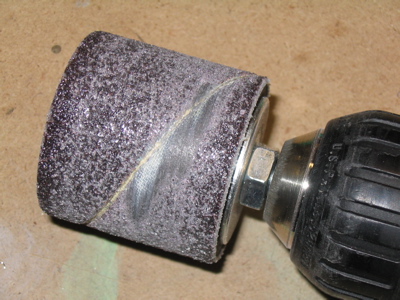
End of the line for this sanding drum:
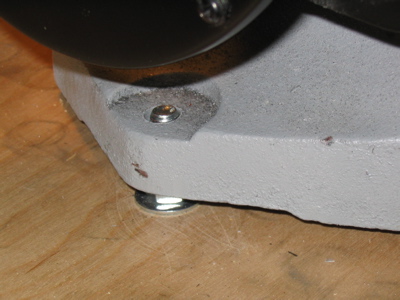
I got tired of my bench grinder walking all over the workbench, so I secured it with these bolts that I found in my junk box. I didn't have any bolts long enough to actually bolt the grinder to the bench, although that turned out to be a good thing: I used these shorter bolts as studs that keep the grinder from moving around but allow it to be easily lifted up and off if I need to for some reason.