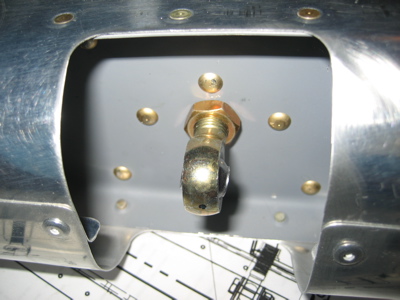
If I worked at a real airplane factory, I'd get fired for taking like eight hours of work over two days to make these stupid little rudder stops. Of course it doesn't help that the design requires each set of stops to be tailor-made to the individual aircraft. I spent a huge amount of time measuring, making and discarding test pieces, and fiddling around with templates. Out of absentmindedness or frustration I forgot to take any photos of this process, so here's a shot of the first rudder stop I was able to produce that actually fit:

You can see that I've temporarily installed the rudder cables to make sure that the rudder stops and cables don't get tangled up at any point along the full swing of the rudder.
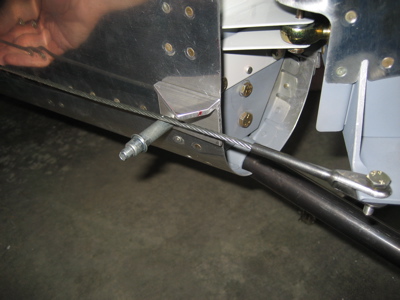
Here's an overexposed overhead view showing the angle the rudder horn is at when it hits the stop. Lots of cutting and filing to get to this point.
It means nothing unless it has that swing – when the rudder hits the stop and the elevators are neutral, it's just a shade over an inch from the rudder to the inboard corner of the elevator trailing edge. Plenty of clearance to keep the tail surfaces from banging together, and slightly more travel than is called for in the plans. Extra rudder travel is good, it means extra rudder authority. I've heard of some people making this dimension more like 1/2", but that seems like cutting it bit fine to me.

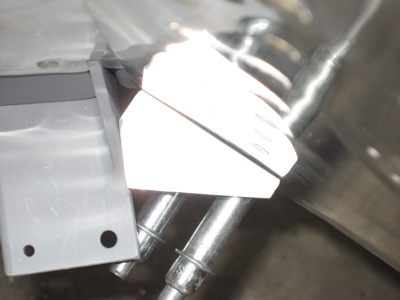
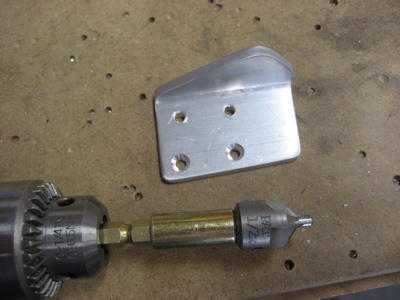
After I was finally satisfied with the fit, I rounded off all the corners and made the stops look pretty, and countersunk the rivet holes. These two I was able to do with the countersink cage; for the two that are closer to the flange, I used this setup to make the countersinks freehand.
I primed the stops and the skin underneath, then riveted them halfway on. The plans call for CS4-4 blind rivets in the front two holes. I used CherryMax CR3212-4-4's instead since I have a whole drawerful; the literature says they are something like 3x stronger in shear. The aft two holes will have to wait for now, since I can't squeeze those rivets until I remove the vertical stabilizer.
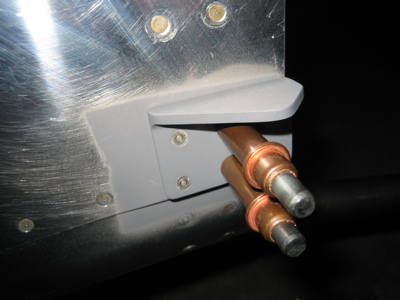
This photo is to remind me that I haven't torqued any of the control surface jam nuts yet – my torque wrench has a 1/4" drive and my crow's foot wrenches take a 3/8". Time to go to Sears!