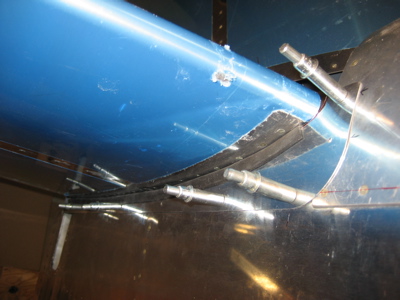
I got the empennage fairing out again and continued playing around with it. Here it's clecoed to the tail using the holes I'd previously made:
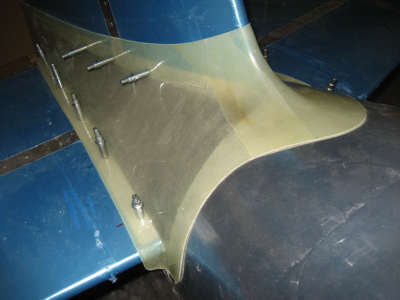
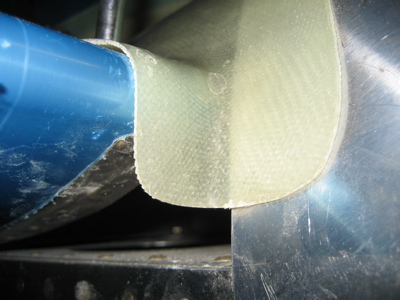
There's a ton of extra material to be trimmed off where the fairing wraps around the leading edge of the horizontal stabilizer. Then the gap underneath the stabilizer is closed by aluminum cover plates. You're sort of left to your own devices to figure out exactly how to make the front part of this come out looking nice.
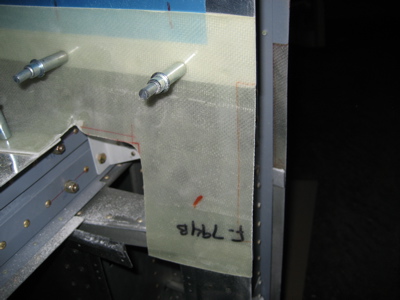
I had to trim a fair amount off of the F-794 cover plates to make them fit. Maybe I can sell the scraps as aluminum curly fries.
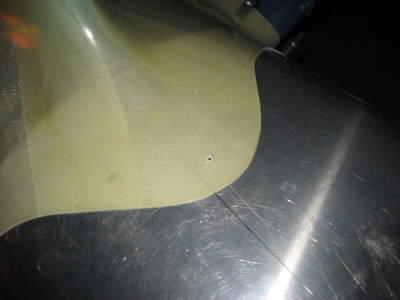
The kit comes with some rubber weather strip type of stuff, which you have to trim down.
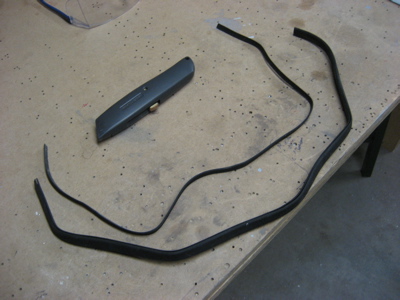
Here's one of the cover plates with the rubber strip on it. It's clecoed to the fuselage through some rivet holes in the longeron and bulkhead that I had to drill out. I wish the quickbuilders had left those holes open, because it's somewhat difficult to get under there and drill them out with the stabilizer attached, but oh well. It's hard to get the rubber strip to go completely around the curved are in the front, so I sized the cover plate piece to almost touch the stabilizer in that area instead.
Here I've trimmed and sanded away the excess fiberglass of the fairing at the forward corners (ignore the sharpie lines, I was using them to test various ideas). As you can see, there's only a very small area that's not covered by fiberglass, aluminum, or rubber. It's on the bottom of the airplane so you'll never see it. Good enough.
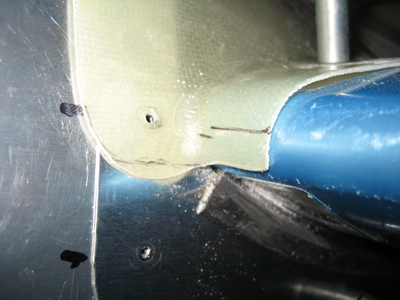
I also finished the cutout for the elevator horns, and sanded the aft edges of the fairing to be even with the edges of the vertical and horizontal stabilizer skins.
Because the front part of the vertical stabilizer is offset to the left (i.e. right rudder) the center of the fairing doesn't sit on the centerline of the fuselage. I eyeballed this spot for a screw and nutplate on the forward lip.
Interestingly, in the spots where the fairing attach screws go into the fuselage longerons, the plans call for you to just tap the hole in the longeron instead of installing nutplates. I used to have problems with the screws backing out in this area on my old RV, so I'm wondering if it would be worth the extra trouble to use nutplates back here (because nutplates have a self-locking feature to secure the screws). May need to call Van's to make sure the extra rivet holes in the longeron wouldn't be a strength problem. At first glance it looks like there would be plenty of room between the nutplate rivets and the next rivets over.