In order to fit the windshield to the fuselage, I clecoed on the forward top skin and bolted the rollbar brace in place:
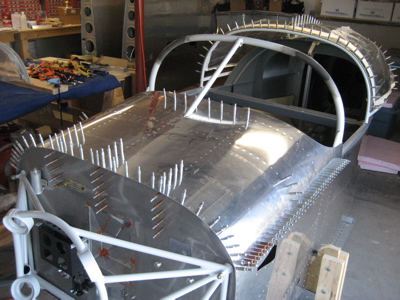
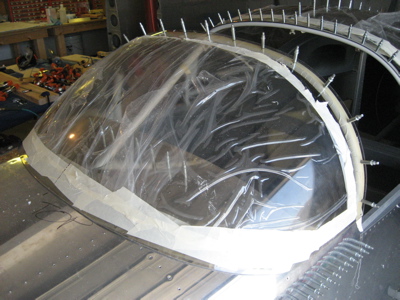
Here's the windshield on the fuselage before any trimming was done. The contour along the front doesn't match the fuselage all that well.
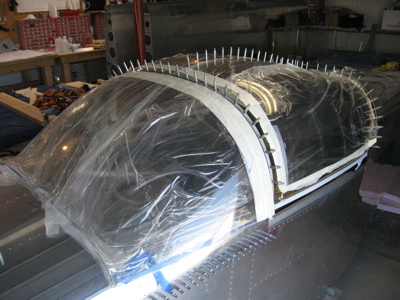
Here it is about halfway through the trimming process – getting better.
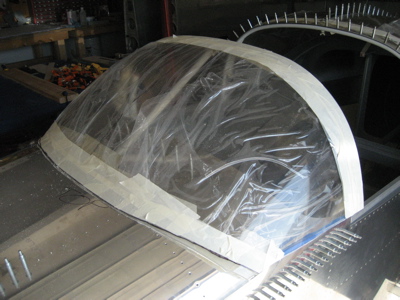
There isn't a lot of excess material to work with at the rear corners – actually the glass just barely overlaps the side skin. In retrospect, I wish I had waited to trim the lower edges of the canopy until after making the big cut, but I was blindly following the plans and didn't know any better.
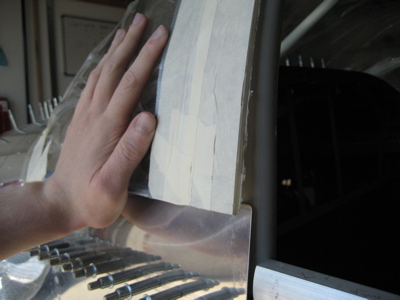
Much trimming and belt-sanding later, I got the front contour to match the fuselage shape pretty well. Once the windshield is fastened down, there will be essentially zero gap here.
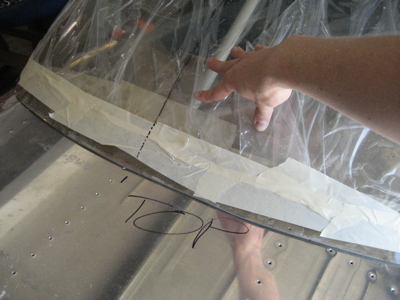
There is gap of about a quarter inch on both sides of the windshield where it turns aft towards the lower corners. The fasteners will pull this in somewhat, but I'll still have to cover it up with the windshield fairing. If I'd had more material to play with I think I could have made this come out better, but overall it's not too bad.
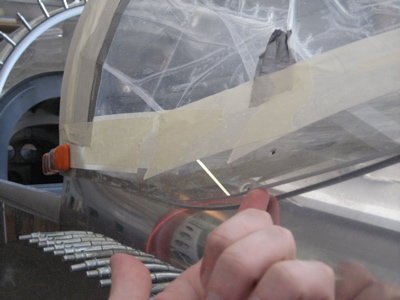
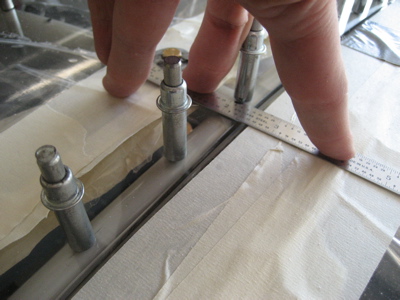
I duct taped the windshield to the rollbar in order to measure the height difference between the windshield and canopy:
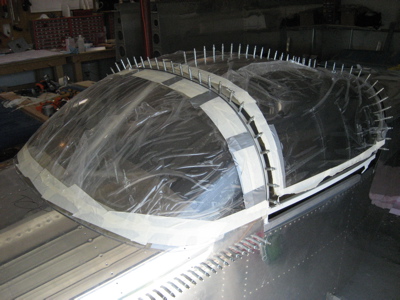
The apex of the canopy was about 3/16" higher than the windshield. To fix this you can either raise the windshield with shims, or lower the canopy. I chose the latter because of the afforementioned issue at the aft corners.
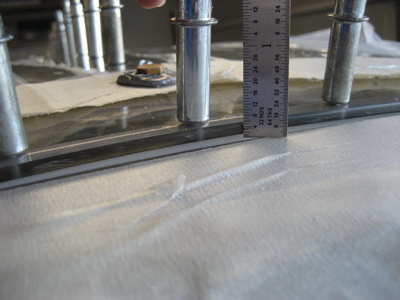
The canopy is lowered by whacking a piece off both ends of the forward bow tube:
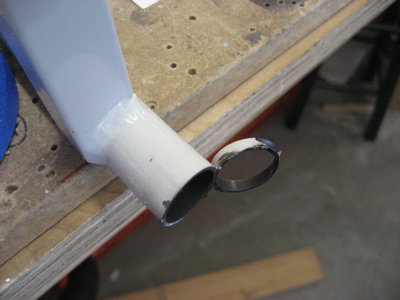
With the canopy back on the rollers, there's now a smooth transition between the top of the windshield and the top of the canopy:
With the height properly set, and everything clamped straight and true and triple-checked, I drilled the holes for the screws that attach the rollers to the canopy frame:
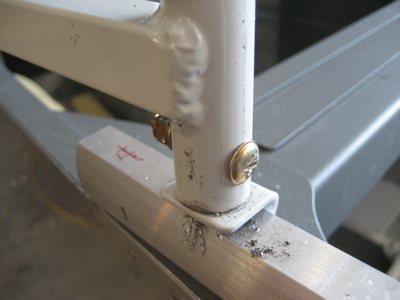
The canopy rolls very easily, thus making the hours of fitting and measuring that led up to this point all worth it.
The next job was to drill the windshield to the rollbar, so I started with the same masking tape setup I used to drill the canopy to the slider frame:
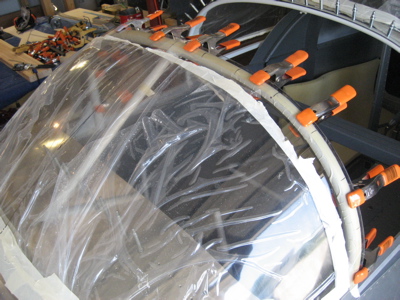
Here is it after drilling. Because of the angle the windshield makes with the rollbar, the actual centerline where the holes need to go is not where you'd imagine it would be just by looking at it – it's important to use the tape method to get everything square.
The glass overlaps the side skin by about 3/16" on either side. This will all be hidden by a fairing later.
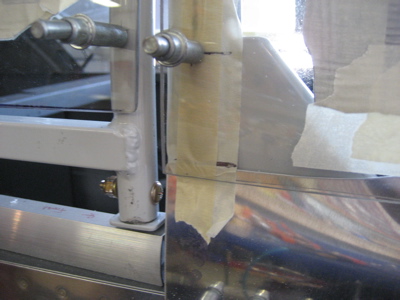
In the photo below you're standing on the right side of the fuselage looking forward towards the firewall. The rollbar and slider frame contours don't quite match, so the windshield bulges out from the canopy by about 1/8" at the 10 and 2 o'clock positions. This will also be covered up by a fairing. I'd be worried if the canopy was sitting proud of the windshield because that would have made the fairing difficult, but this way should be no big feal.
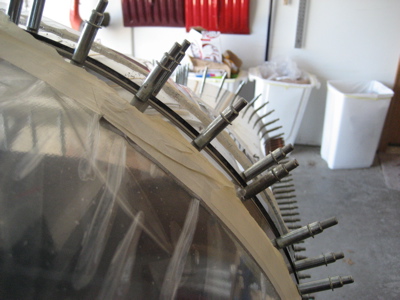
I still need to do at least one more round of trimming to finish off the aft edge of the windshield and finalize the gap between the canopy and the side frame tubes, but I'm hot and tired of being covered with grit.
Update: I couldn't resist spending another hour grinding away and making a mess. I got the canopy trimmed to its final size (I think) and I cleaned up the aft edge of the windshield. Of course I then had to take another shower to wash off all the grit. My next airplane will have a solid aluminum canopy and a TV screen to let me see out.