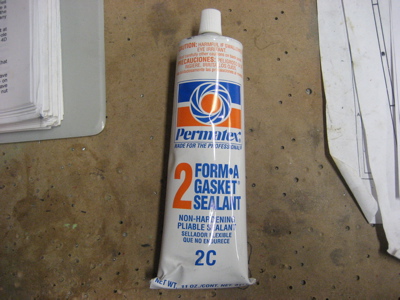
Per the plans, I'm using Permatex #2 sealant on all threaded plumbing that attaches to the engine:
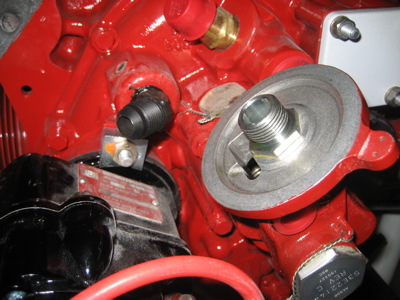
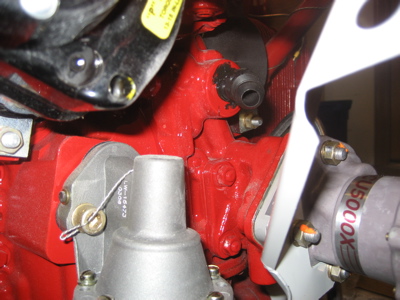
I had to remove the oil filter to install the fitting for the oil cooler return line:
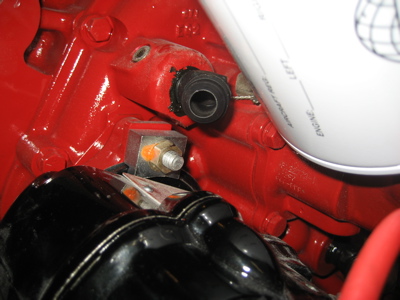
With the filter back on, there appears to be plenty of clearance to get a hose onto this fitting without hitting the filter or magneto. The plans say to use a straight fitting here, but a 45-degree fitting is really necessary if you have an angled oil filter adapter like I do.
A crow's foot wrench came in handy for tightening the fitting for the other oil cooler line. A 45-degree fitting is necessary here too, as others have discovered.
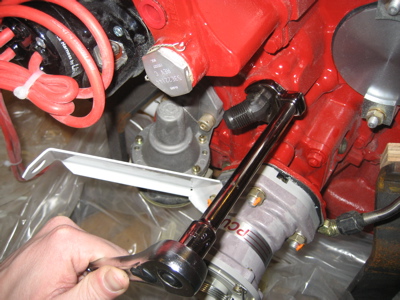
Looking from the left side of the engine, you can see how the hose will go between the prop governor bracket and the engine-driven fuel pump. I may also have to use a hose with a 45-degree fitting on the end – we'll see.
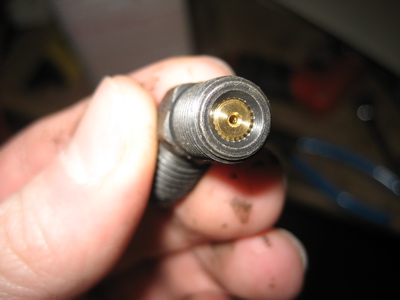
Looking into the business end of a VA-128 restrictor fitting. The end is plugged with a brass (?) insert that has a small passage drilled through it. Using these for the oil and fuel pressure pickups is a smart idea, so that a broken transducer hose won't dump all your oil overboard or pump fuel onto the hot exhaust pipes.
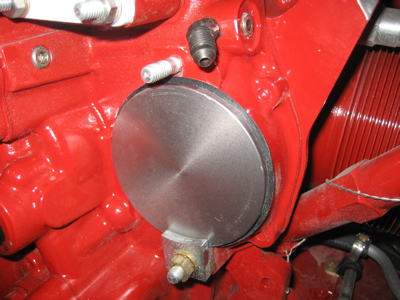
The oil pressure fitting has to be clocked at a 45-degree angle to vertical, so the hose goes the right way and doesn't hit the engine mount. Notice I had to remove one of the clips that attaches the right magneto drive pad cover plate, in order to get a wrench on the fitting.
I propped up the tail with a sawhorse padded with foam rubber. The tailwheel spring is secured to the sawhorse with a bungee cord so it doesn't accidentally get knocked off.
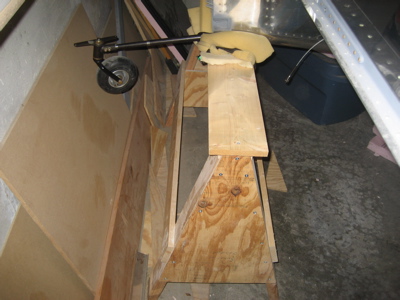
Now the fuselage is roughly level, which will make hanging the engine easier.
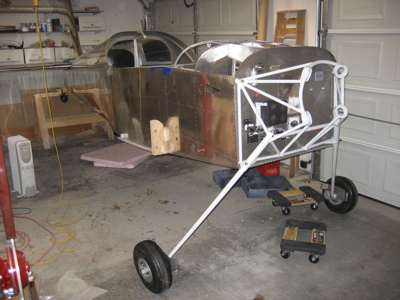
I manhandled the engine pallet up onto dollies, and rolled it over towards the front of the fuselage:
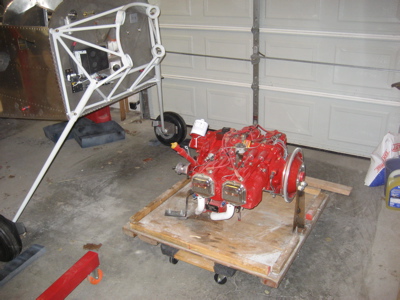
Then I levered the whole works up onto the feet of the engine hoist. I'll unbolt and discard the pallet once my helper arrives tomorrow.
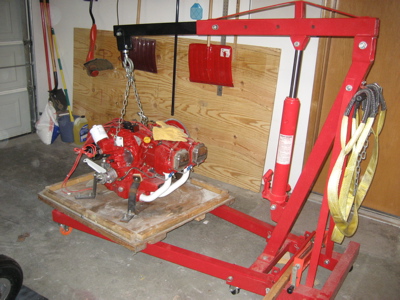
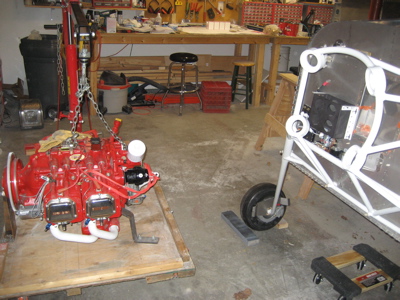
Heavy red thing is ready to attach to white thing.
