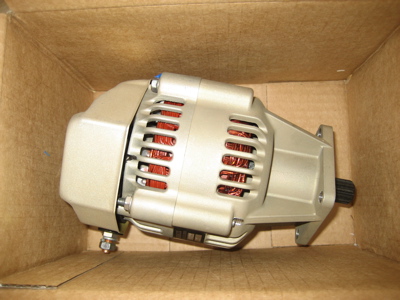
I've been playing with engine control cables but they're giving me fits, so no photos until I figure out what I'm going to do. In the meantime, I decided to take a break from control cable hell and install the B&C SD-20 standby alternator.
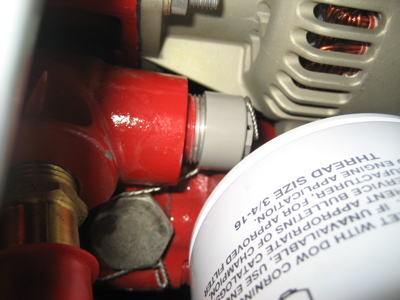
The SD-20 is gear-driven, and installs on the vacuum pump drive pad on the engine accessory case. I removed the drive pad cover plate and cleaned off the old gasket sealant in preparation for mounting the alternator.
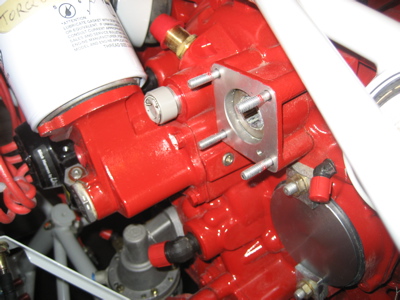
I used a crow's foot adapter on my torque wrench to tighten three of the nuts – the last one was impossible to reach with the torque wrench, so I used a plain wrench and tightened it by feel.
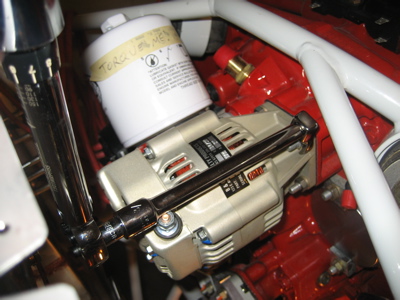
The alternator, installed:
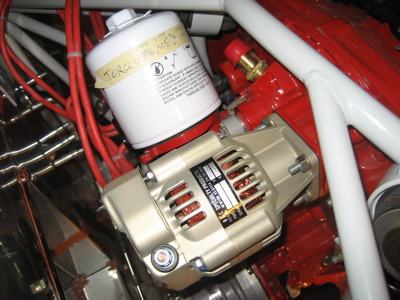
In the photos above, you can see the cap that I put on the tachometer drive gear. I actually installed it a week ago, but since Mary was out of town with the camera I'm only just now getting around to taking pictures of it. Here's a closer view:
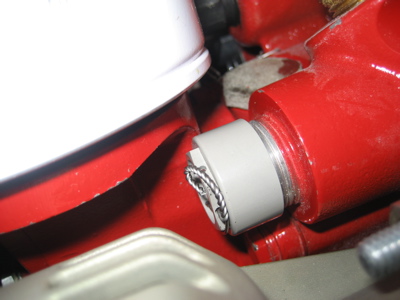
Between the oil filter adapter and the standby alternator, there's just about zero room to install a traditional mechanical RPM sender on this engine – I'll probably use a Hall effect sensor on the mag instead. Here's another view from a different angle, showing how I safetied the cap:
I read somewhere that it's actually optional to cap off the tach drive if you're not going to use it, but I'm just not cool with leaving a hole into the engine's whirling guts uncovered.