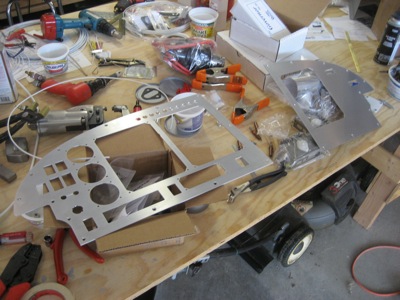
A month after I submitted the initial set of drawing files, I got the finished panel back from the machine shop. The total bill was… well, I don't even want to write down what I had to pay, but suffice to say it was about quadruple what I was expecting. It turned out pretty nice, but there's no way I would use that same shop again. I would have been better off sending the design to one of the several places that specialize in CNC cutting of airplane panels. Anyway, let's forget that ugliness and keep moving forward.
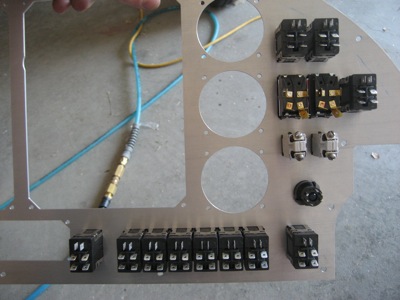
I fit the various switches, breakers, etc. to the pilot's side panel. Everything fit very well after a little bit of work with a file.
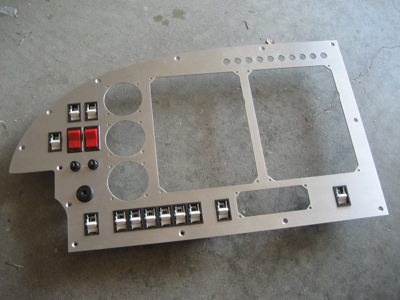
A view of the other side:
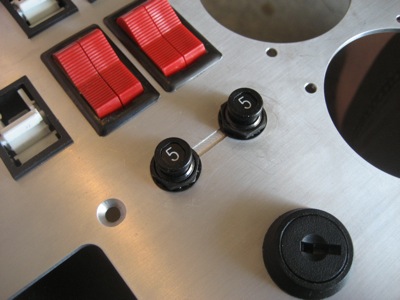
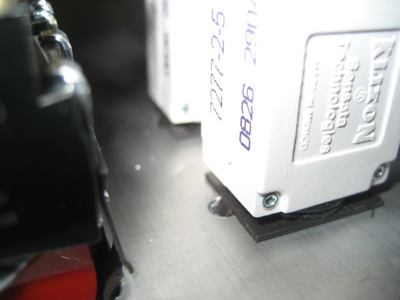
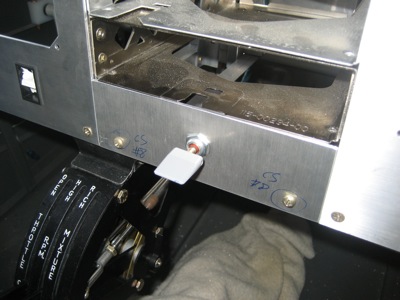
Closeup of the alternator circuit breakers… you can see where the machine shop guy made a booboo. The CNC machine was programmed to drag the cutting tool across the surface of the panel, making a nice little trench. Luckily this is not a big deal, since I was already planning to put an engraved placard over the top of this area. If it had been anywhere else, I'd have been pissed.
I used a 1/8" drill to make some little divots on the back side of the panel, for the circuit breaker keyway washers to catch on.
Passenger-side panel installed in the fuselage:

Zero hours on the Hobbs!

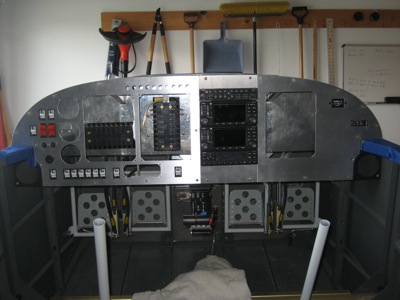
Pilot-side panel installed, and looking pretty sweet if I do say so myself. By the way, my plan is to get everything wired up, drill holes for miscellaneous other stuff like parking brake and heat valve cables, and then take it all apart for painting or powder coating (haven't yet decided which).
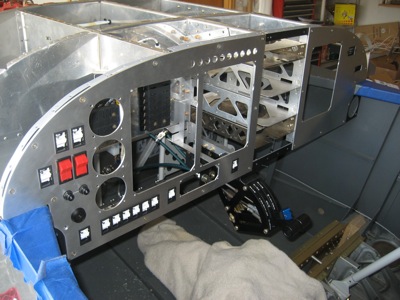
Same thing from the other side. The canopy deck intrudes a bit on the available behind-panel space, forcing you to think three-dimensionally when locating your panel components. Luckily I got it right, and nothing runs into anything else.
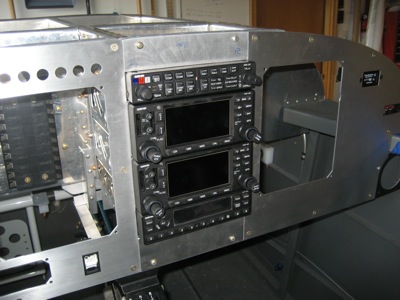
I temporarily installed the radios, and cut some 0.090" filler plates to cover the unused area at the top and bottom of the radio stack.
This is the money shot:
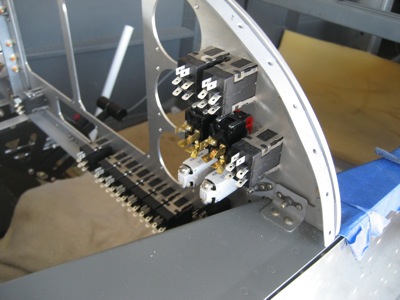
At Oshkosh I good a good deal on this fancy flap switch. It has a little flap-shaped piece of aluminum for a handle, which is a cool touch.
In order to get the switch body to clear the panel frame, I had to make (I hesitate to say "machine" since my tools are fairly primitive) this spacer out of 3/16" stock. Right now it's just captured by the switch, but I may end up riveting it to the panel just because.
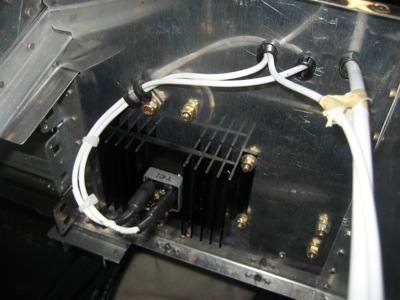
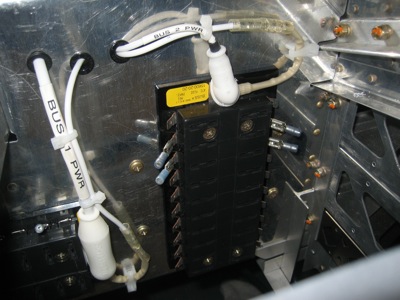
I never finished wiring the two buses together at the bus tie diode, so I finished that tonight. This is a power diode with a hefty heatsink, which provides an alternate power path from bus 1 to bus 2, but not the other way. The heatshrink over the terminal ends is just to prevent a short circuit if I drop a wrench across the two terminals while power is applied. Although they are protected by fusible links, I don't want these big power wires flopping around, so I used an adel clamp here. Probably overkill but it makes me feel better.
Here's a view from the other side of the subpanel. All the wires are cinched down tight with tie wraps.
Here's a cool trick… Avery sells these tie wrap bases that have a hole in the middle that's just the right size for an LP4-3 blind rivet. Need to secure a loose wire but don't have anything nearby that you can put a tie wrap around? No problem, just use one of these little guys. I have a feeling I'll be using these by the truckload, all over the airplane.
