While working on the audio wiring, I got to the point where I needed to hook up the jacks for the headsets… and realized that I had made absolutely no plans for where to put them or how to mount them. Man, I really wish I had considered the headphone jacks when I was doing all that elaborate panel planning.
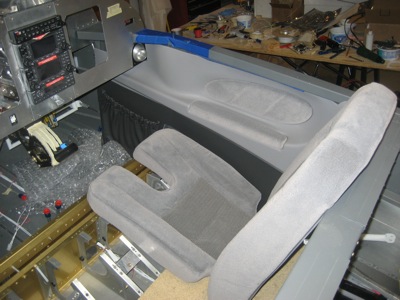
There are lots of different ideas about the best place to locate the headphone jacks… I won't repeat all the arguments, but I will mention that in my RV-9A they were in the baggage compartment, which I really hated. On this airplane, I've decided to put the jacks in the traditional location at the lower outboard corners of the panel. To figure out the clearances involved, I got out the air vents and the interior side panels (mighty nice looking, I must say).
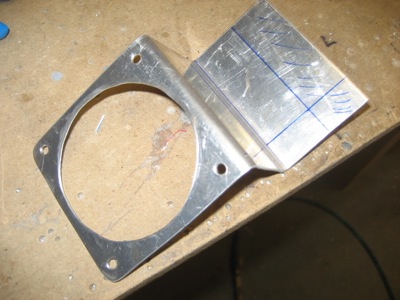
I dug a couple pieces of 0.050" alclad out of my scrap bin and bent them into Z-shapes using my new and improved bending brake.
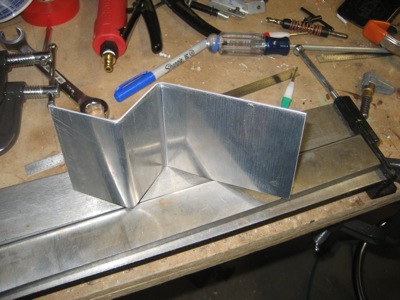
I match-drilled the brackets to the air vent mounting holes, and cut a big hole in the middle of each one.
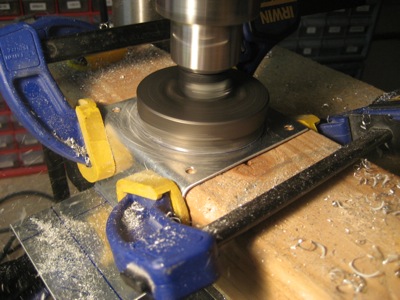
…but since my biggest Rotabroach cutter is 2 1/2" inches and I needed a 2 3/4" hole, I had to expand the radius with a rotary file.
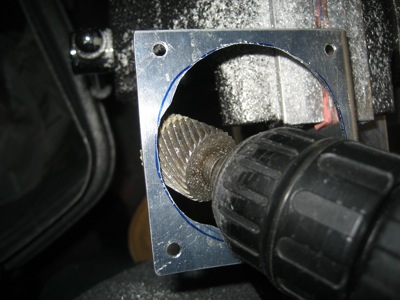
It's not pretty, but it will be hidden so I don't care.
Two completed brackets for headset jacks. Each one has two holes for the traditional mic and phone plugs, and one for the combined Bose mic/phone/power connector. The odd taper is necessary to provide clearance for the contour of the interior side panel.

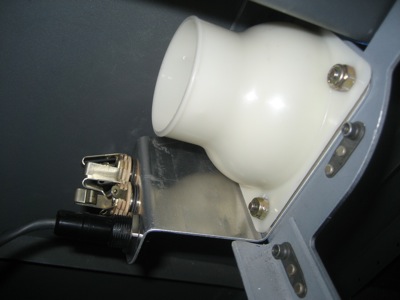
Here's a test fit on the passenger side. The jacks are nicely recessed, out of the way but easy to reach. The headset plugs ought to be fairly well protected from being stepped on by clumsy passengers. The bracket flexes a bit when inserting or removing the plugs, but I don't think it's going anywhere. I'll paint it black later.
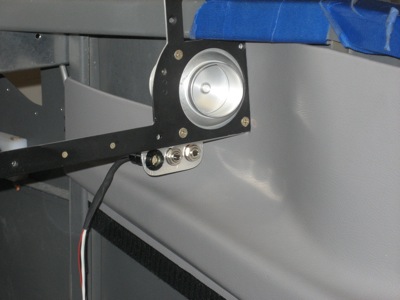
Here's a view from the other side of the panel. The bracket is sandwiched between the panel frame and the air vent's mounting flange.
Well, now I can actually start on wiring the headset jacks. If I had done a better job of thinking ahead, I could have maybe come up with a better solution for mounting them, but this turned out mostly okay.