More work on the top cowl mounting strip, to which the camlocs will eventually be attached. The spaces between adjacent camlocs need to be notched out so the remaining aluminum can be shaped to conform to the tapered cowl shape. I taped over the pilot holes for the camlocs – to keep myself from accidentally enlarging them prematurely! – and started each notch with a hole whose edge is about a quarter inch away from the end of the fuselage skin.

A lot of cutting, filing, and shaping later, here's the finished product. If you can get to this point in building the airplane, you should be able to make this part from raw stock with no problems, so I won't bore you with a detailed step-by-step.
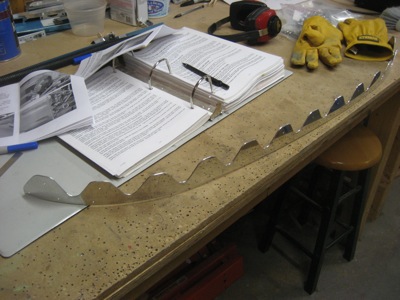
I found that it was handy to have a variety of rotary files and scotchbrite wheels to chuck up in the drill press. And yes, you can cut all the notches on a small bandsaw if you plan carefully.

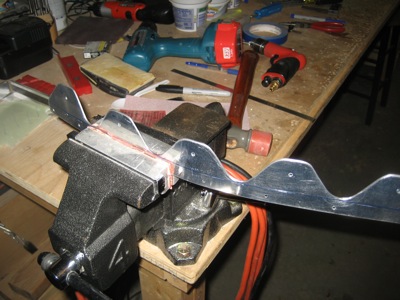
I will have to make finer adjustments later, but for now I just roughly bent the two most outboard tabs on each side to generally match the cowl shape. The easiest way to do this is to put it in a vise with padded jaws and wail on it with a rubber mallet.
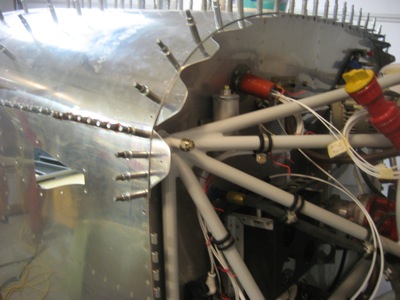
The finished product clecoed in place, one of many trial-fittings it took to get to this point. You'll notice that I also trimmed down the side pieces that go below the bend at the upper longeron. I resisted the urge to put one more camloc down the side, since there needs to be a gap between the camloc strip and the side hinge in order to insert the hinge pin. Luckily I remembered now and not after finishing the top cowl!