Now that I have the upper cowl fitting fairly well, it's time to start fitting the lower half. First I had to grind some relief notches into the outboard corners to clear the landing gear legs. This isn't spelled out in the plans but obviously has to be done in order to get the thing onto the airplane.

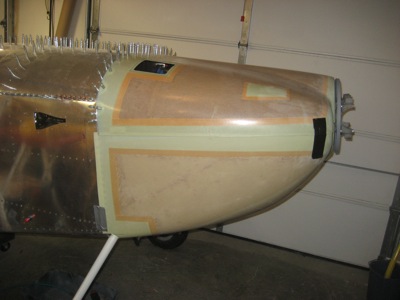
Duct tape helps keep things in place while you wrestle the lower cowl around. At this stage, the rear flanges are oversized and are overlapping the fuselage by around three-quarters of an inch. Note that I have the lower cowl tucked under the upper cowl – I found that things fit better around the front using that arrangement.
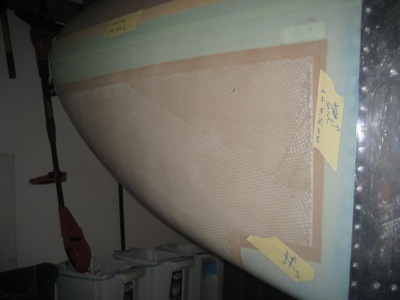
I used the now-familiar offset line method to transfer a cut line to the bottom of the lower cowl. Lacking any specific guidance on the matter, I chose to leave the cooling air exit ramp at its original length and make diagonal cuts along the sides to match the shortened underside of the cowl.
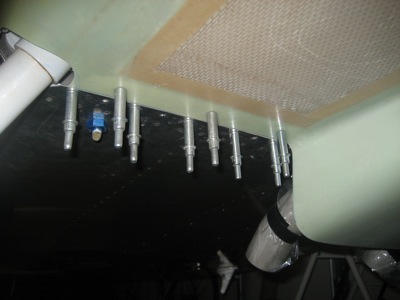
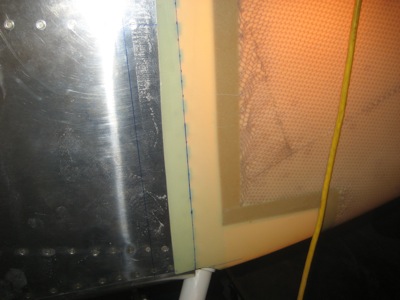
Several rounds of sanding and trial-fitting later, I had the bottom cowl edge fitting the fuselage well. I had previously drilled three #40 pilot holes in each mounting strip, which I transferred to the cowl using a strong light from behind.
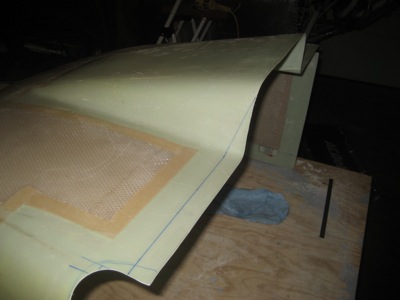
Once the bottom edge fits well, you can mark and trim the sides. I used a shop light inside the cowl to double check the cut lines I laid out.
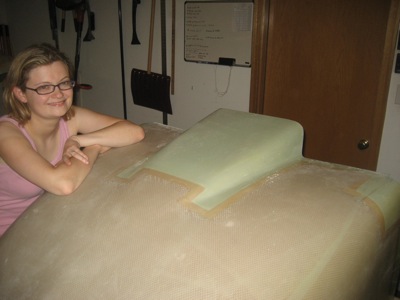
The lovely Mary appeared long enough to get her picture taken. Now that her residency is complete, she's promised to spend some time helping with the airplane project now and then, so you may start seeing her turn up in the occasional photo once again.
I got the initial cuts made and sanded straight, but I ran out of time to make it really fit well. It looks like it's pretty close, though. I left myself some little notes to remind me where to start sanding next time I get a chance to put in some airplane time.