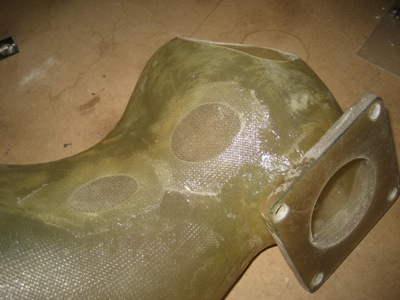
The engine air duct had a big section cut away to make it fit next to the alternator, and also a couple smaller holes that I ground away before realizing that it's a better idea to cut the vestigial mounting lugs off the starter instead. These all need to be covered over, starting with the two smaller ones for reasons of finger-access. I laid up two plies of 8-ounce glass tape on the outside, let that cure, then followed up with two more plies on the inside. (that was probably overkill, three would likely have been enough here)
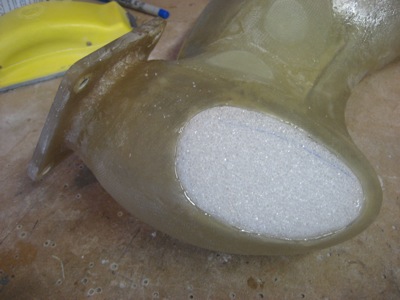
The larger opening at the end of the duct is big enough that it needed a form to hold the glass in its proper place while the glue dried. I glued a chunk of styrofoam in there to act as an in-place mold, and then sanded it to the desired shape.
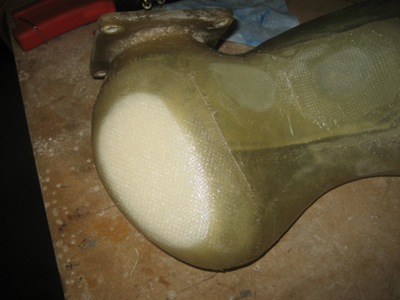
I laid up three plies of glass on the outside:
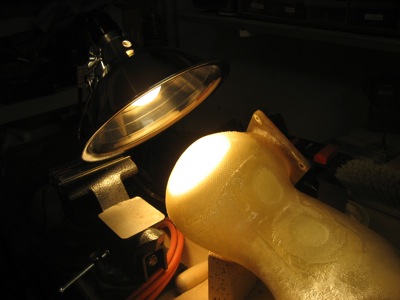
When it's cool like it has been lately, I use a lamp as a directed heat source to help the epoxy cure faster:
Once the layup on the outside was dry, I poured acetone into the air duct and swirled it around until the foam was all dissolved, leaving only the fiberglass behind. Magic! Then I laid up a single ply of glass on the inside, to give it a bit more strength and to smooth out the rough surface left by the fairly coarse foam. This was tricky to do, as I had to reach my arm down from the wide end of the air duct and get glue all over my sleeve in the process. (if my wife is reading this, yes I did remember to change clothes first)

Once this is all dry, I'll sand off any rough edges – then there's just a few more chores before the air duct is finished.