I've been planning to put some kind of red flashing ground-recognition beacon on the airplane all along, and this weekend I finally got around to making it happen. For years I've been pondering exactly what kind of beacon I need and where to mount it – see here and here for details of previous plans that didn't get completed, plus thoughts on red beacons in general. What ended up working in my favor is the fact that, while I was trying to figure out what to do, the state of the art in LED technology has advanced to the point where it now makes more sense to use LEDs rather than xenon strobes or halogen flashers for this application.
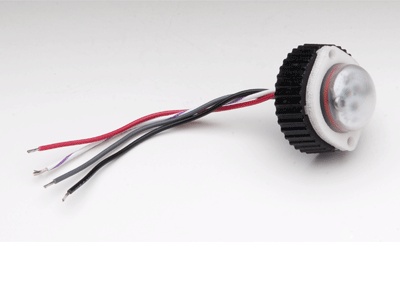
The particular unit I picked is the Vertex LED lighthead by Whelen. These guys are known in aviation circles for making certified strobes and nav lights, but they make lots of automotive products too. This one is designed to work as a warning light for a cop car or other emergency vehicle, but it happens to also be the perfect size for an airplane too. Here's a photo I grabbed from the internet since I forgot to take a "before" shot prior to getting started:
I played with various mounting positions until I decided which one I liked best – it turned out to be the top of the tail, just like on your grandpa's Cessna. Then I got out the rudder cap and started cutting away at it with a unibit and Dremel tool.
![]()
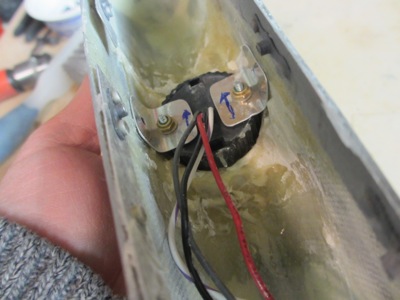
The light will be held in place by two little pieces of scrap angle that will attach to the inside of the rudder cap.
![]()
A view from the bottom side. The beacon heatsink just fits into the widest point of the rudder cap.
![]()
That has the added advantage of putting the beacon about halfway back from the leading edge of the vertical stabilizer – farther back than on a Cessna – where the light shining directly forward will be blocked instead of getting into the cockpit and annoying me by glaring off the instrument panel.
![]()
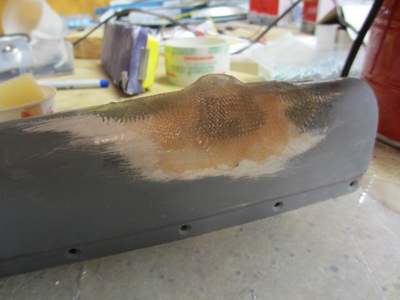
The circuit board inside the beacon is flush with the top of the rudder cap. Now we just need to do something about the exposed shoulders of the heatsink sticking out into the breeze.
![]()
I covered the beacon with saran wrap and then laid up several plies of glass tape over it in a smooth shape:
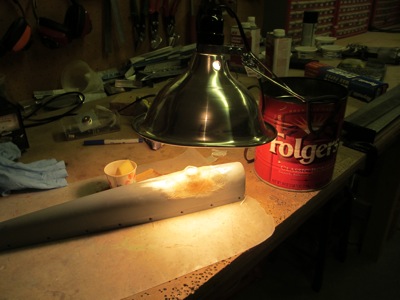
It's a little late in the season to be doing fiberglass work – i.e. the temperature is a bit low in the garage – but for small projects you can cheat and use a heat lamp to get the resin to cure in a reasonable amount of time.
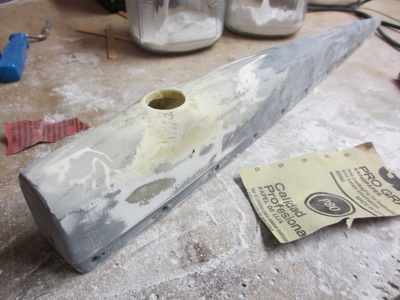
After sanding the initial layup, I installed the beacon again and followed up with a flox/cabosil mixture to build up the contour and give me a nice sharp edge around the opening for the lens.
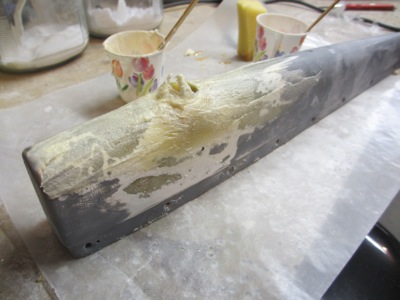
I also laid up some flox inside the rudder cap to give the body of the beacon a nice solid shoulder to sit on, as well as thickening up the inside of the lens opening to avoid having a knife edge there.
After letting that cure and sanding it back down, the general shape of the "bump" for the beacon was basically done.
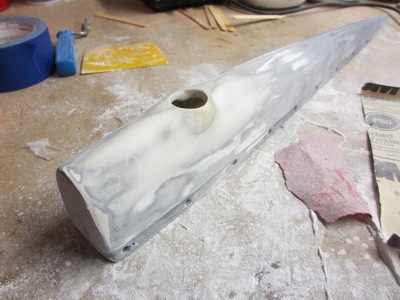
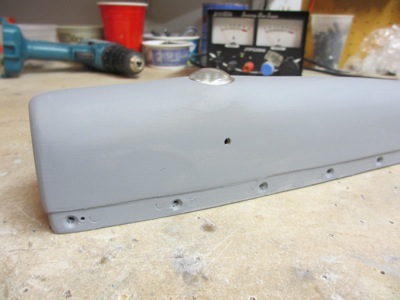
I applied one more coat of dry micro with a squeegee to fill in the low spots, then sanded it smooth.
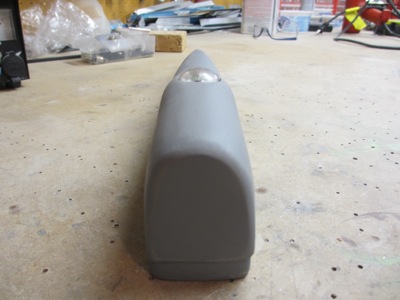
A quick spray of primer dressed it right up. I'm quite happy with how the shape turned out. There are some small surface imperfections but I'll let the painter deal with those.
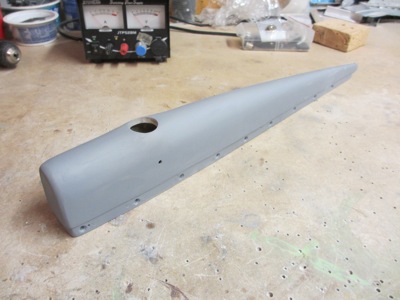
The beacon lens is very low profile. I still need to countersink the mounting holes in the sides, but that can wait until I get back the drawer full of #4 tinnerman washers I loaned out.
Now that it's all sanded smooth and blended in, the slight swell for the beacon is hardly noticeable:
What's that, you say you want to see my new rudder-mounted ground recognition beacon in operation? Very well:
![]()
It's hard to properly capture with the camera, but trust me, this thing is plenty bright.
![]()